We will (and hopefully don't want to) get around automation.
Azure Automation authenticated with a Managed Identity offers companies efficient options for automating processes and securely managing access rights in the cloud. Azure Automation enables routine tasks to be automated through scripts and runbooks, while managed identities simplify authentication and increase security.
In this post, I will build an automation example that notifies about devices in Intune that have been inactive for 180 days or more. The message is then posted directly to a defined team channel.
Table of Contents
- What we need
- The PowerShell script
- Creation of an automation account
- Managed Identity Permissions
- Preparation of the Teams channel for reporting
- Add modules to Azure Automation
- Insert script in Azure Automation
- Recap
What we need
To implement this automation example, you need a few different resources.
These are:
- The script itself
- Azure Subscription
- Azure Automation Account
- with Active Managed Identity
- Team Channel
- Incoming Webhook
The PowerShell script
The script routine first authenticates itself via Managed Identity and then queries all devices from Intune based on the last synchronization time (lastSyncDateTime). The value is set to 180 days in the template, to change this simply adjust line "7".
The old devices, if available, are then sent via webhook to a teams channel that you have defined. You define the webhook URL of the teams channel in line "10".
You can find the finished script in my GitHub repository:
To develop and test scripts and routines, I use manual authentication, the classic way with username, password and MFA.
To do this, simply replace the connect command in the first five lines with "Connect-MgGraph -Scopes "DeviceManagementManagedDevices.Read.All"" substitute.
Creation of an automation account
To create an automation account, you need an active Azure subscription. If you have this, you create it like this:
- Choose under "portal.azure.com" > "+Create a resource" and search for "automation account"
- There you select "create" and select the Azure subscription in which you want to create the account
- If you don't have a resource group yet, or want to create a new one, you can do that right here.
- Then give the account a name and select the region.
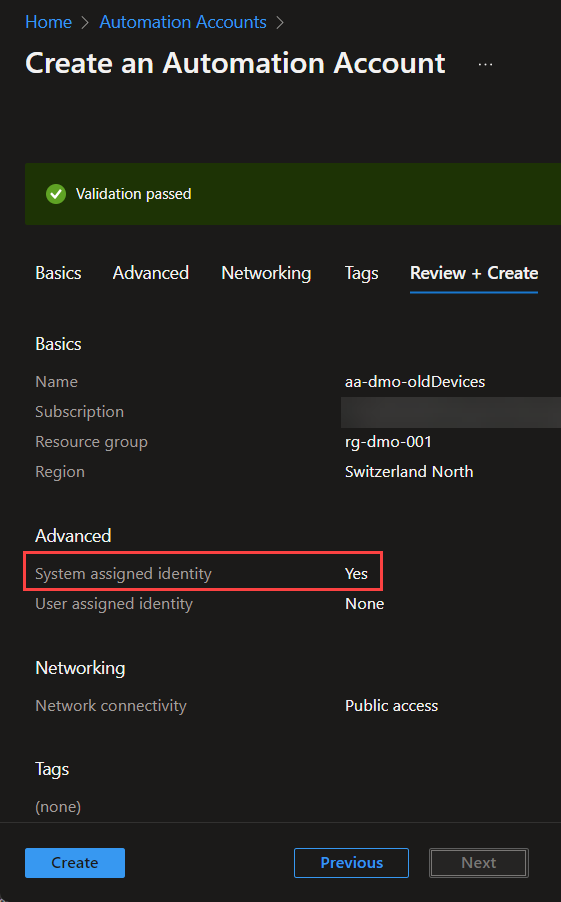
- On the next page it is important that under Managed Identities "System assigned" active.
- You can leave the rest "Default".
- At the end you get an overview that looks something like this and needs to be confirmed:
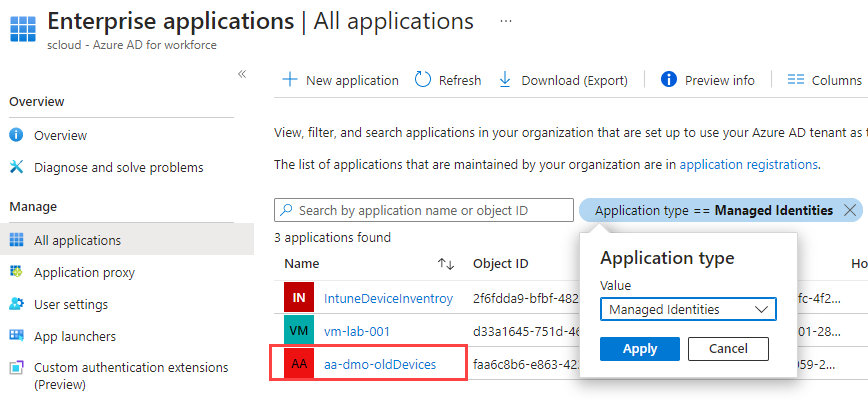
By selecting the managed identity, an identity is automatically created in Azure AD in the enterprise applications after the creation of the Azure resource:
Managed Identity Permissions
We now have to authorize the identity that was automatically created in the previous step so that it can read our devices from Intune.
Unfortunately, there is no function in the UI for this, but with PowerShell the whole thing is done very easily and quickly.
As a prerequisite, you have to do this Microsoft Graph Have PowerShell module installed.
You can install it like this:
Install-Module Microsoft.Graph -Scope CurrentUser
Code language: CSS (css)
In order to set the authorization of the managed identity, I have prepared the script for our example below. If you want to assign other permissions, you just have to add them to the line "15+" add to.
# Connect to Microsoft Graph
Connect-MgGraph -Scopes "Application.Read.All","AppRoleAssignment.ReadWrite.All,RoleManagement.ReadWrite.Directory"

# Select beta profile
Select-MgProfile Beta

# You will be prompted for the Name of you Managed Identity
$MdId_Name = Read-Host "Name of your Managed Identity"
$MdId_ID = (Get-MgServicePrincipal -Filter "displayName eq '$MdId_Name'").id

# Adding Microsoft Graph permissions
$graphApp = Get-MgServicePrincipal -Filter "AppId eq '00000003-0000-0000-c000-000000000000'"

# Add the required Graph scopes
$graphScopes = @(
  "DeviceManagementManagedDevices.Read.All"
)
ForEach($scope in $graphScopes){
  $appRole = $graphApp.AppRoles | Where-Object {$_.Value -eq $scope}

  if ($null -eq $appRole) { Write-Warning "Unable to find App Role for scope $scope"; continue; }

  # Check if permissions isn't already assigned
  $assignedAppRole = Get-MgServicePrincipalAppRoleAssignment -ServicePrincipalId $MdId_ID | Where-Object { $_.AppRoleId -eq $appRole.Id -and $_.ResourceDisplayName -eq "Microsoft Graph" }

  if ($null -eq $assignedAppRole) {
    New-MgServicePrincipalAppRoleAssignment -PrincipalId $MdId_ID -ServicePrincipalId $MdId_ID -ResourceId $graphApp.Id -AppRoleId $appRole.Id
  }else{
    write-host "Scope $scope already assigned"
  }
}

Code language: PHP (php)
If you made a mistake somewhere and want to clear the permissions, you can do that with the following lines:
# Removing all Graph scopes
$MdId_permissions = Get-MgServicePrincipalAppRoleAssignment -ServicePrincipalId $MdId_ID
ForEach($Assignment in $MdId_permissions){
  Remove-MgServicePrincipalAppRoleAssignment -AppRoleAssignmentId $Assignment.Id -ServicePrincipalId $MdId_ID
}
Code language: PHP (php)
Preparation of the Teams channel for reporting
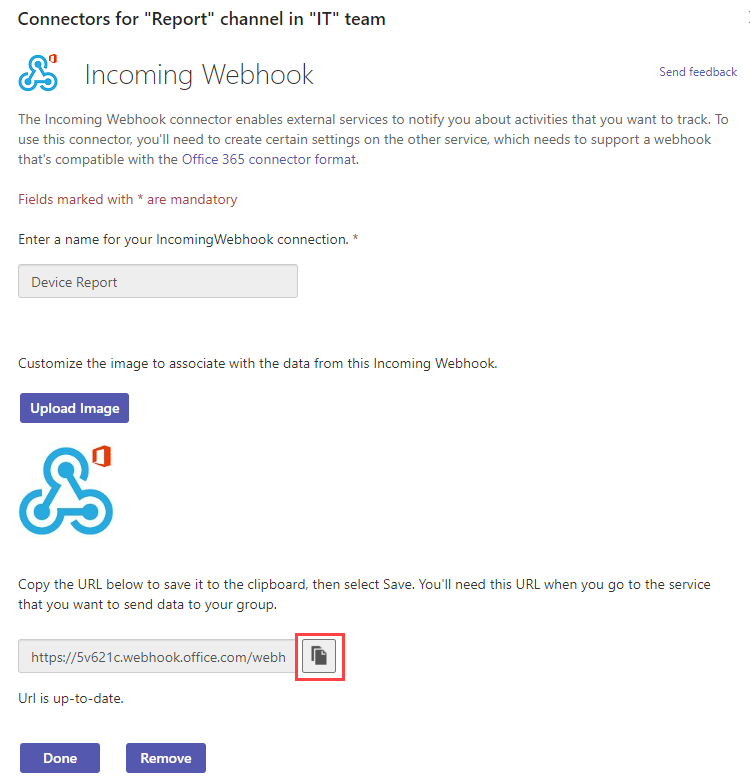
If the script should find inactive devices, we would also like to be informed about this and not have to control the output in Azure Automation. To do this, we create an "Incoming Webhook" in a team channel to which we will send the report.
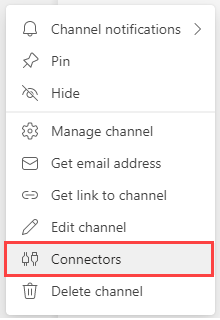
To do this, navigate to the channel in the desired team and select "connectors" off and configure the "Incoming Webhook".
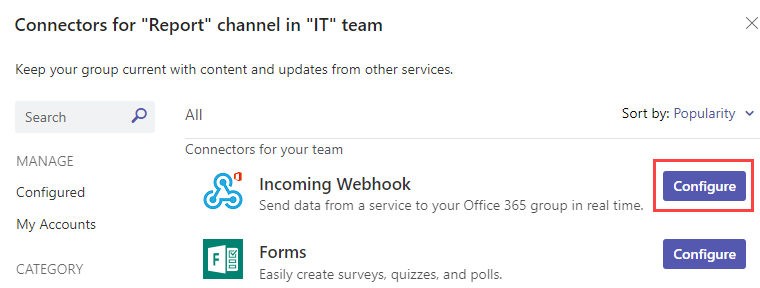
You just have to give it a name and "Create". Shortly thereafter, the URL appears, which we store in our script (MgId_getOldDevices.ps1).

Add modules to Azure Automation
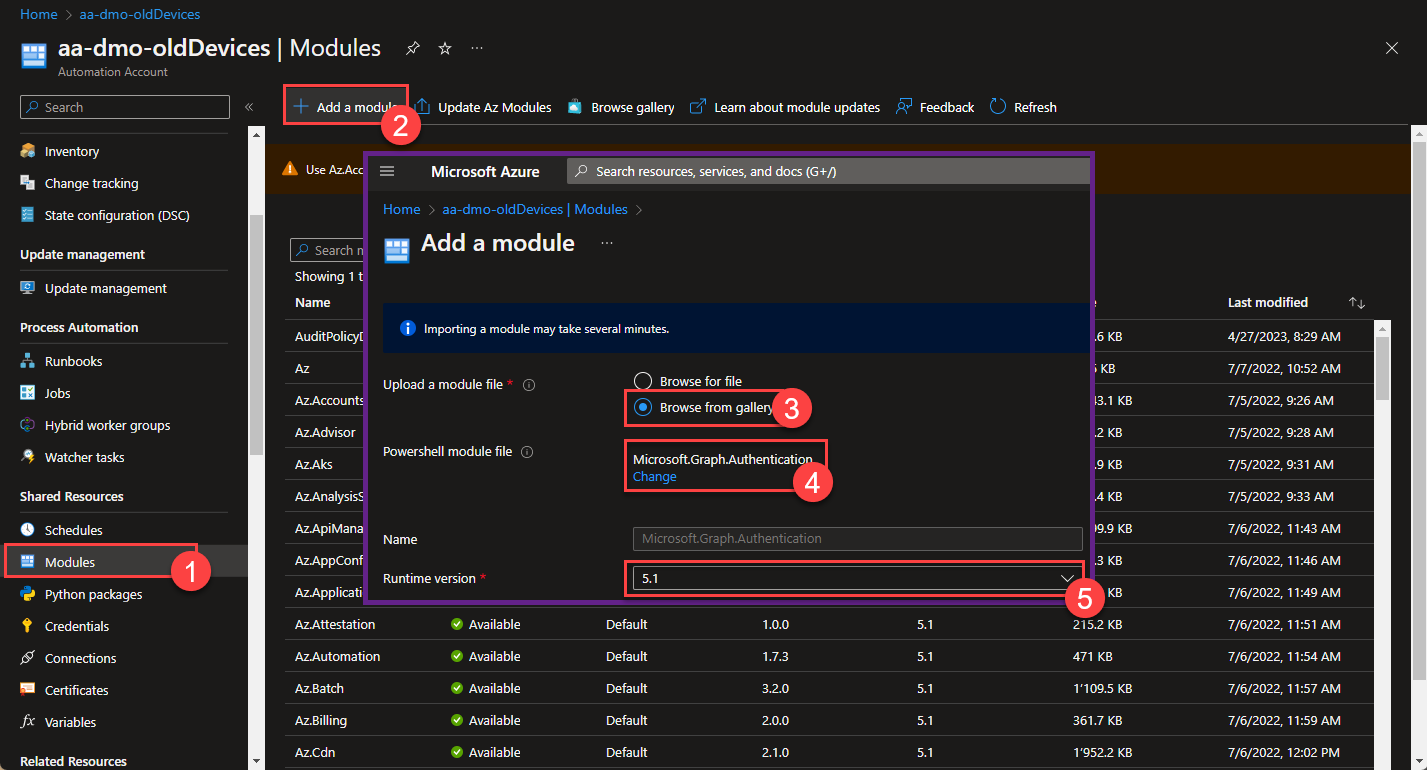
Not all PowerShell modules are automatically available in the Azure automations. We need to add these first. In our case we only need one thing:
- Microsoft.Graph.Authentication
You can add them in the automation account under "modules".
If you add multiple Graph Modules, for example because you want to use a command like "Get-MgDeviceManagementManagedDevice", add the "Microsoft.Graph.Authentication" module first. Because this and all other graph modules have a dependency on it.
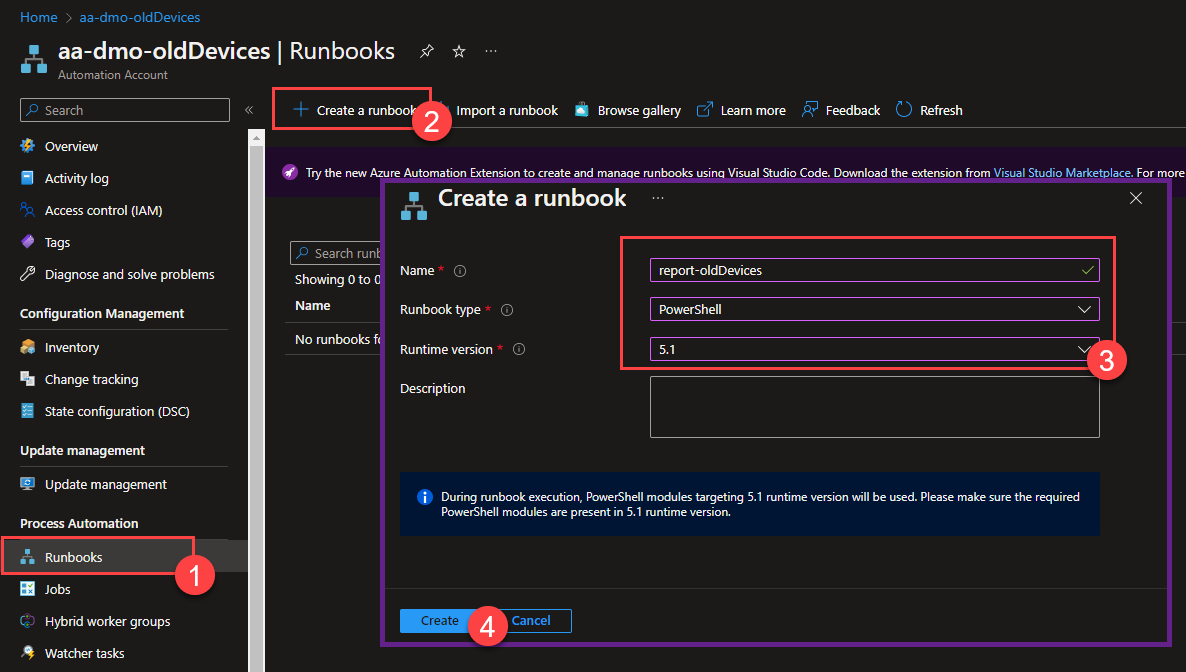
Insert script in Azure Automation
Now we have all the requirements to store and test the script on Azure.
In Azure you now add it in your "Automation account" under "run book" added:
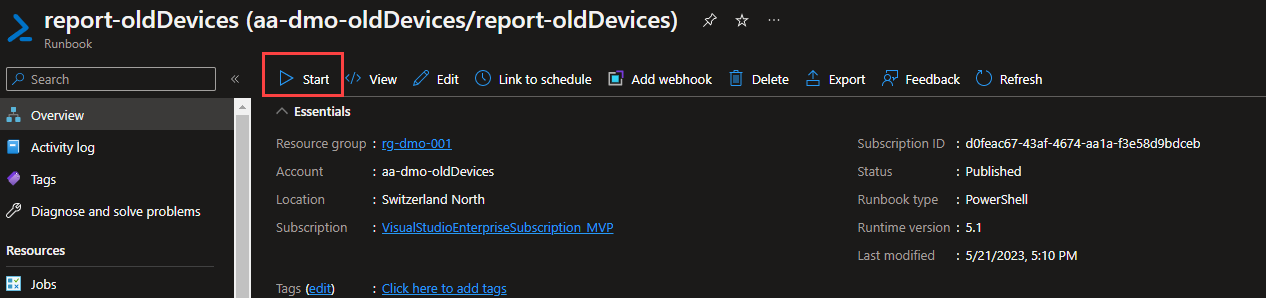
Once this is created, you can paste the content of the script you customized with the URL of the webhook and save and publish the runbook:

To test, you can then simply press "Start" on the overview and after a short time (if there are old devices in your area) you should receive a team message:

Recap
An Azure Automation, which authenticates itself via Managed Identity, is an excellent and secure option for your automations. One of the biggest advantages compared to authentications with an app secret, for example, is that the managed identity does not expire. As long as the Azure resource exists, authentication from it will also work. Another plus, the authentication cannot be transferred or used on another system.