
With the Proactive Remediation scripts, the Endpoint Manager offers an excellent way to counteract problems proactively or to carry out tasks at intervals. Unfortunately, the function is only available with an Enterprise license (Windows 10/11 E3/5 A3/5).
Since I take care of many environments that are licensed with "Microsoft 365 Business Premium", I have built a script "Proactive Remediation for Business". With this I can cover most of the functionalities that the Proactive Remediations offer us.
Table of Contents
- Explanation
- Preparation
- Proactive Remediation, create win32 app
- Proactive Remediation, update win32 app
Explanation
The script creates a scheduled task that takes over the function of the interval of the "Proactive Remediation" function. For the task I have included the functions "Once", "Hourly", "Daily" and "AtLogon". Depending on which trigger you choose, you can also define the interval more precisely.
You can choose in the distribution whether the task should be executed as a user or as a system. Both are supported.
You can make the definition in the upper area of the installation script (install.ps1):
##########################################################################
#   Recurence Data
##########################################################################

$Schedule_Frequency = "Daily"       # Once, Hourly, Daily, AtLogon
$Schedule_RepeatInterval = "7"      # Number            (for Daily and Hourly)
$Schedule_StartDate = "2023-01-30"  # YYYY.MM.DD        (for Once)
$Schedule_StartTime = "8am"		# ex 8am / 5pm		(for Once, Hourly, Daily)
Code language: PowerShell (powershell)
If you distribute the script, it creates the task as defined by you and stores the detection and remediation script locally on the device. It also saves itself in the same folder with the specified package name.
If the script is then triggered by the scheduled task, it notices that a task already exists and triggers the detection script (detection.ps1). If this detects something, the remediation script (remediation.ps1) is also executed.
Preparation
For the example here I use a "Proactive Remediation" logic, which detects and deletes duplicate shortcuts such as "Teams - Copy.lnk" on the desktop.
If you now want to distribute your own detection and remediation, you must adapt the following passages in the script and package:
| $PackageName | Here you give the package a name. This is used for the log, the scheduled task and for the name of the script on the device. So make sure you choose a unique name. This is especially important if you want to distribute multiple packages. |
| $Version | The version allows you to update the package later. |
| Recurence Data | You define the interval or the trigger in the upper part of the script, as already shown in the explanation. |
| detection.ps1 | You can replace this file with your detection script. It is important that it is terminated with exit code 1 if it is detected. |
| remediation.ps1 | You also exchange this file. This time with your remediation logic. |
| check.ps1 | You only have to adjust the version of this file for an update. |
You do not have to make any further adjustments in the script or the package. An additional adjustment is only necessary if you want to distribute a new version. You then have to increase the version number in the second line in "install.ps1" and "check.ps1".
Proactive Remediation, create win32 app
Once you have completed the preparations according to the step above, you only have to convert the package into an "Intunewin" file and enter it in the Endpoint Manager / Intune.
Here are instructions for creating the "Intunewin" file: Create Win32 App / .intunewin
If you have the file, you can use the Endpoint Manager under «Apps > Windows apps» create a Win32 app and upload the file. Give the package a meaningful name, description, and publisher:

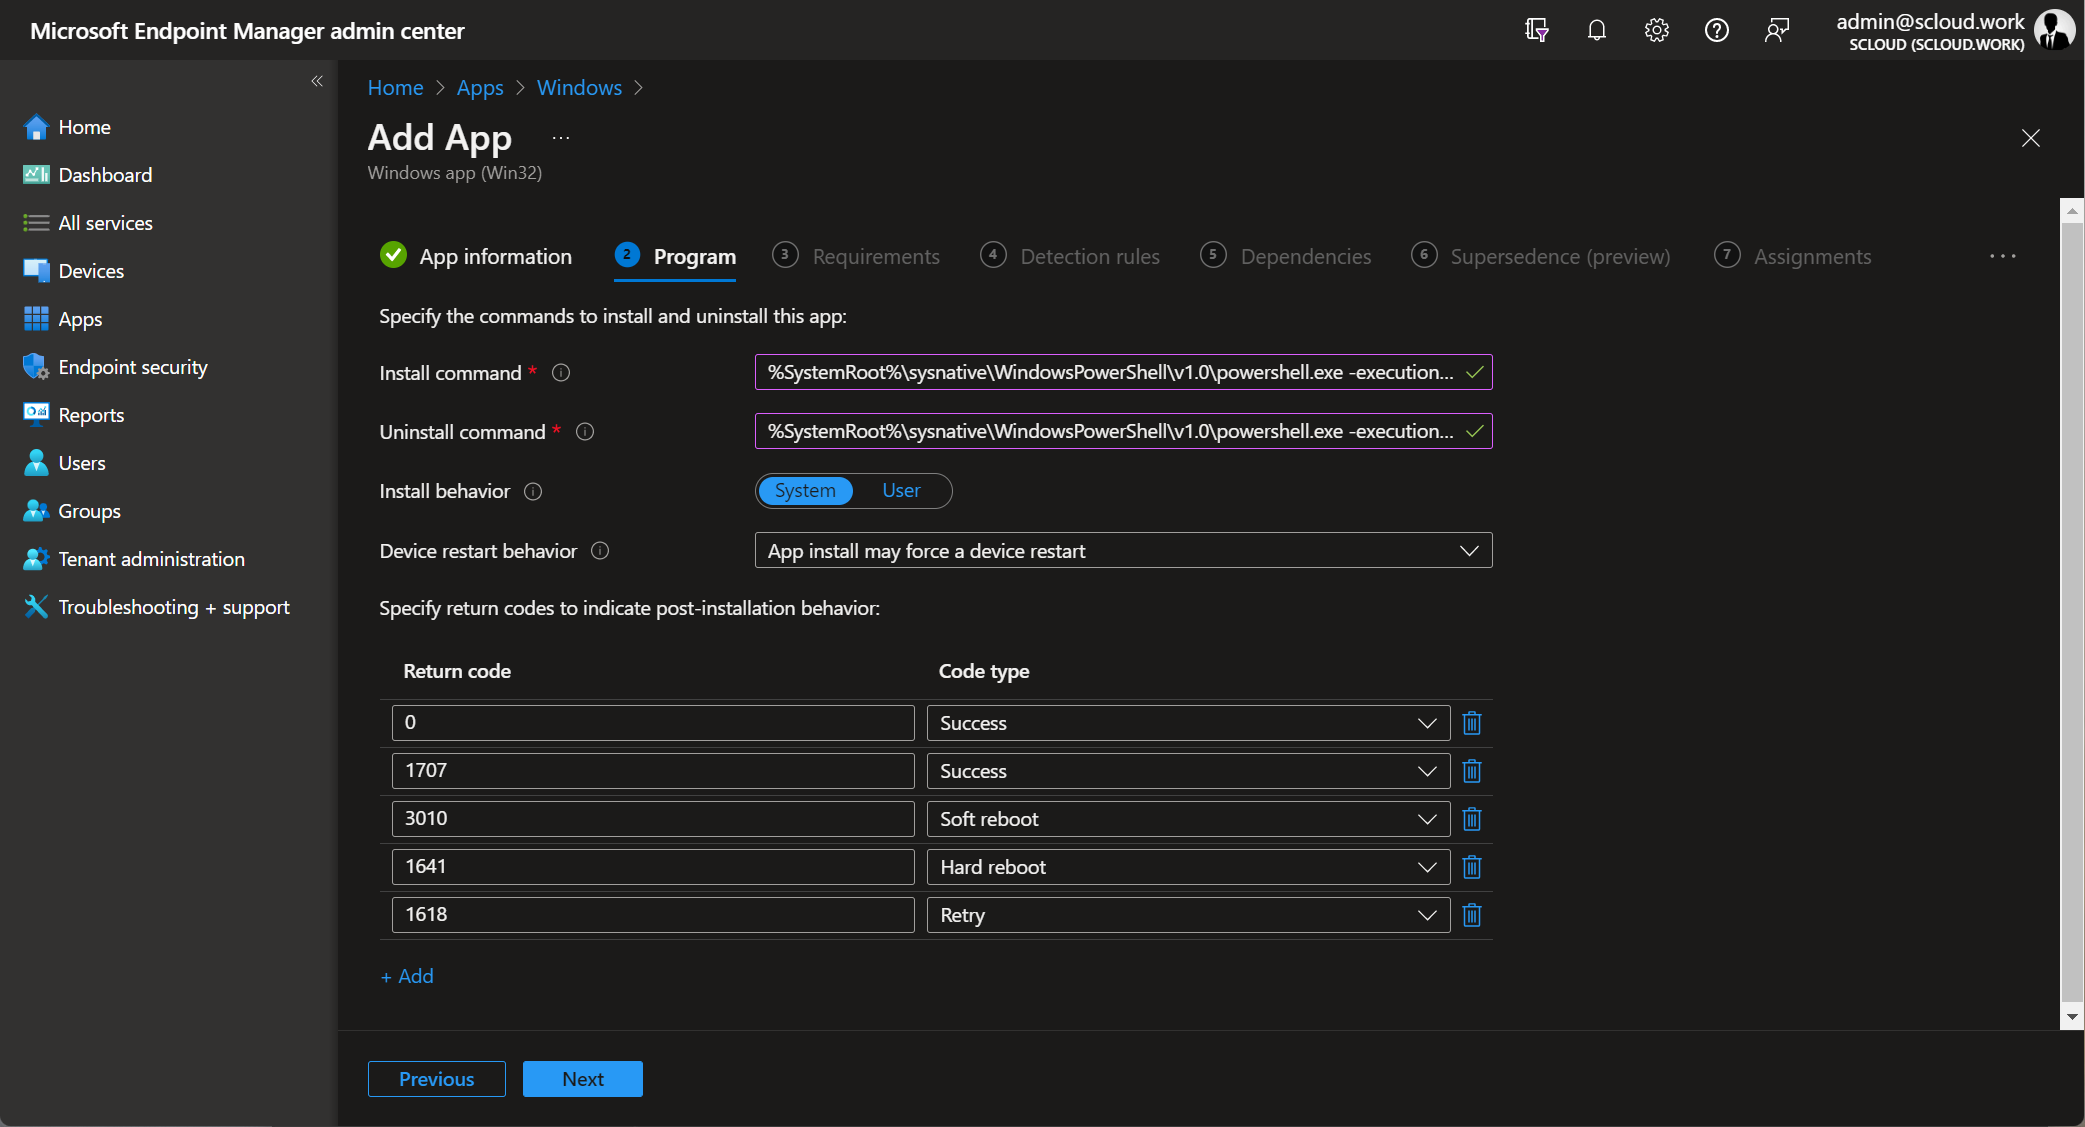
In the program settings you can set the run as "system" or "user" choose this depending on the requirements of your detection. You can always enter the following as installation and uninstallation commands.
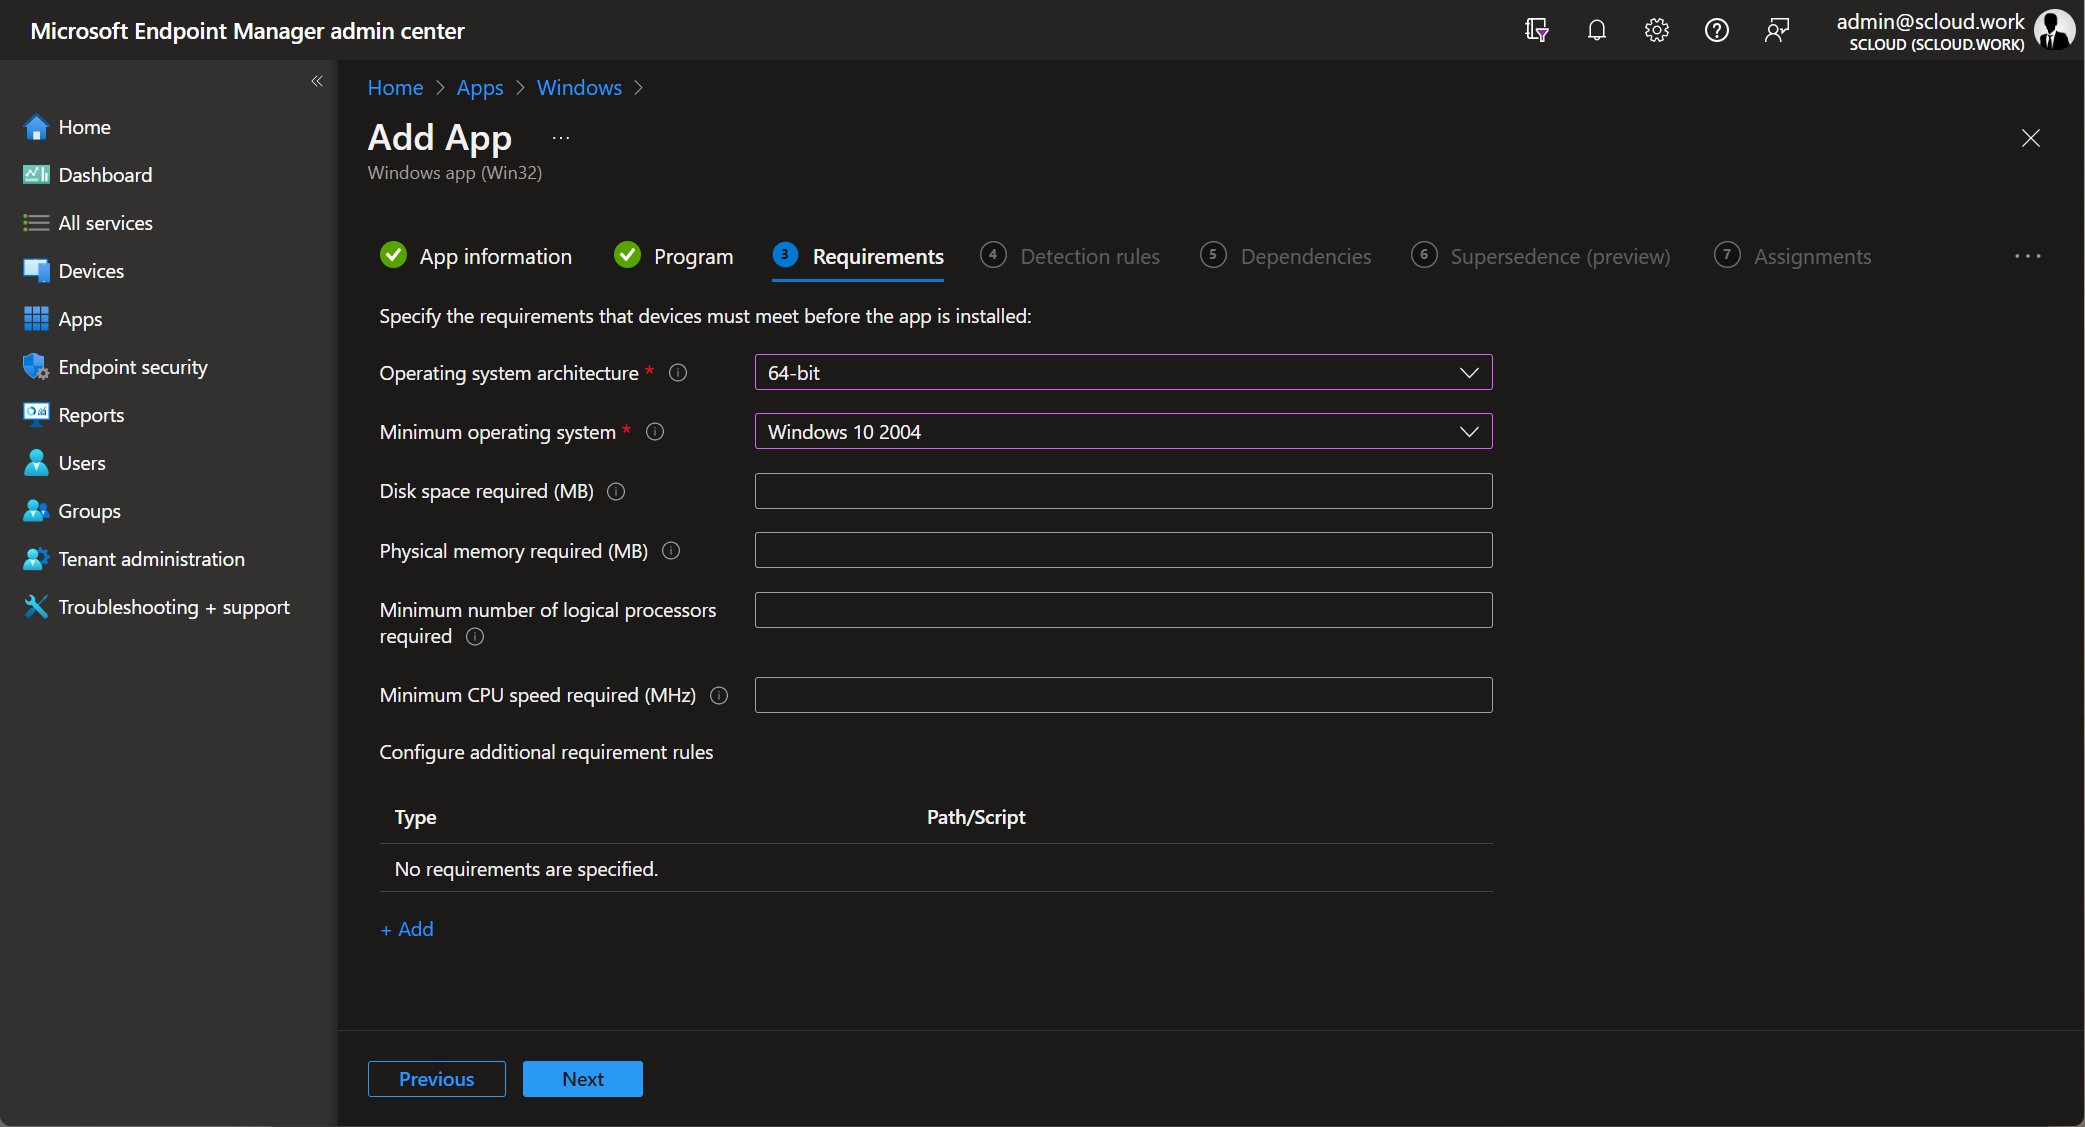
The requirements in the next step are not very relevant, but they must be set.
| Install command | %SystemRoot%\sysnative\WindowsPowerShell\v1.0\powershell.exe -windowstyle hidden -executionpolicy bypass -command .\install.ps1 |
| Uninstall command | %SystemRoot%\sysnative\WindowsPowerShell\v1.0\powershell.exe -windowstyle hidden -executionpolicy bypass -command .\uninstall.ps1 |
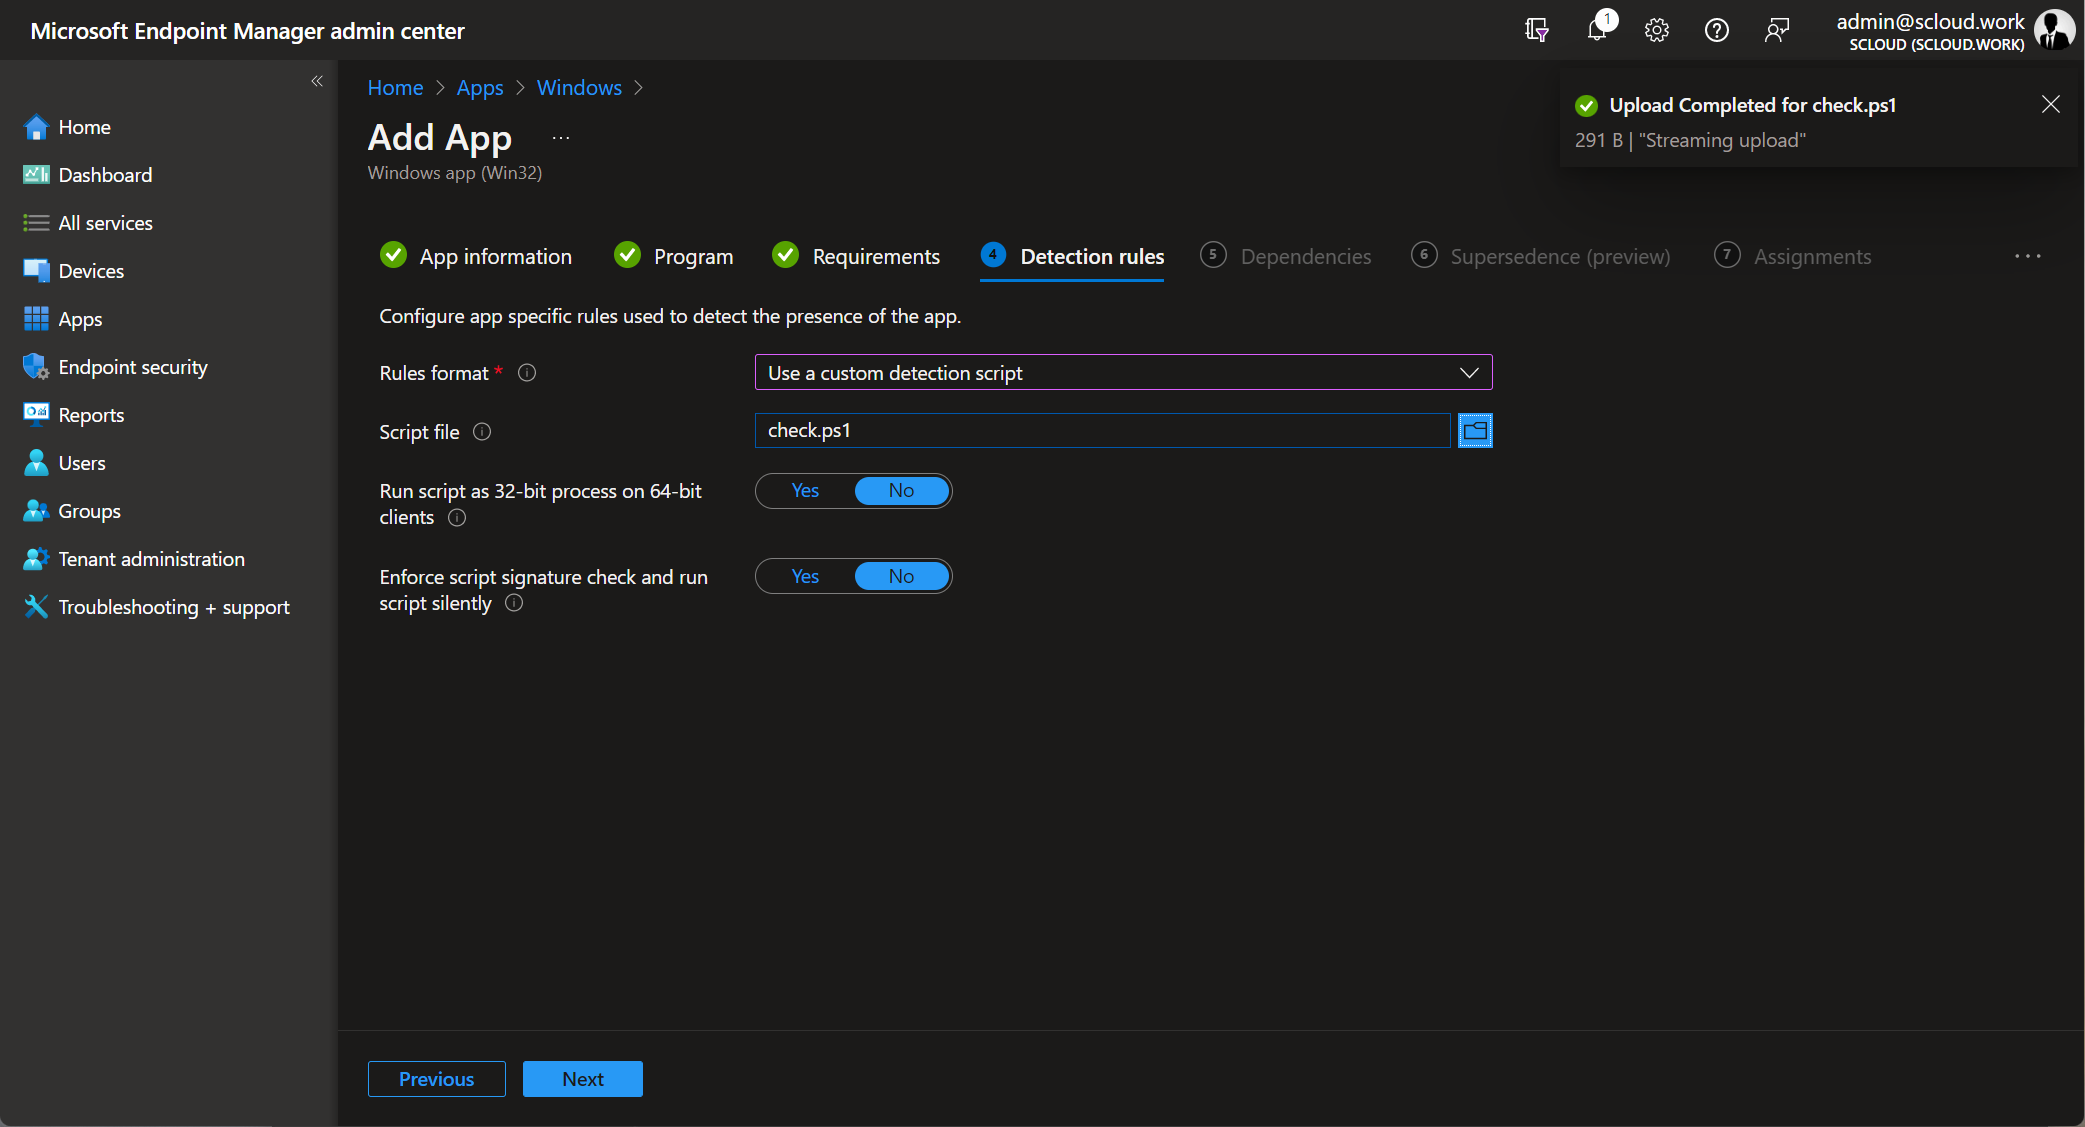
As the detection rule, select the "check.ps1" file as the "custom detection script".
You can skip the dependencies and supersedence.
Finally, all you have to do is assign the app to a target group and wait for it to be installed.
Proactive Remediation, update win32 app
Have you already distributed an app and want to adjust either the interval of the check, the detection or remediation script?
You can easily do this by going through the same steps as for the initial creation.
But it is important that you adjust the version number. You have to do this in both "install.ps" and "check.ps1".
Once you have created the ".intunewin" file, you can upload it to the existing Win32 app in the Endpoint Manager. You can leave all the settings, just upload the new detection rule (check.ps1) and you're done.


Good morning, in your blog, you indicate that Proactive Remediation for Business only works with Windows 10 Enterprise licenses, is there a possibility that it works with Windows 10 Professional licenses?
The "Business" way is a separate blog and creates a Scheduled Taks, this you can use regardless the licence.
For the MEM integrated Proactive remediations you need one of the following licenses:
I don't actually see a scheduled task anywhere. Should I see this in Task Scheduler
You will only see it if you open "Task Scheduler" as an administrator.