Defender for Business for iOS Deployment - zero-touch
- Florian Salzmann
- Posted on 10 Feb, 2022
- Updated on 12 Jul, 2026
- 03 Mins read
- iOS / iPadOS,Microsoft 365,Security
Defender for Business protects iOS devices including a web filter, and it also checks the health state of the device - all with a zero-touch configuration! Central management is possible with Intune / MEM. Both MDM and MAM devices are supported.
For testing purposes or unmanaged devices, a device can also be configured manually.
Defender for iOS - Manual Installation
The Defender can also be installed individually and manually on an iOS device. For that you just have to download the app “Microsoft Defender Endpoint” from the App Store, sign in with a licensed user and confirm the VPN settings.
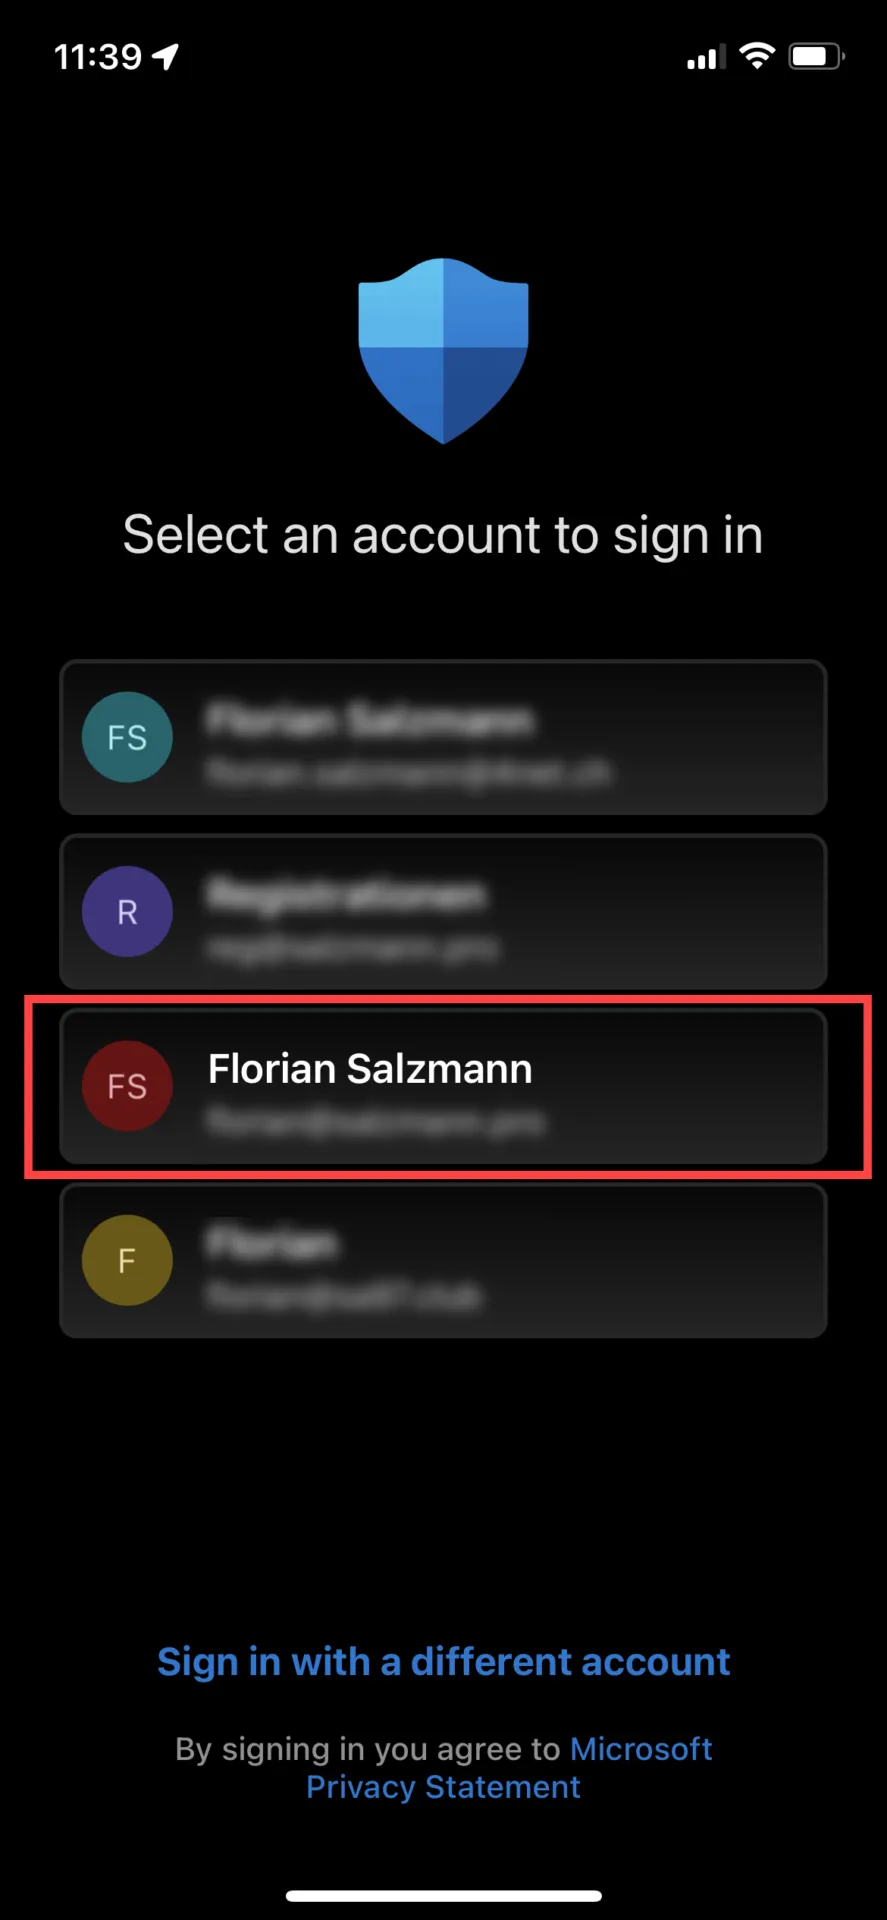
If you’re already signed in with a Microsoft 365 account on your iPad or iPhone, you can select it right away, or alternatively sign in with a different account.
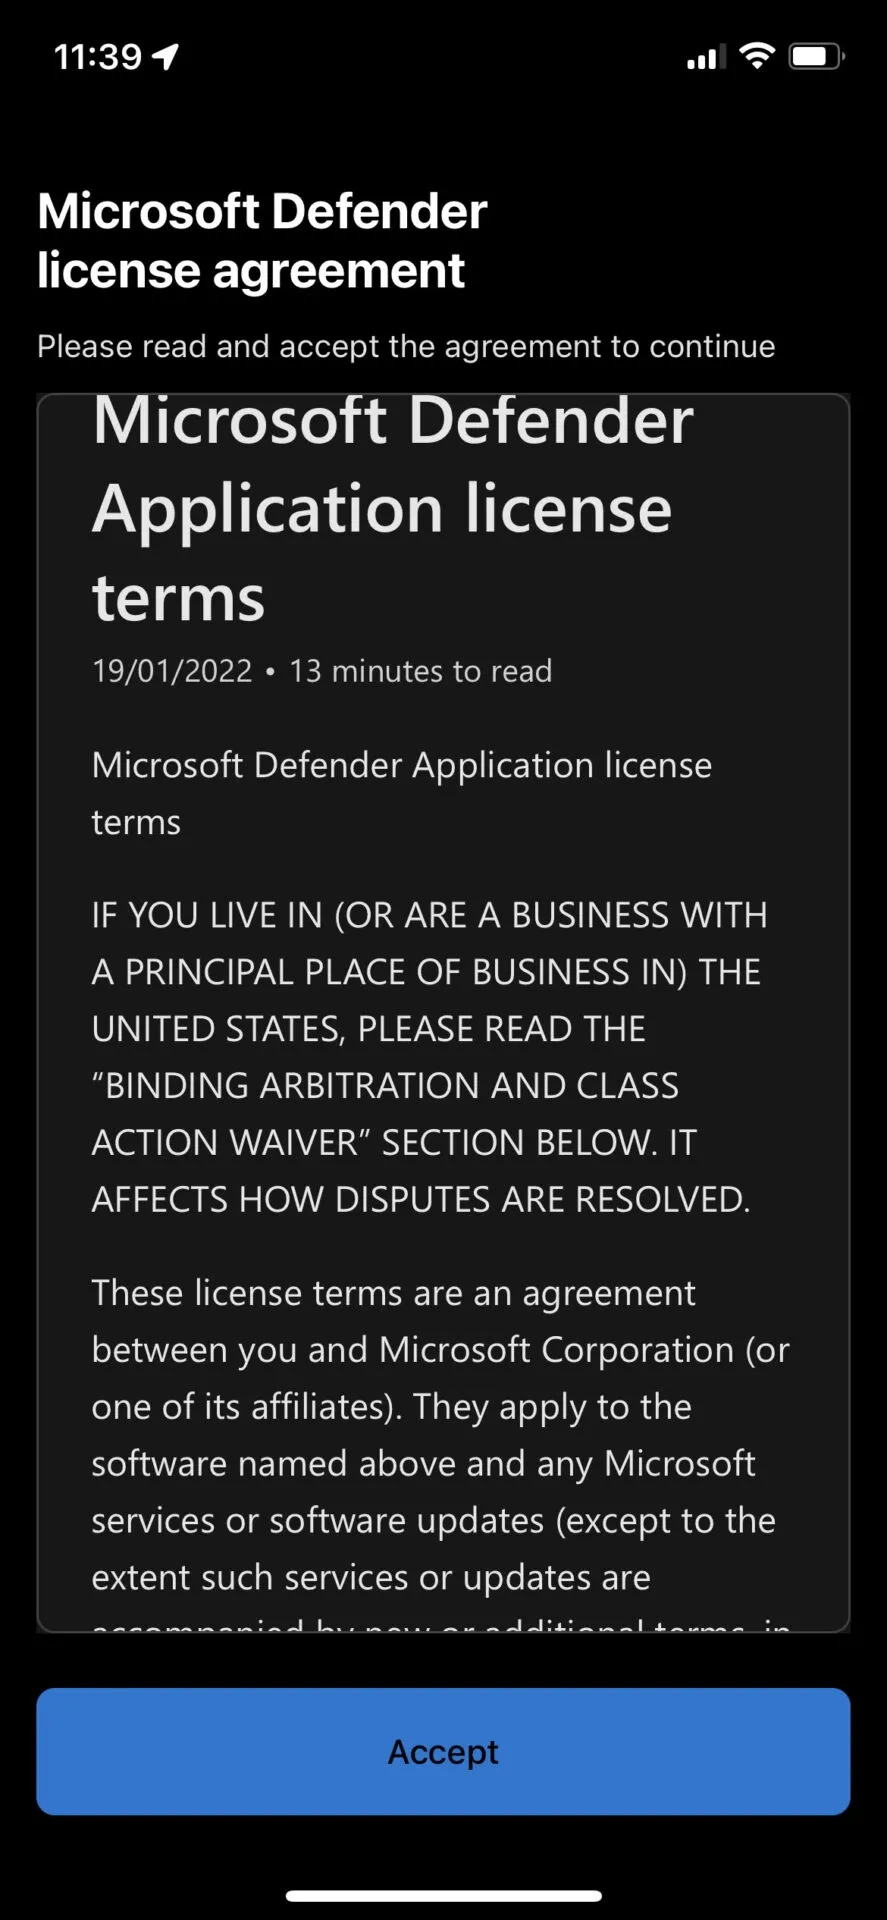
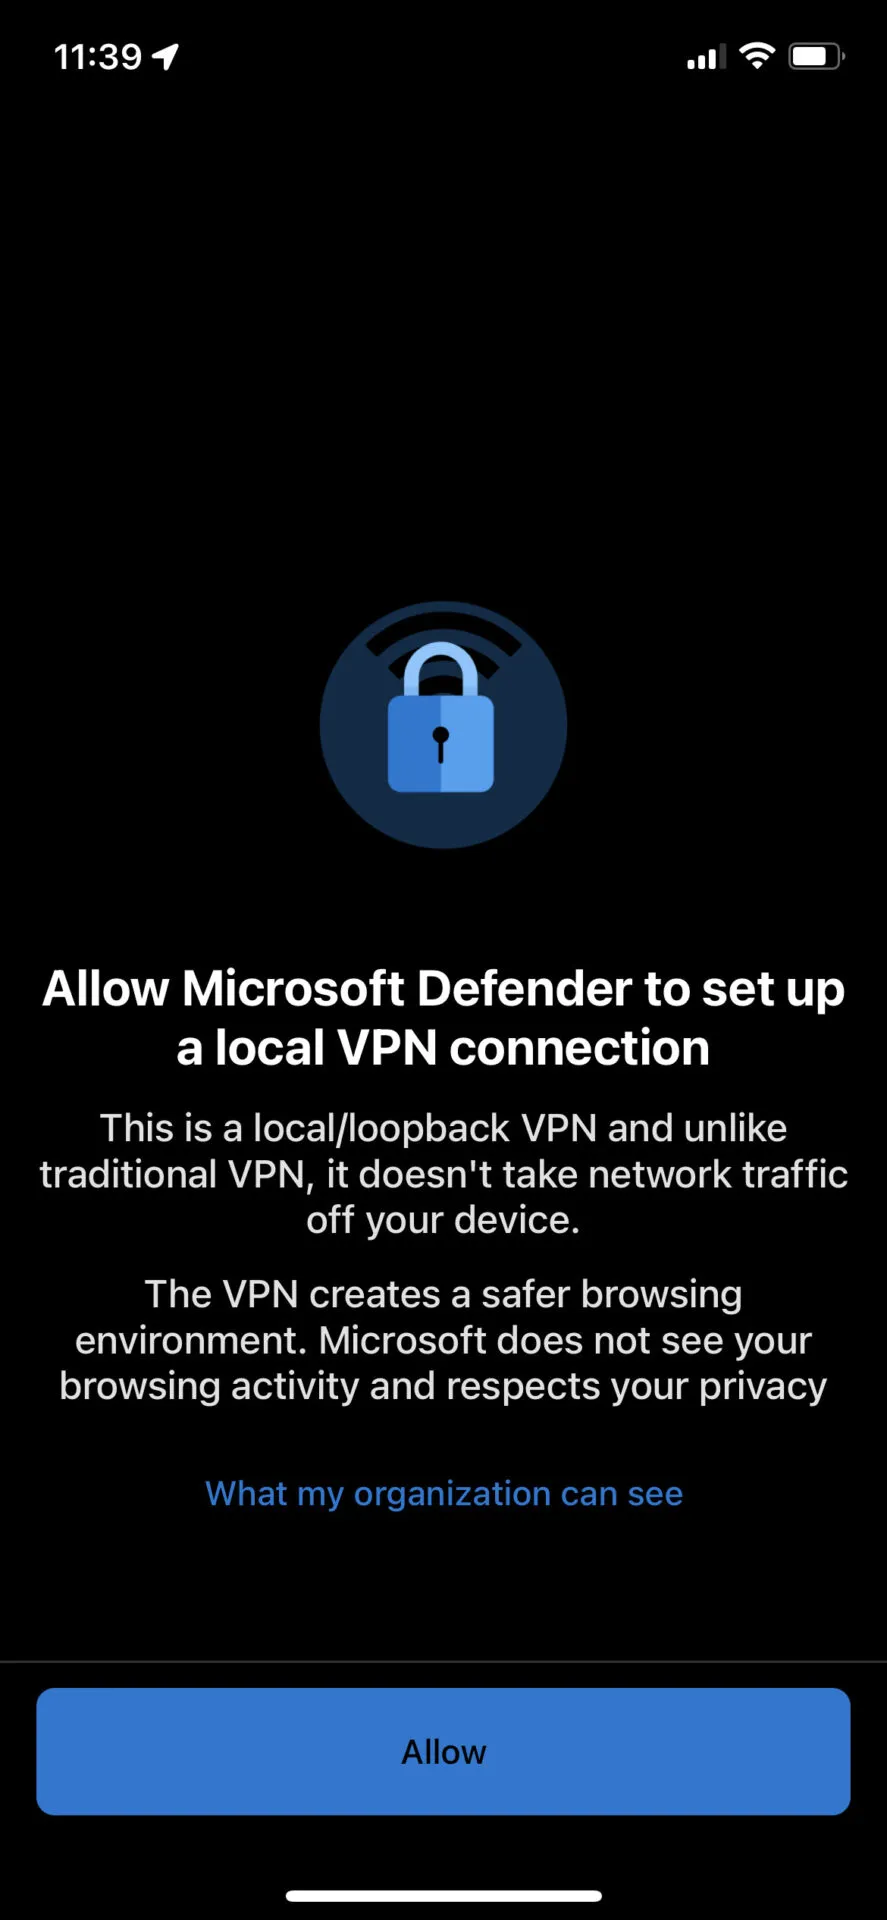
After the login you have to accept the license terms and configure the local VPN connection. The VPN connection is the interface between browser and applications on the device for the web filtering.
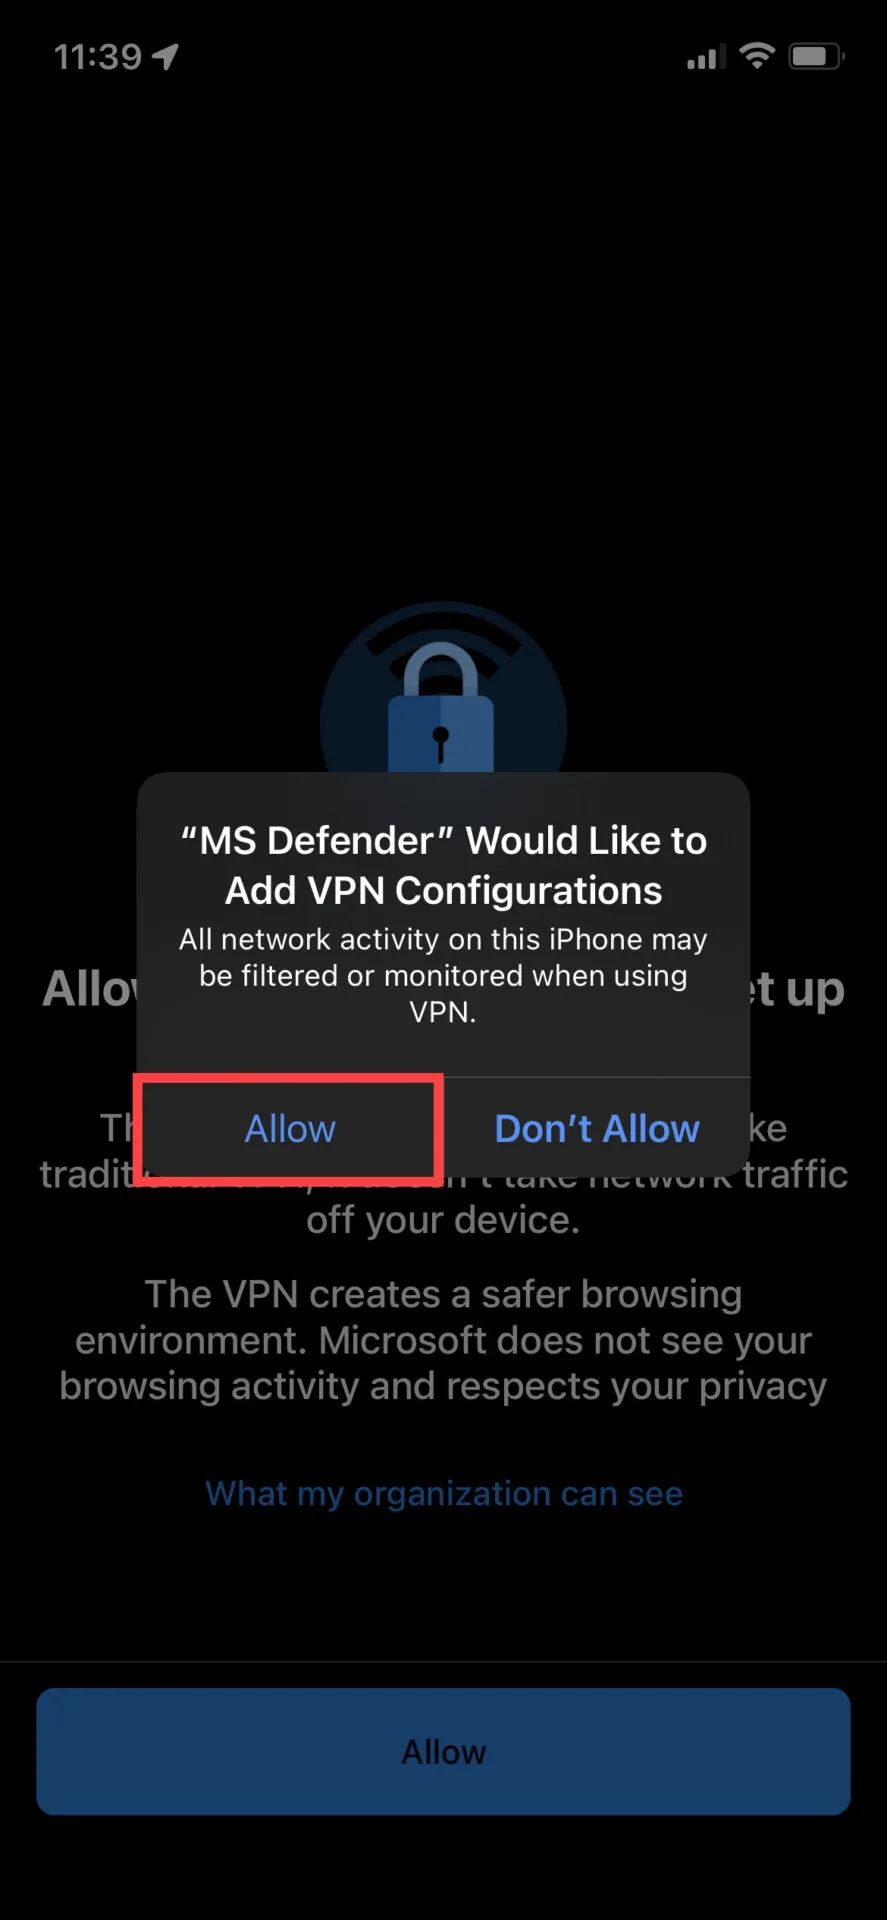
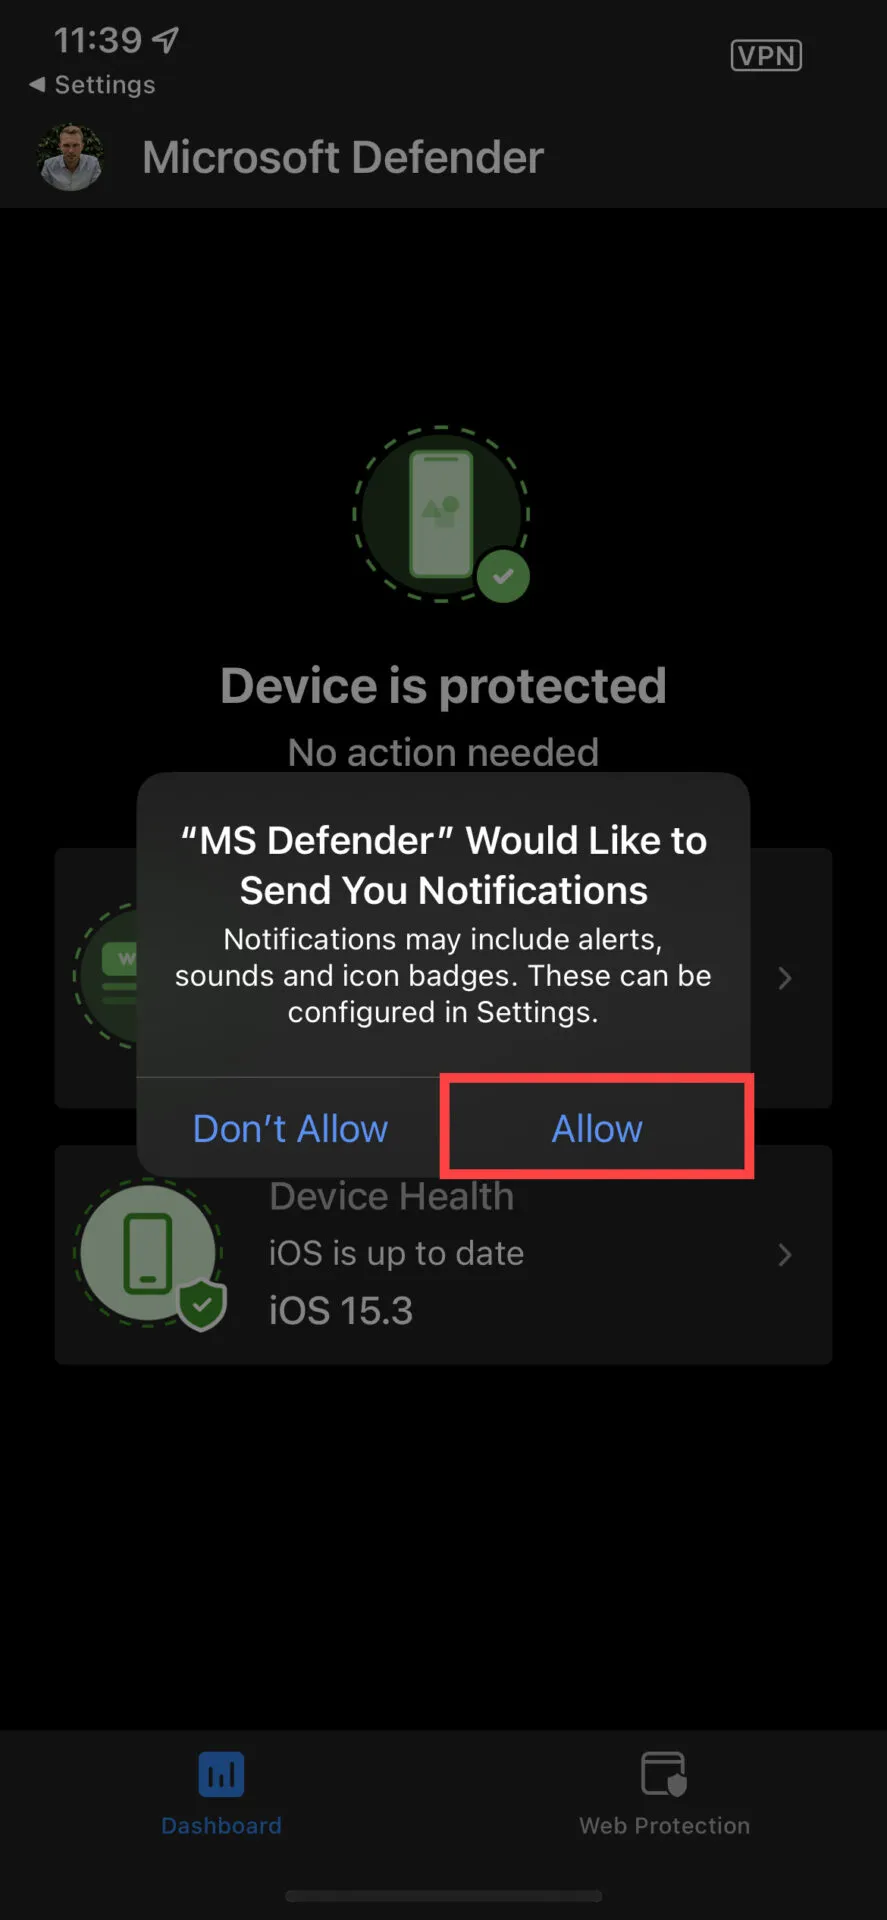
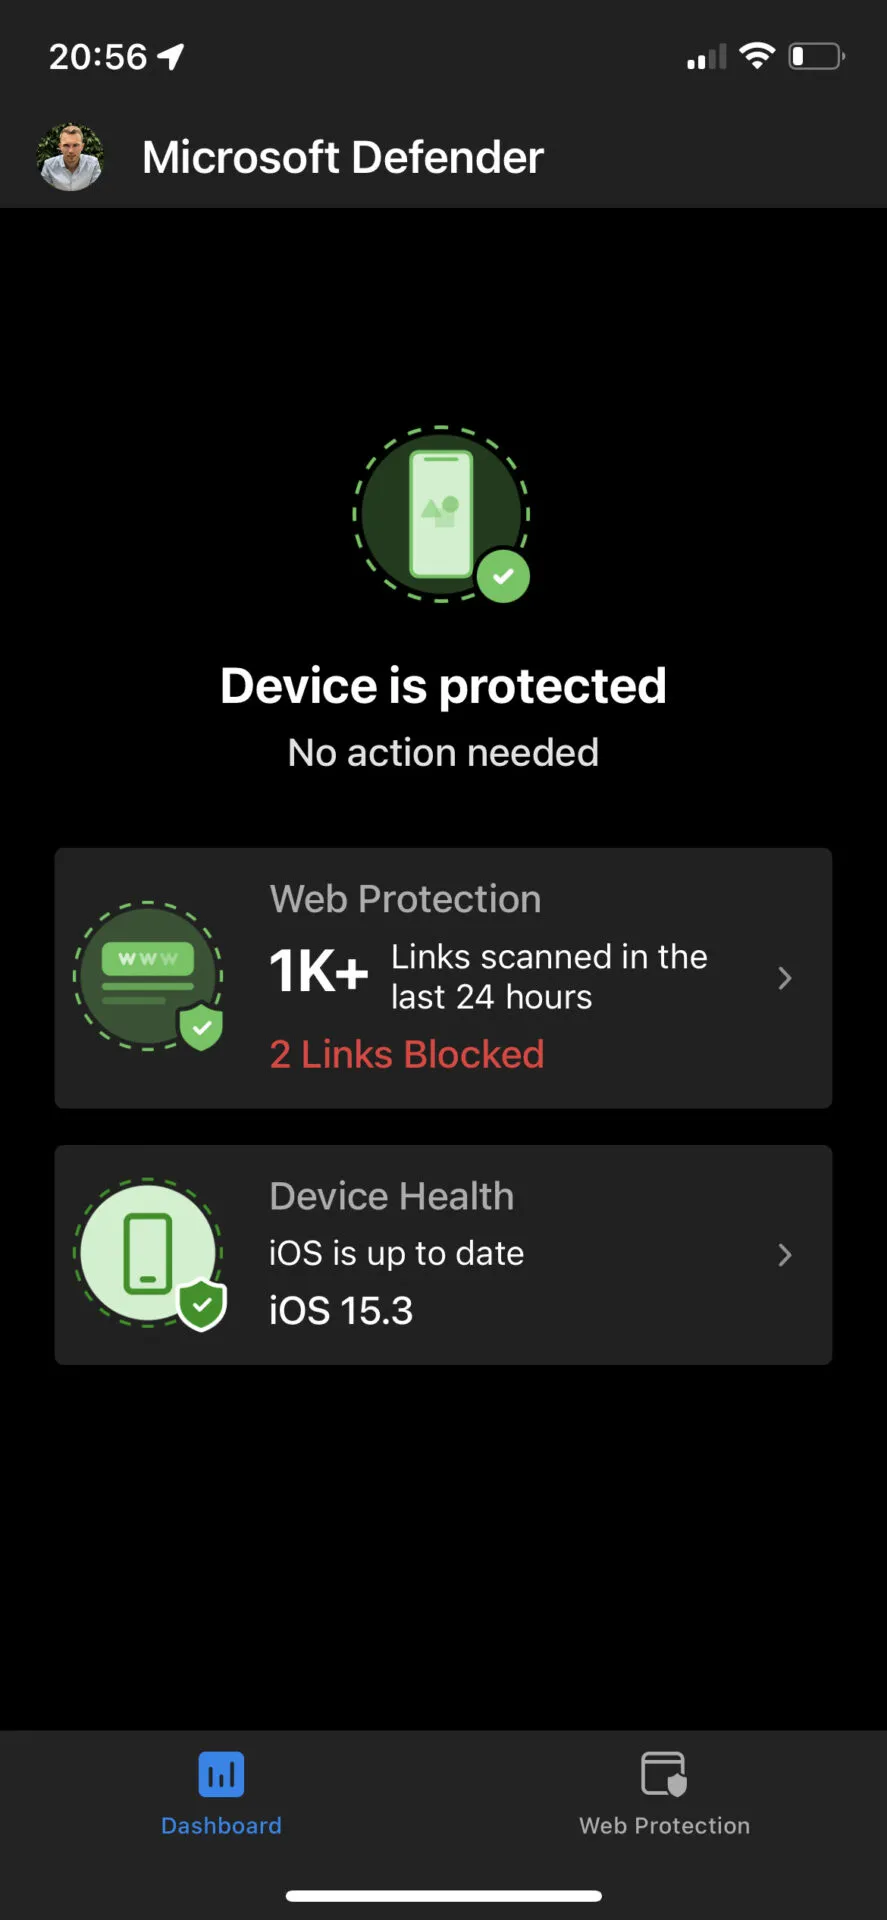
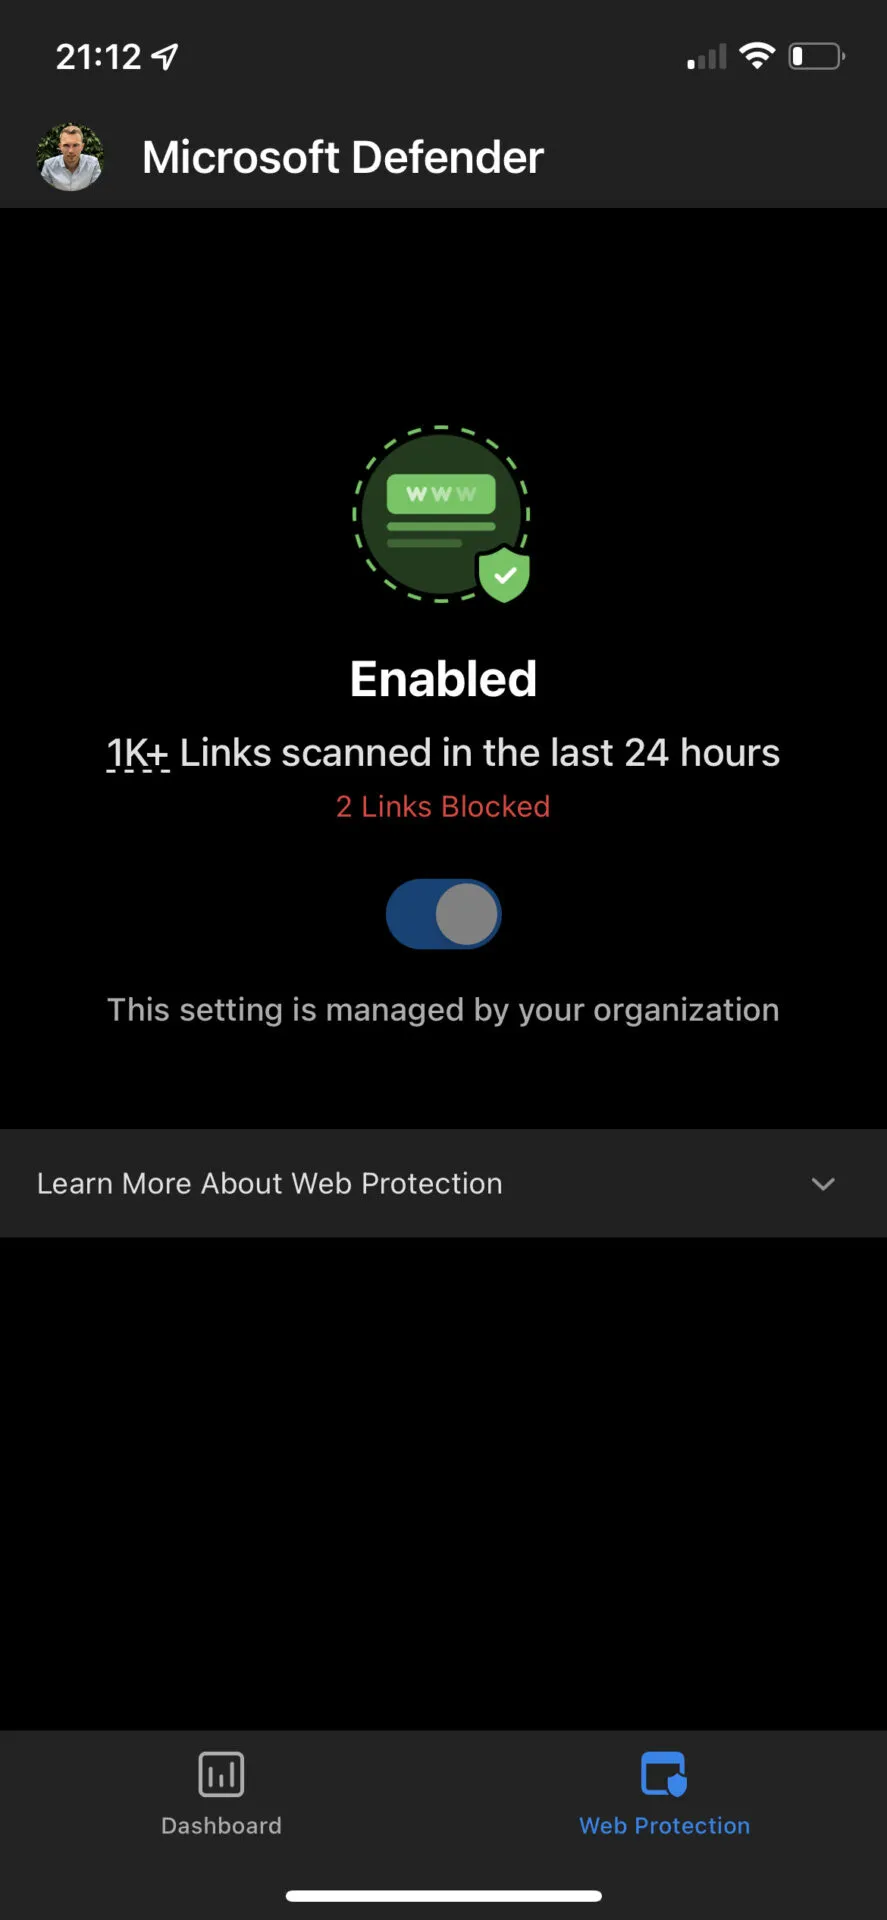
At the end you get shown an overview of the filtered websites and the device health state. You will also notice that a VPN connection is active.
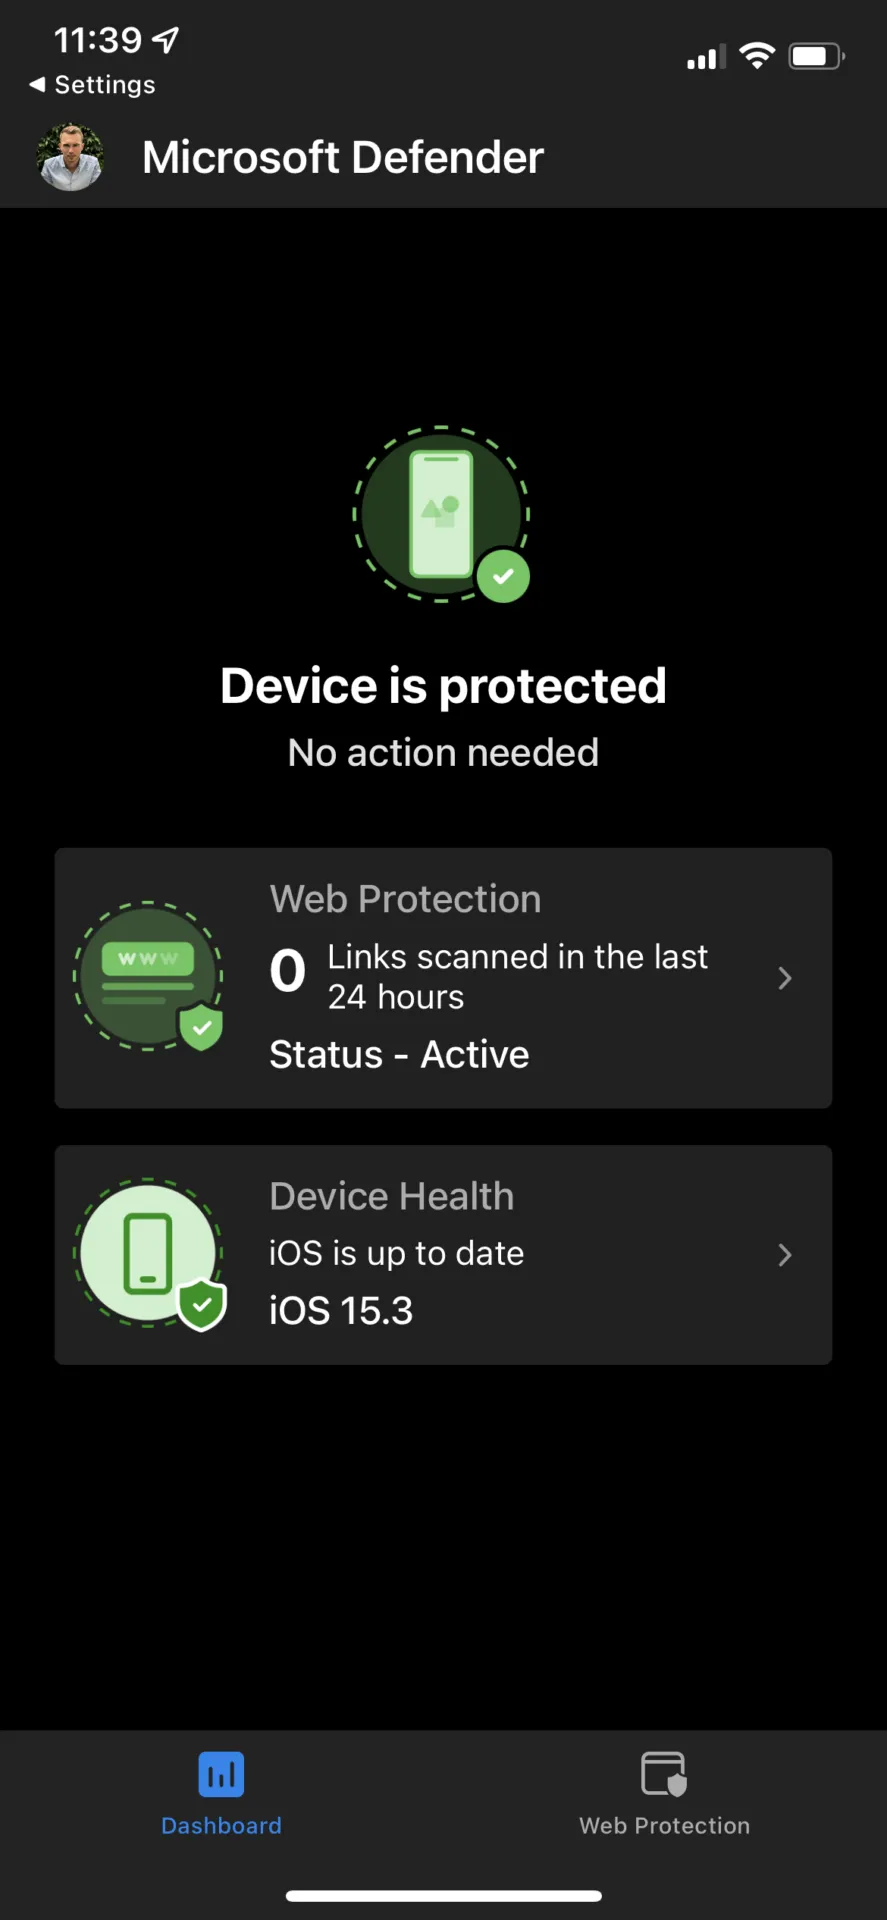
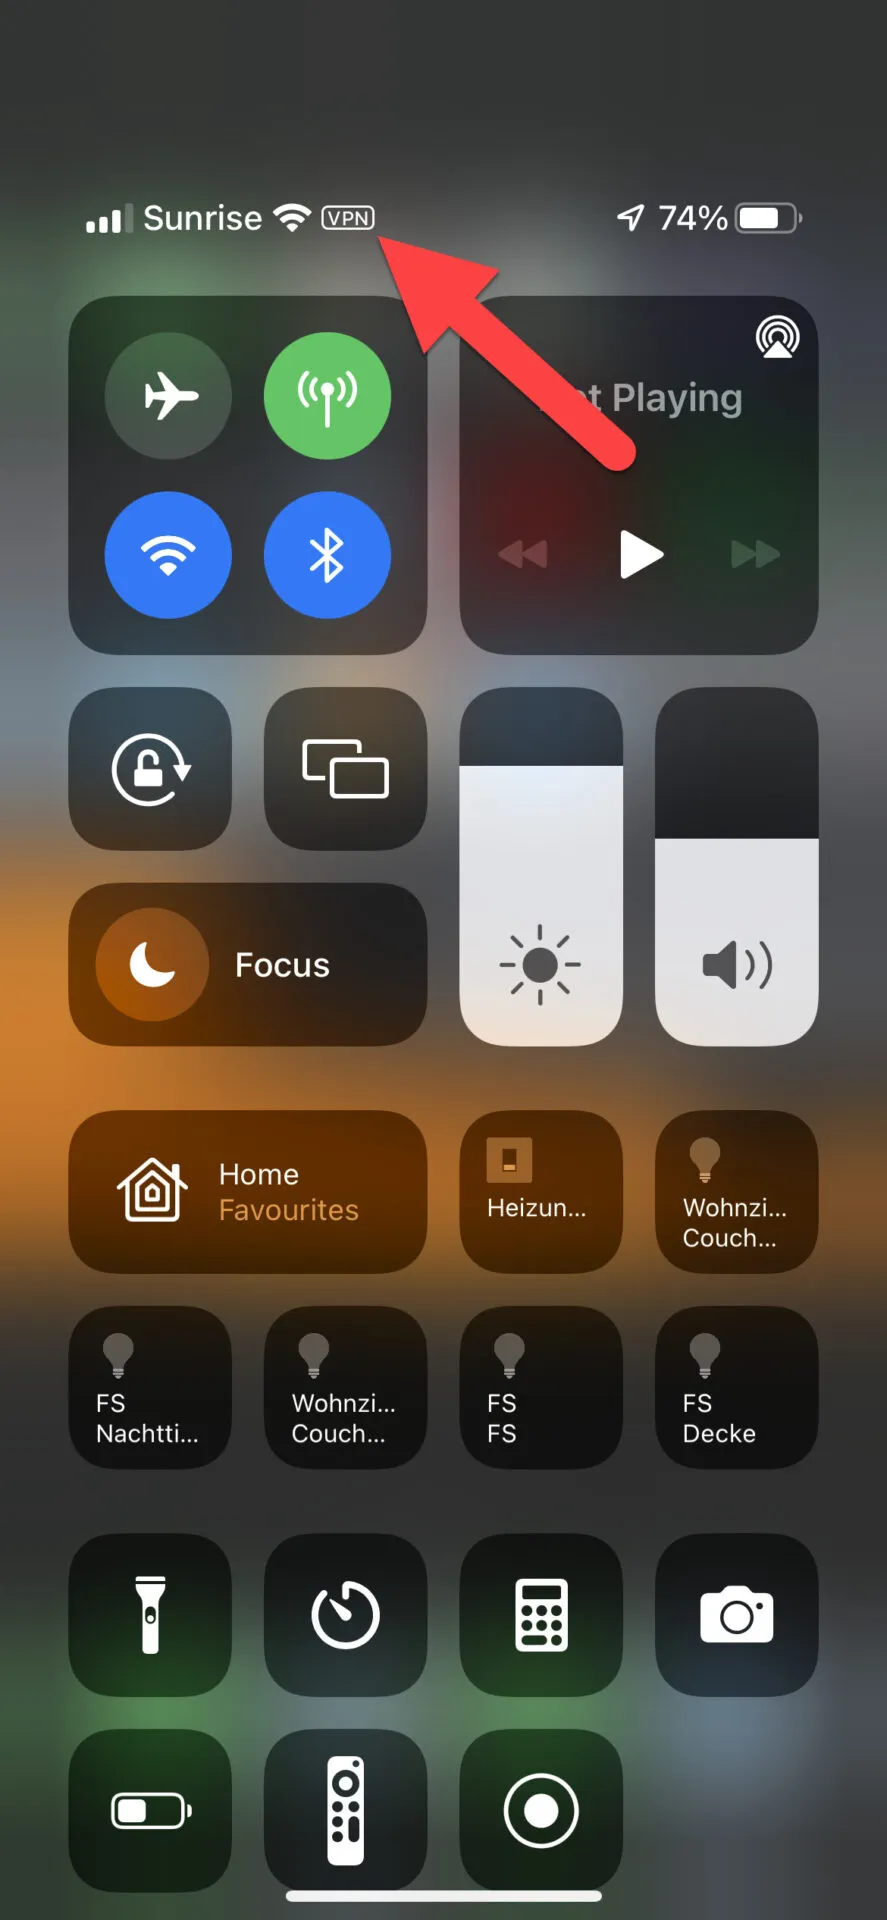
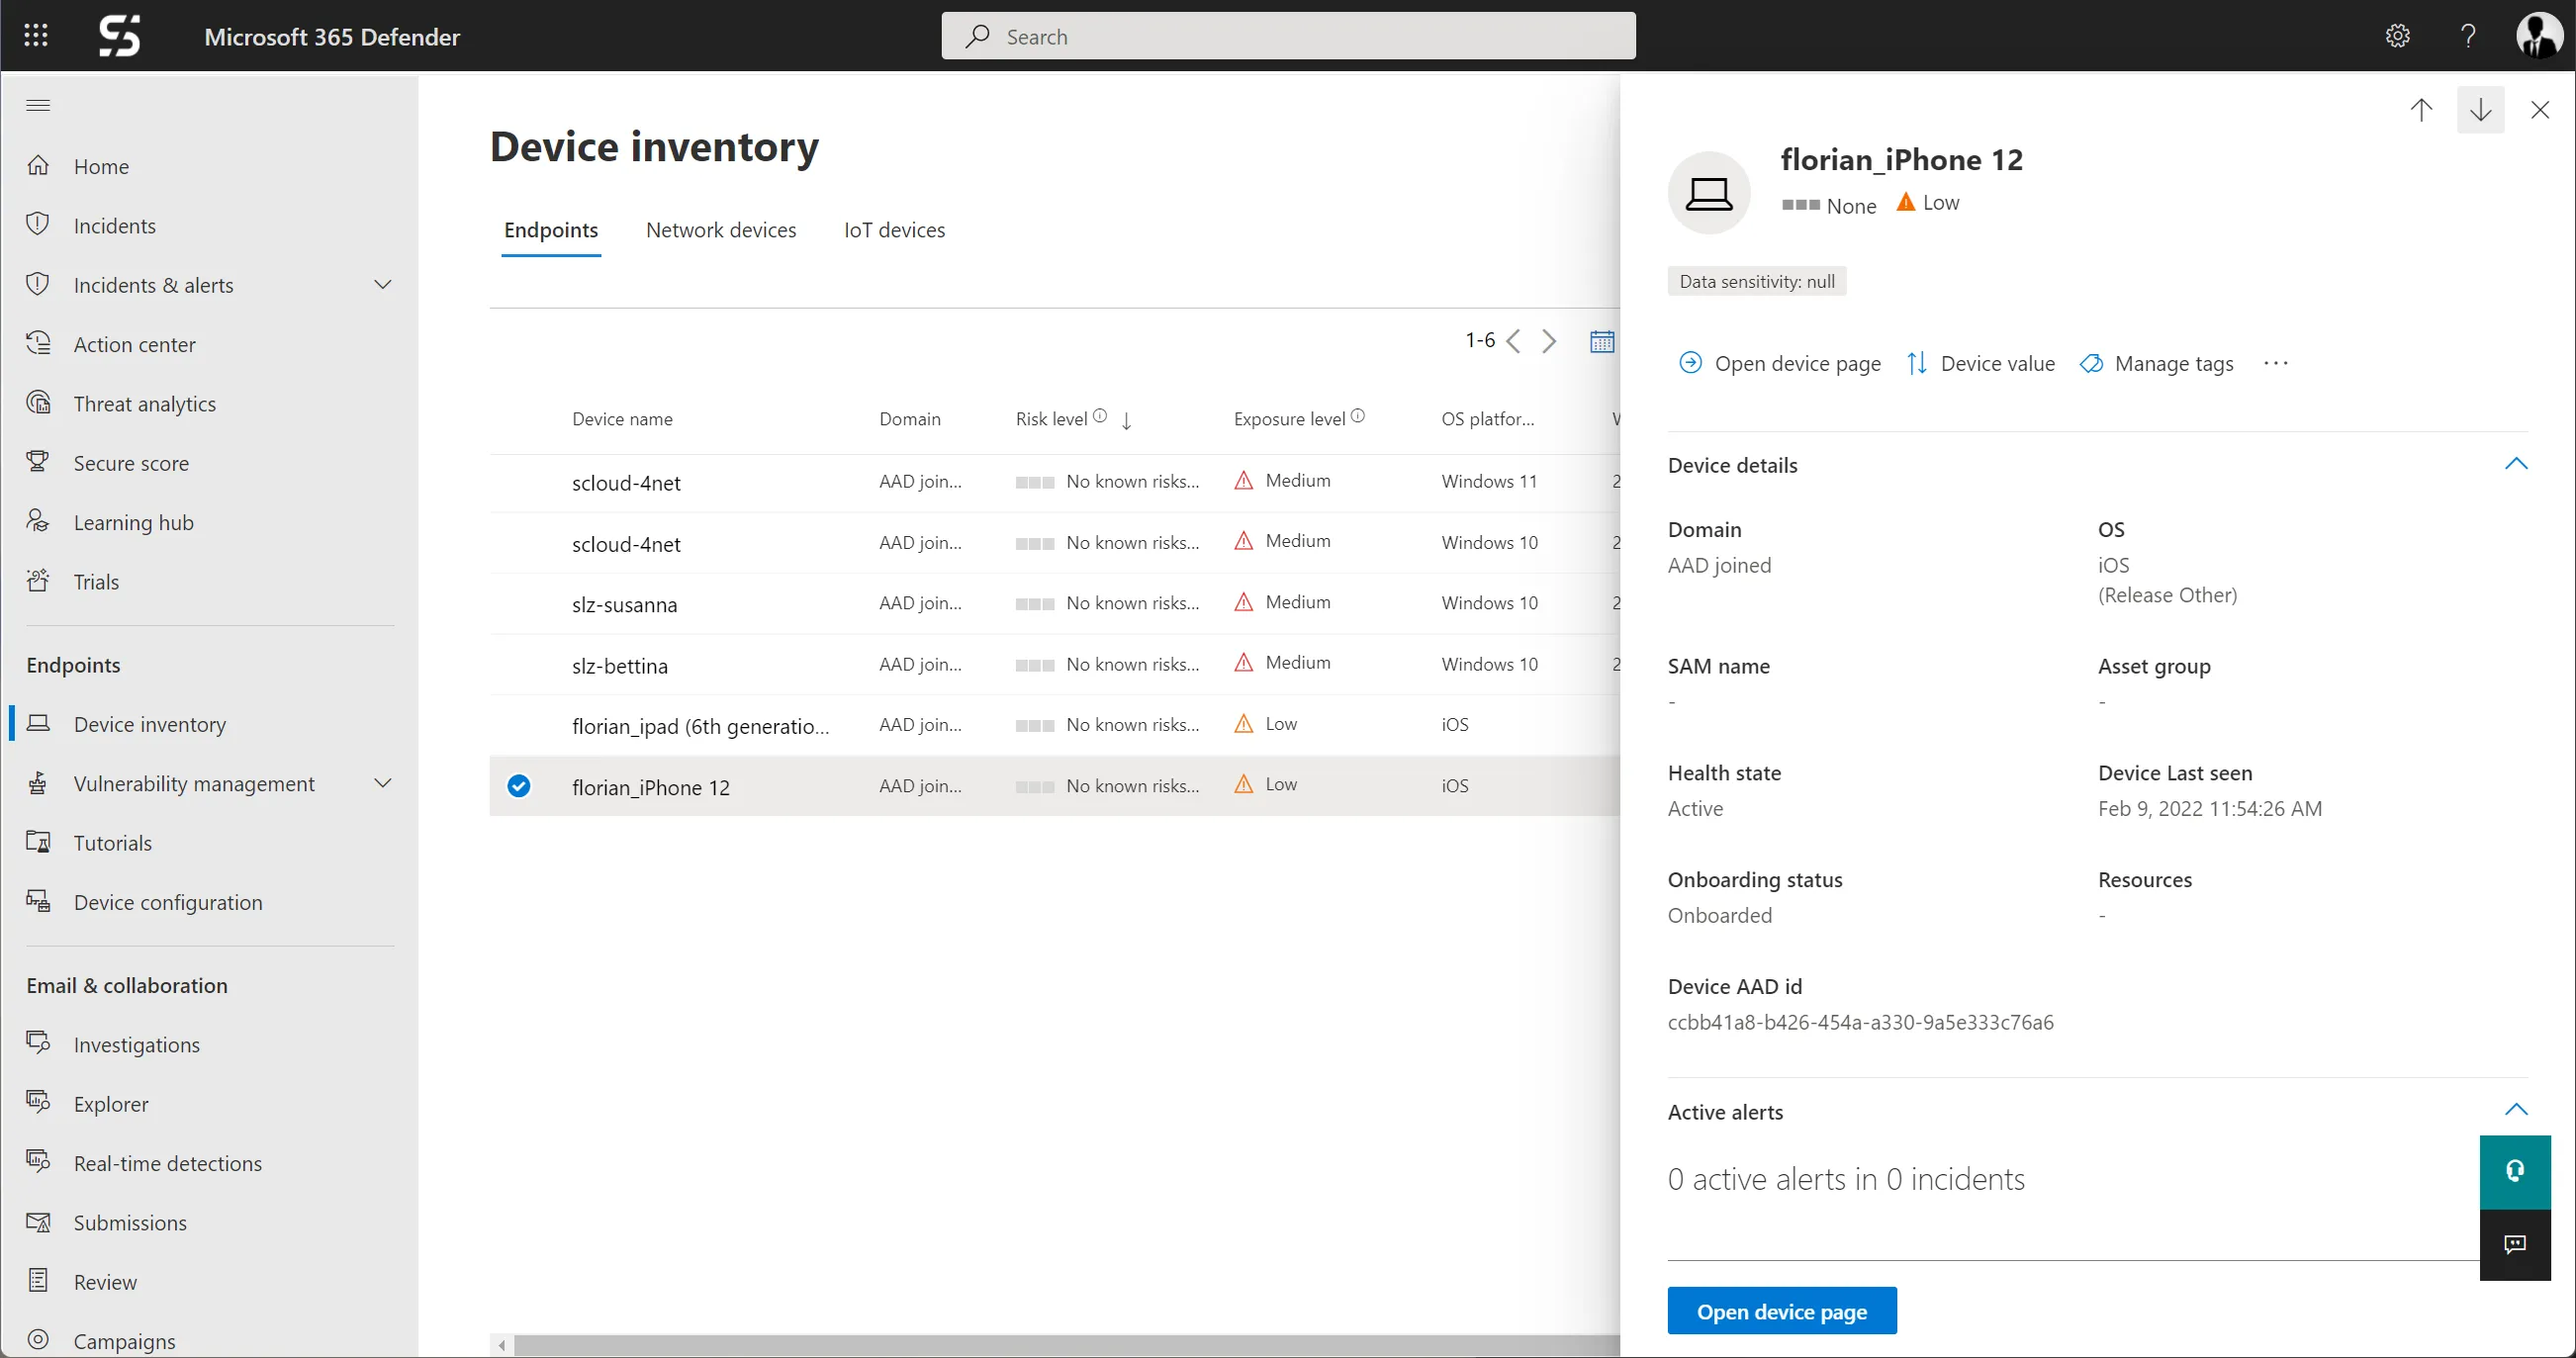
It takes a bit until the iPhone shows up in the device overview of Defender for Business respectively for Endpoint. In my case it was shown as “not onboarded” for about 3 hours, before it was correctly indexed.
Defender for iOS - Deployment with Intune (zero-touch)
Since recently, the deployment of Defender for Business and also Defender for Endpoint works “silent” and without much effort.
Requirements
- Licenses:
- Defender for Business or Endpoint and an Intune license assigned
- or Microsoft 365 Business Premium
- Device is enrolled in MEM / Intune with Company Portal
- iOS 12+
Defender - Intune Integration
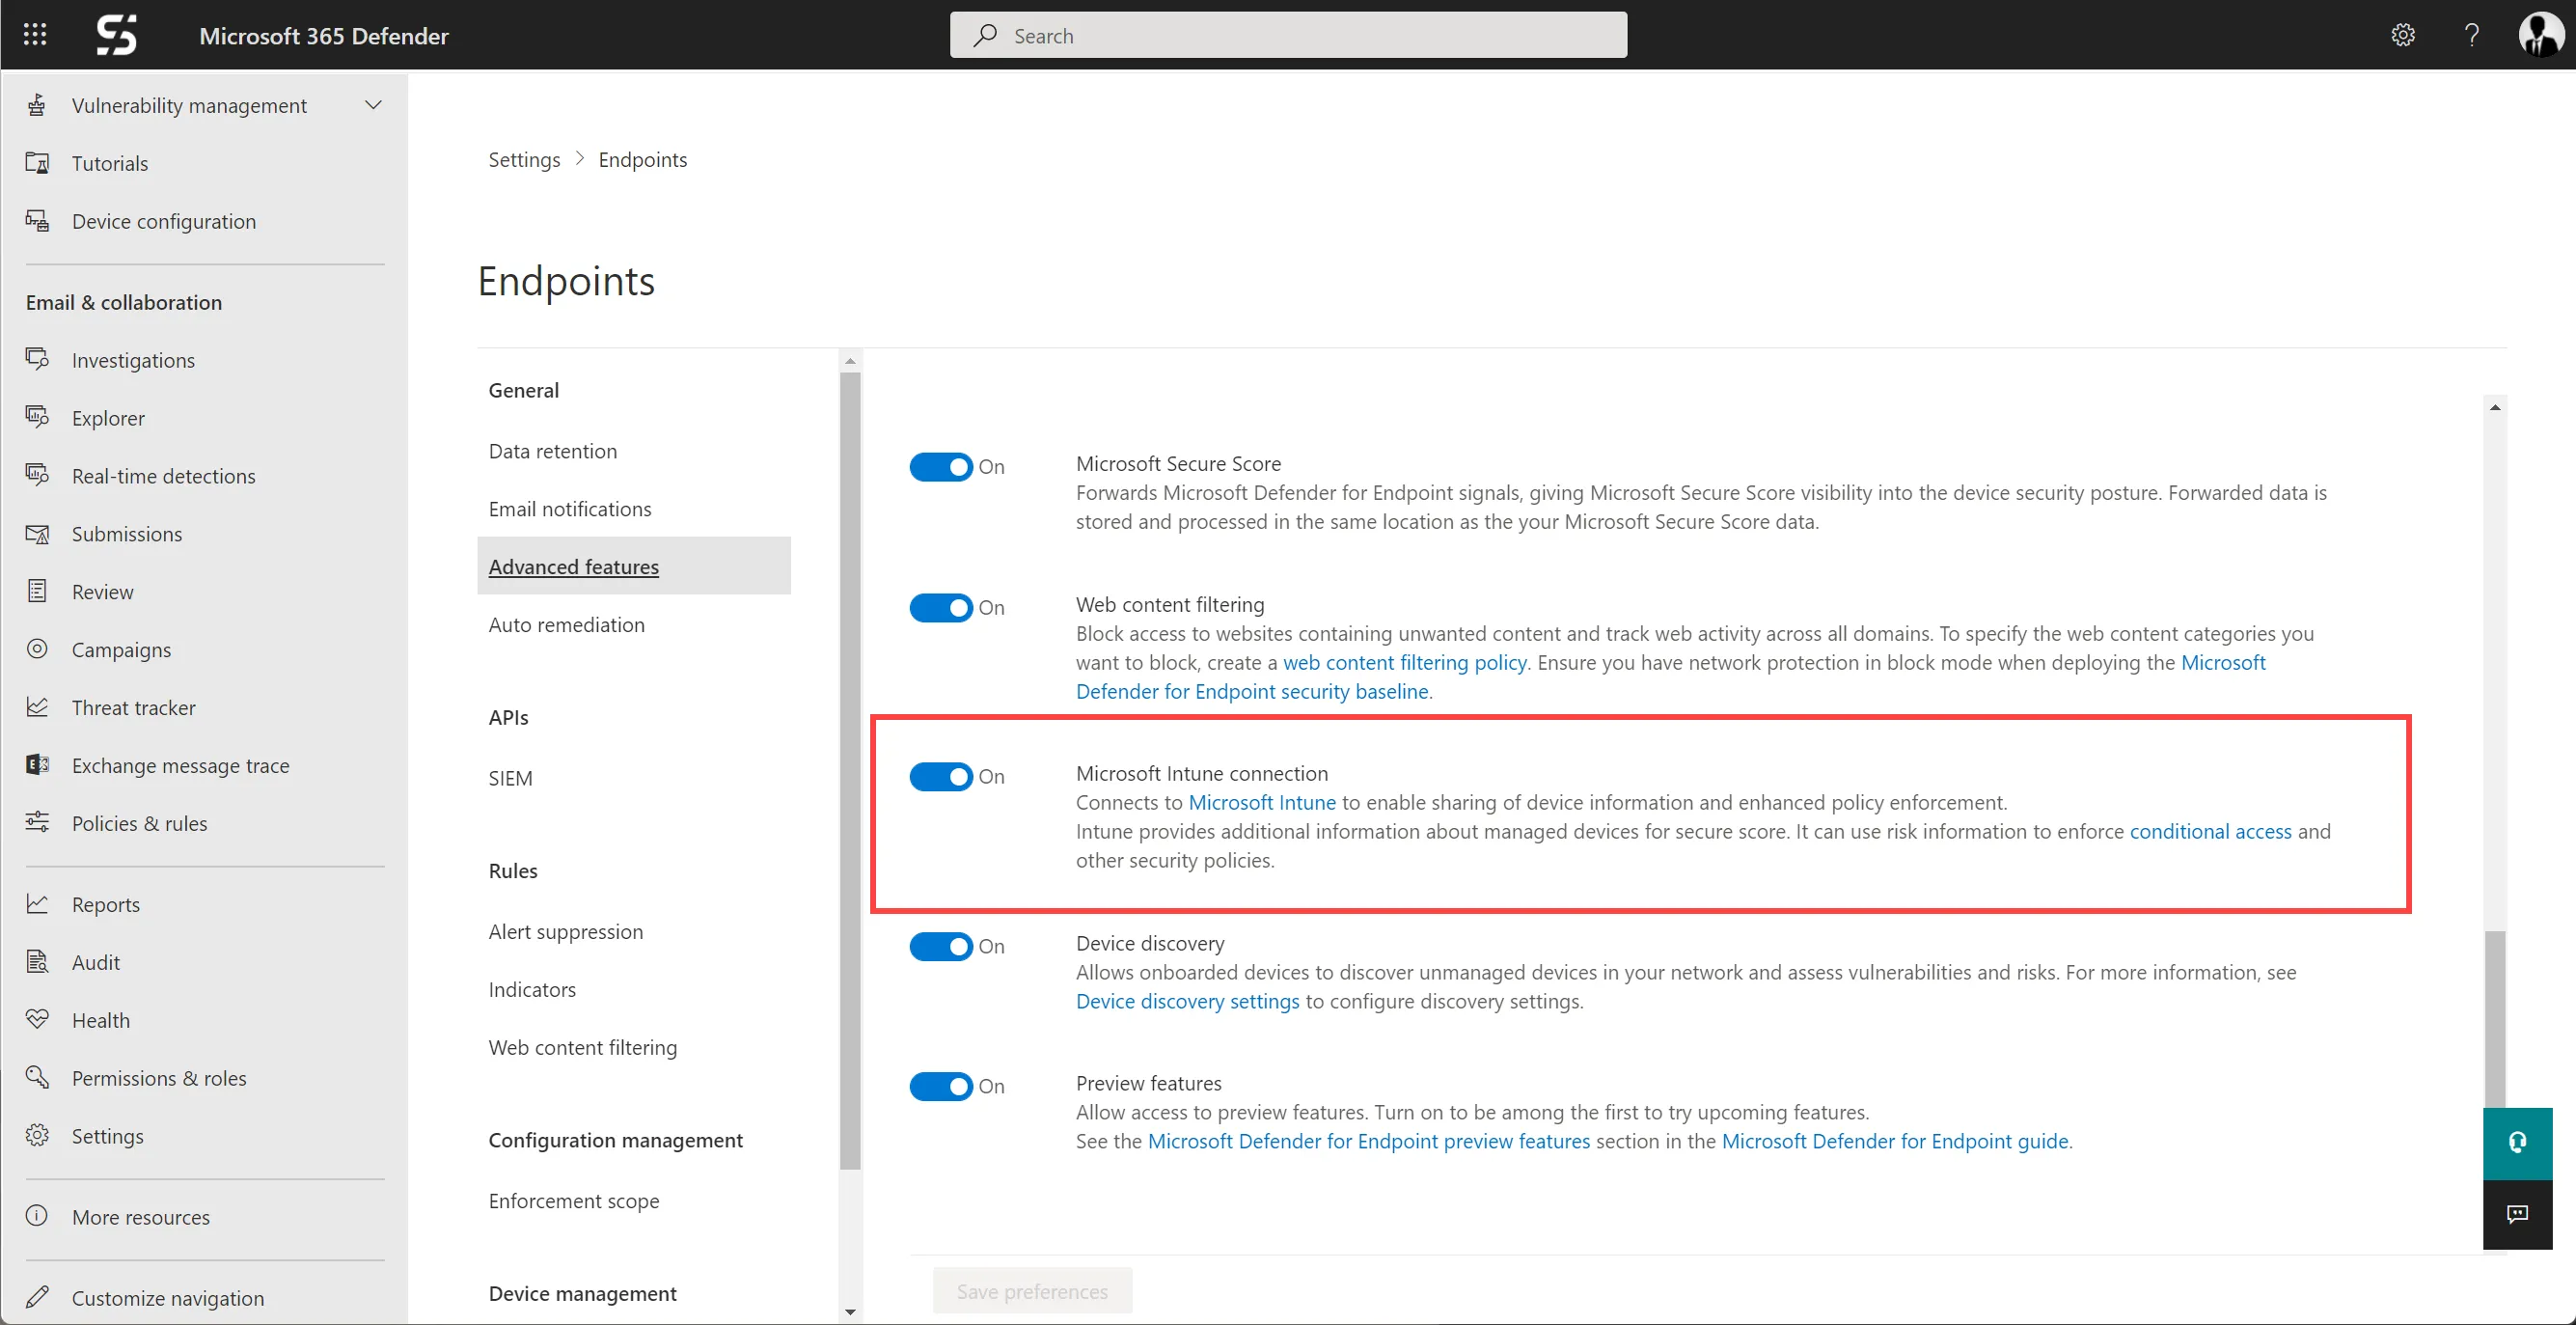
You must make sure that the Intune connection is active. You find this in the Advanced settings of Defender.
If you already completed the initial setup as described here (Defender for Business Onboarding / Setup), you can skip these steps.
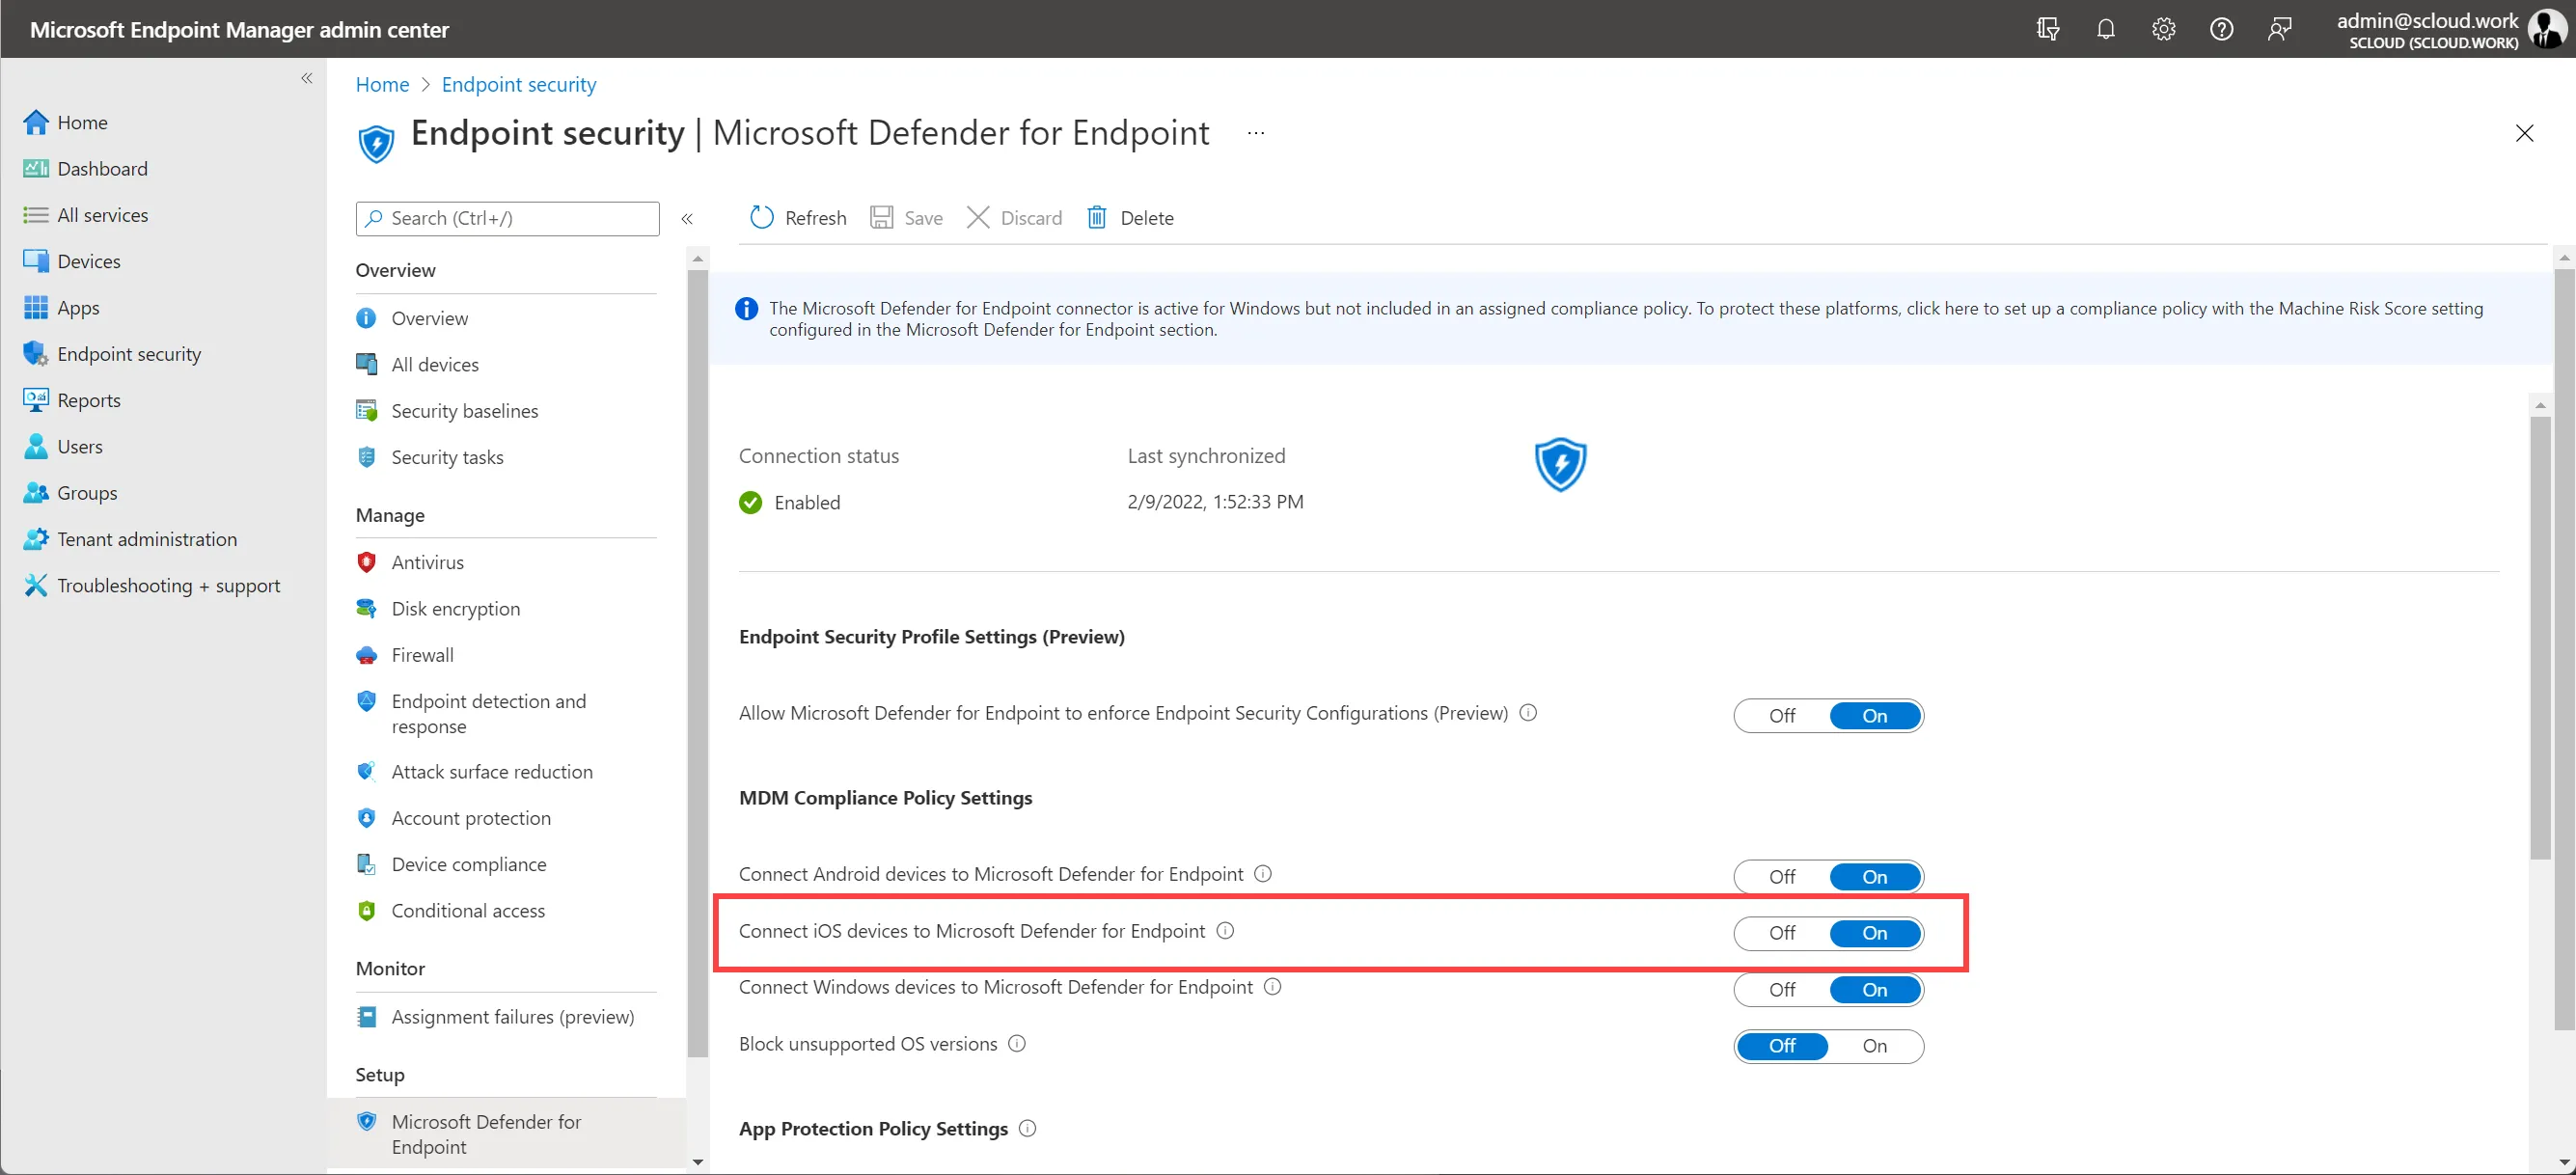
You also have to enable the connection for iOS devices in the Endpoint Manager.
You find the option under Endpoint Manager > Endpoint security > Microsoft Defender for Endpoint.
Installing the Microsoft Defender App
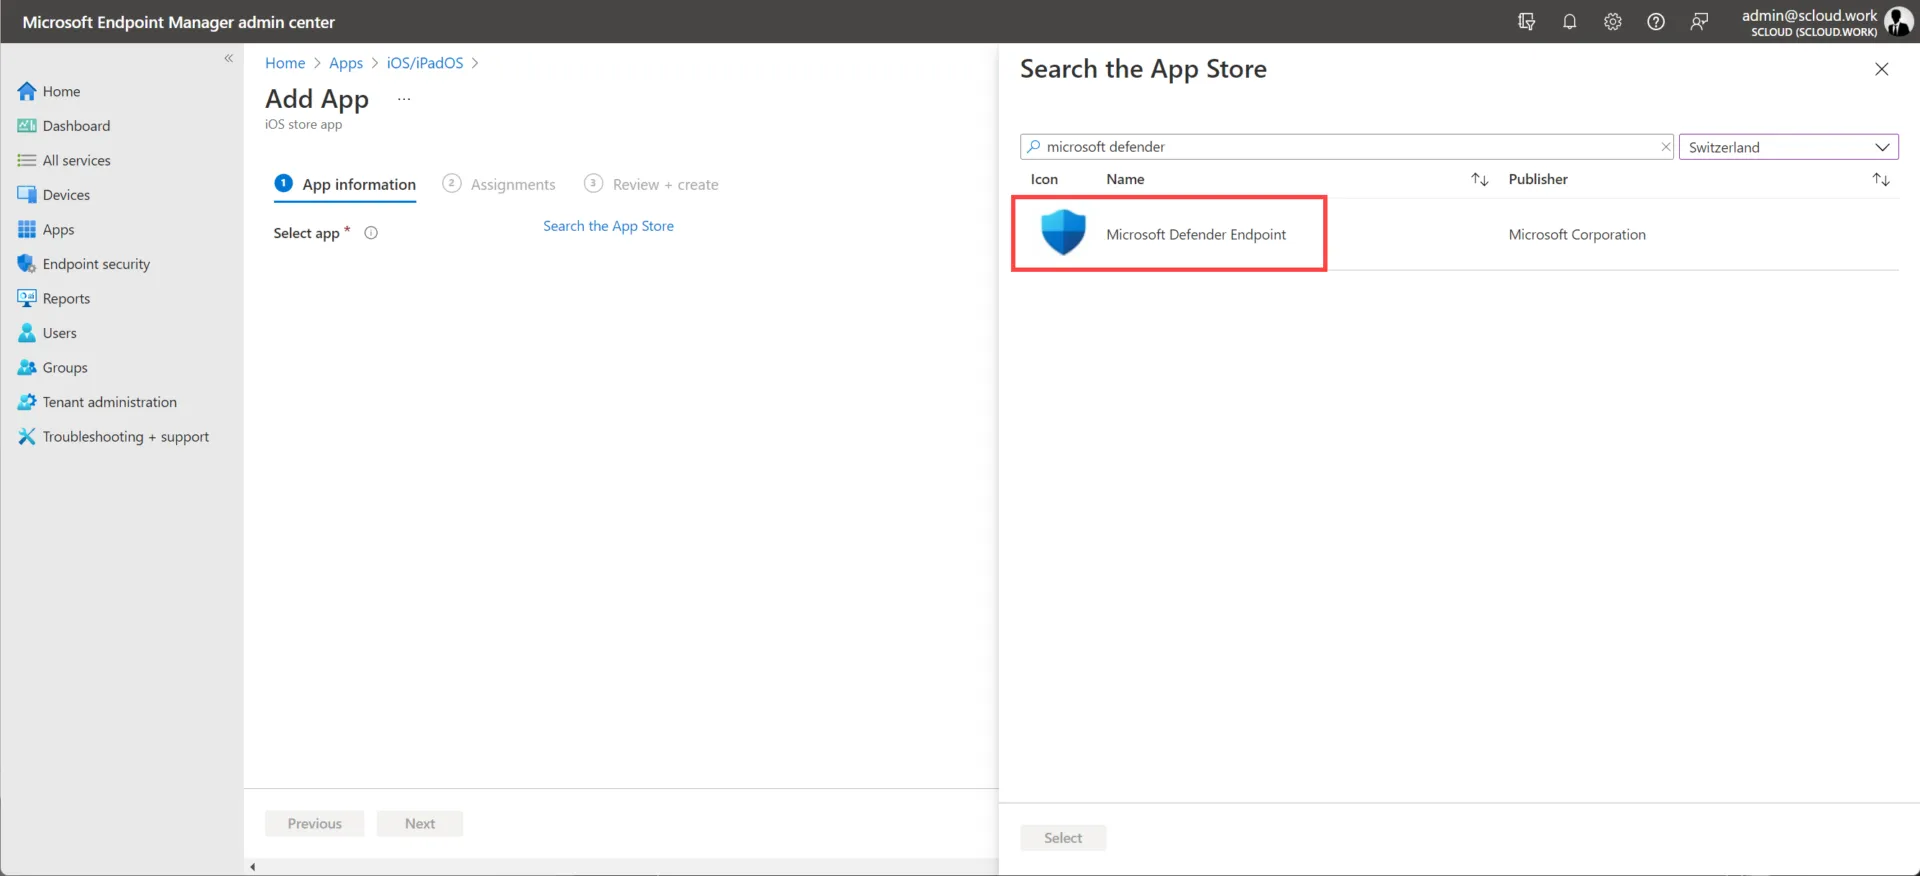
First you have to distribute the Defender app. You don’t necessarily have to purchase this as a VPP app. You can add it under “Apps > iOS/iPadOS”.
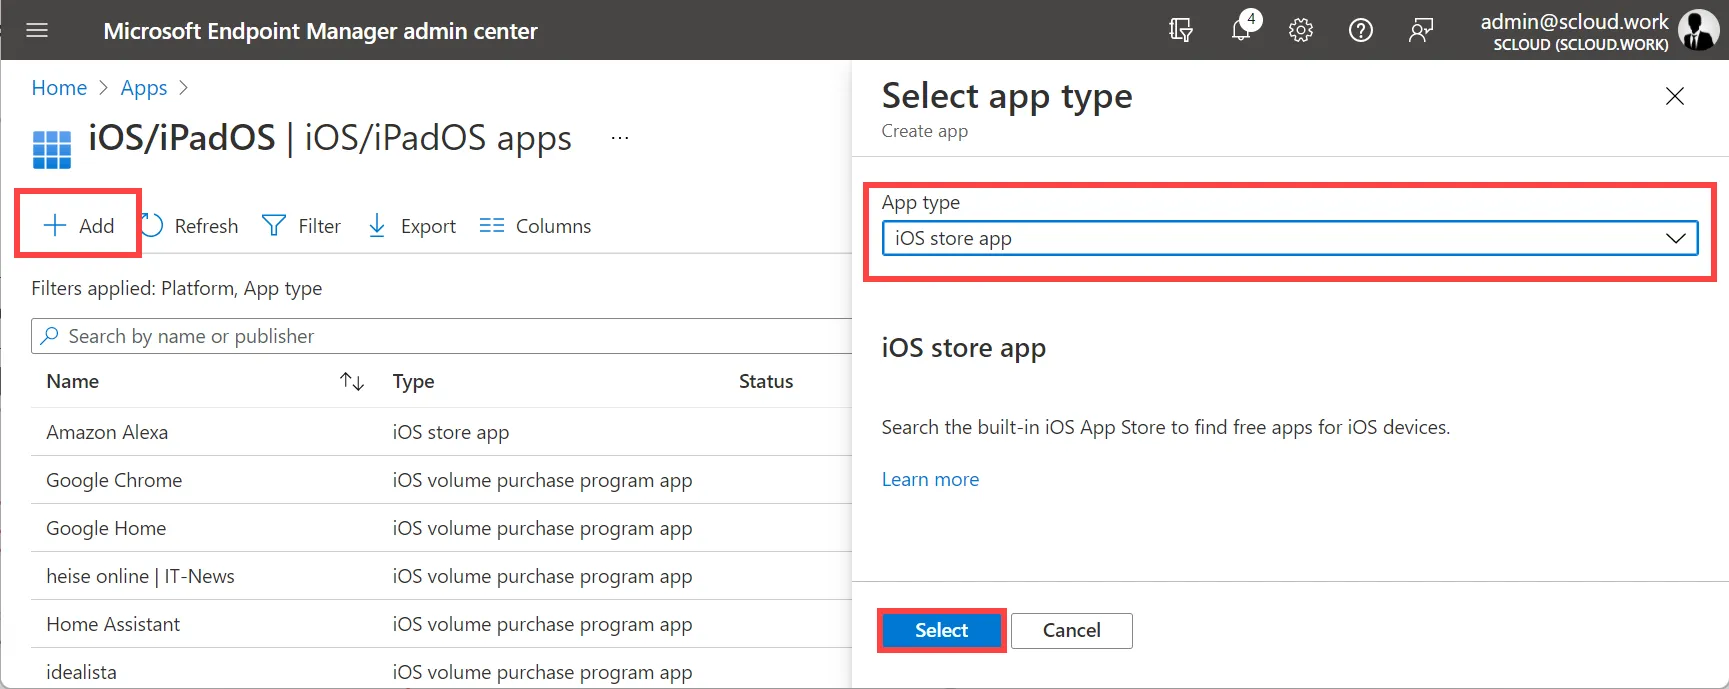
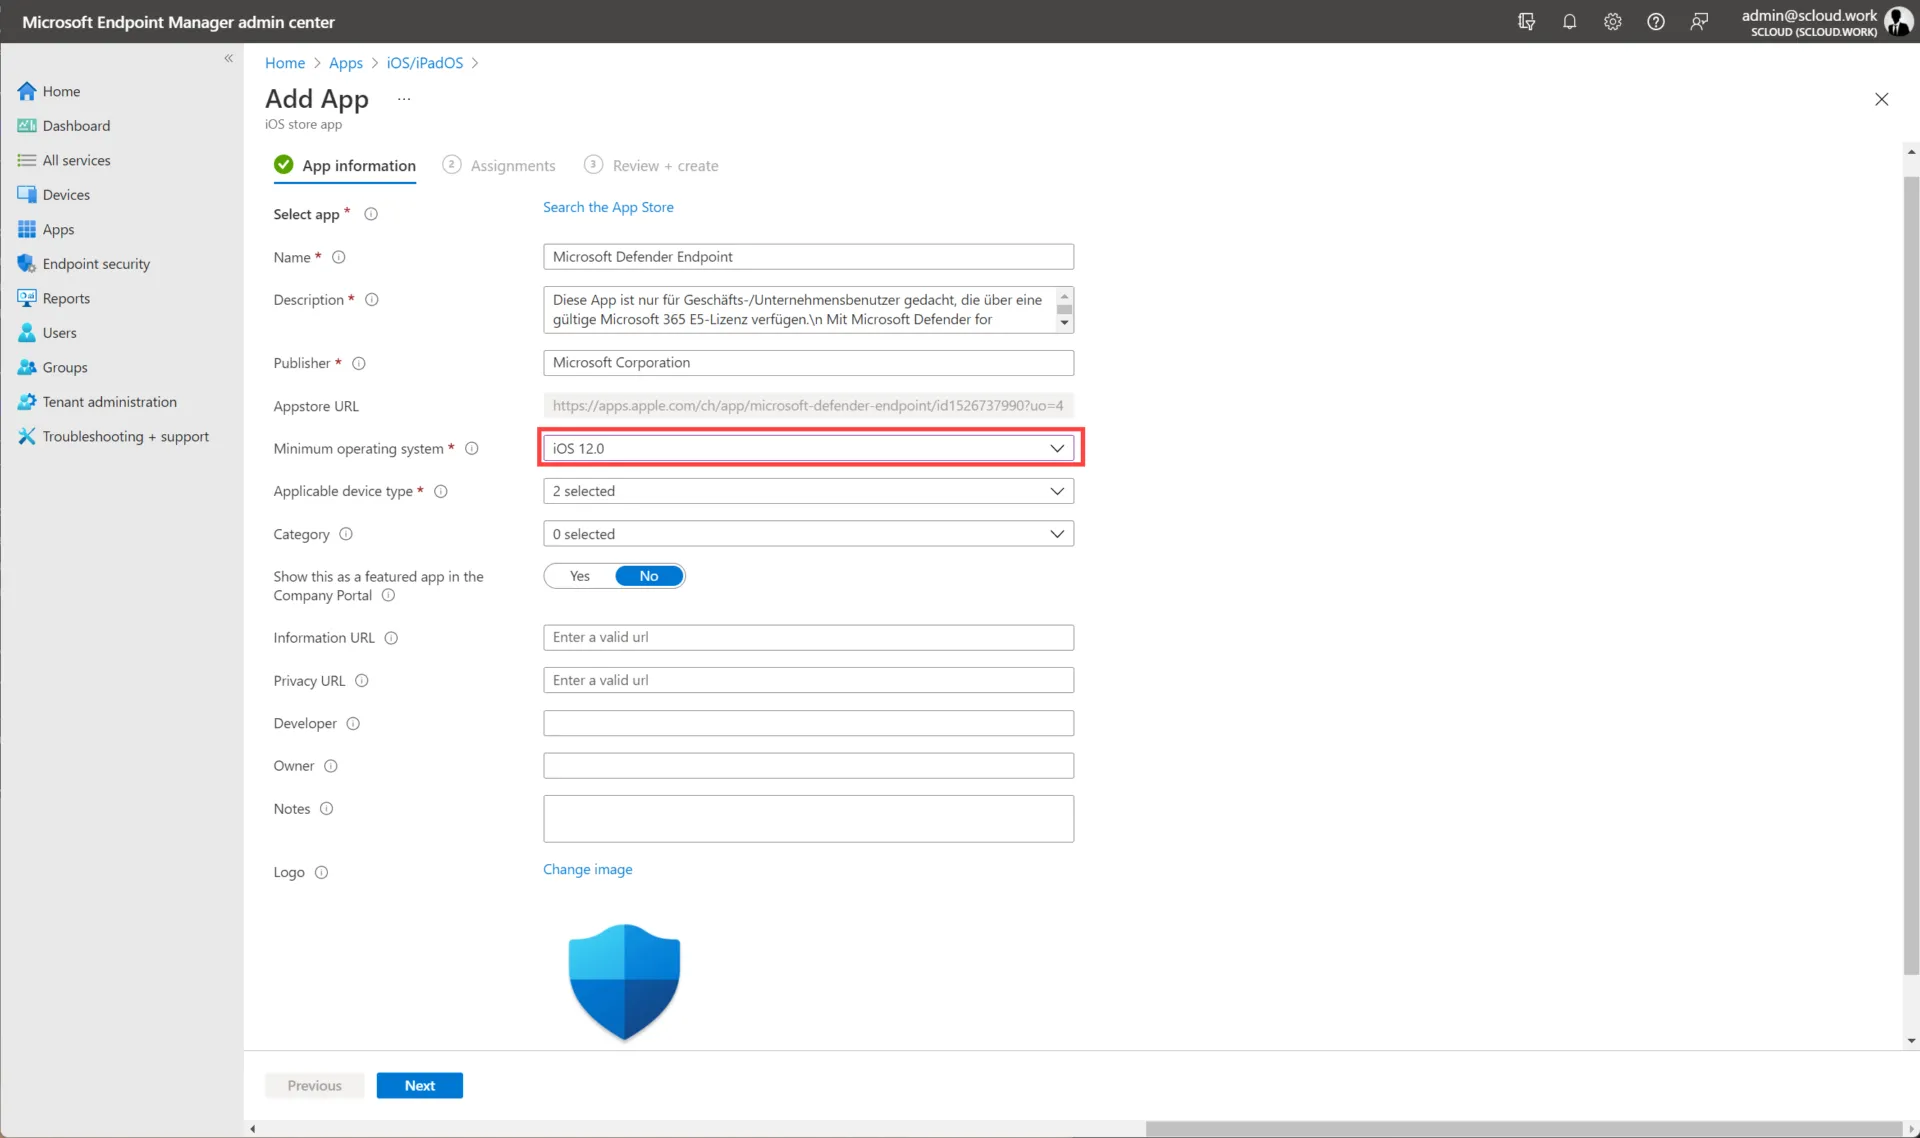
For the minimum OS requirement you can select “iOS 12”, since the “zero-touch” configuration is only possible from this OS version onwards.
In the next step you assign the app to a group or all devices and save the configuration.
Defender VPN Configuration
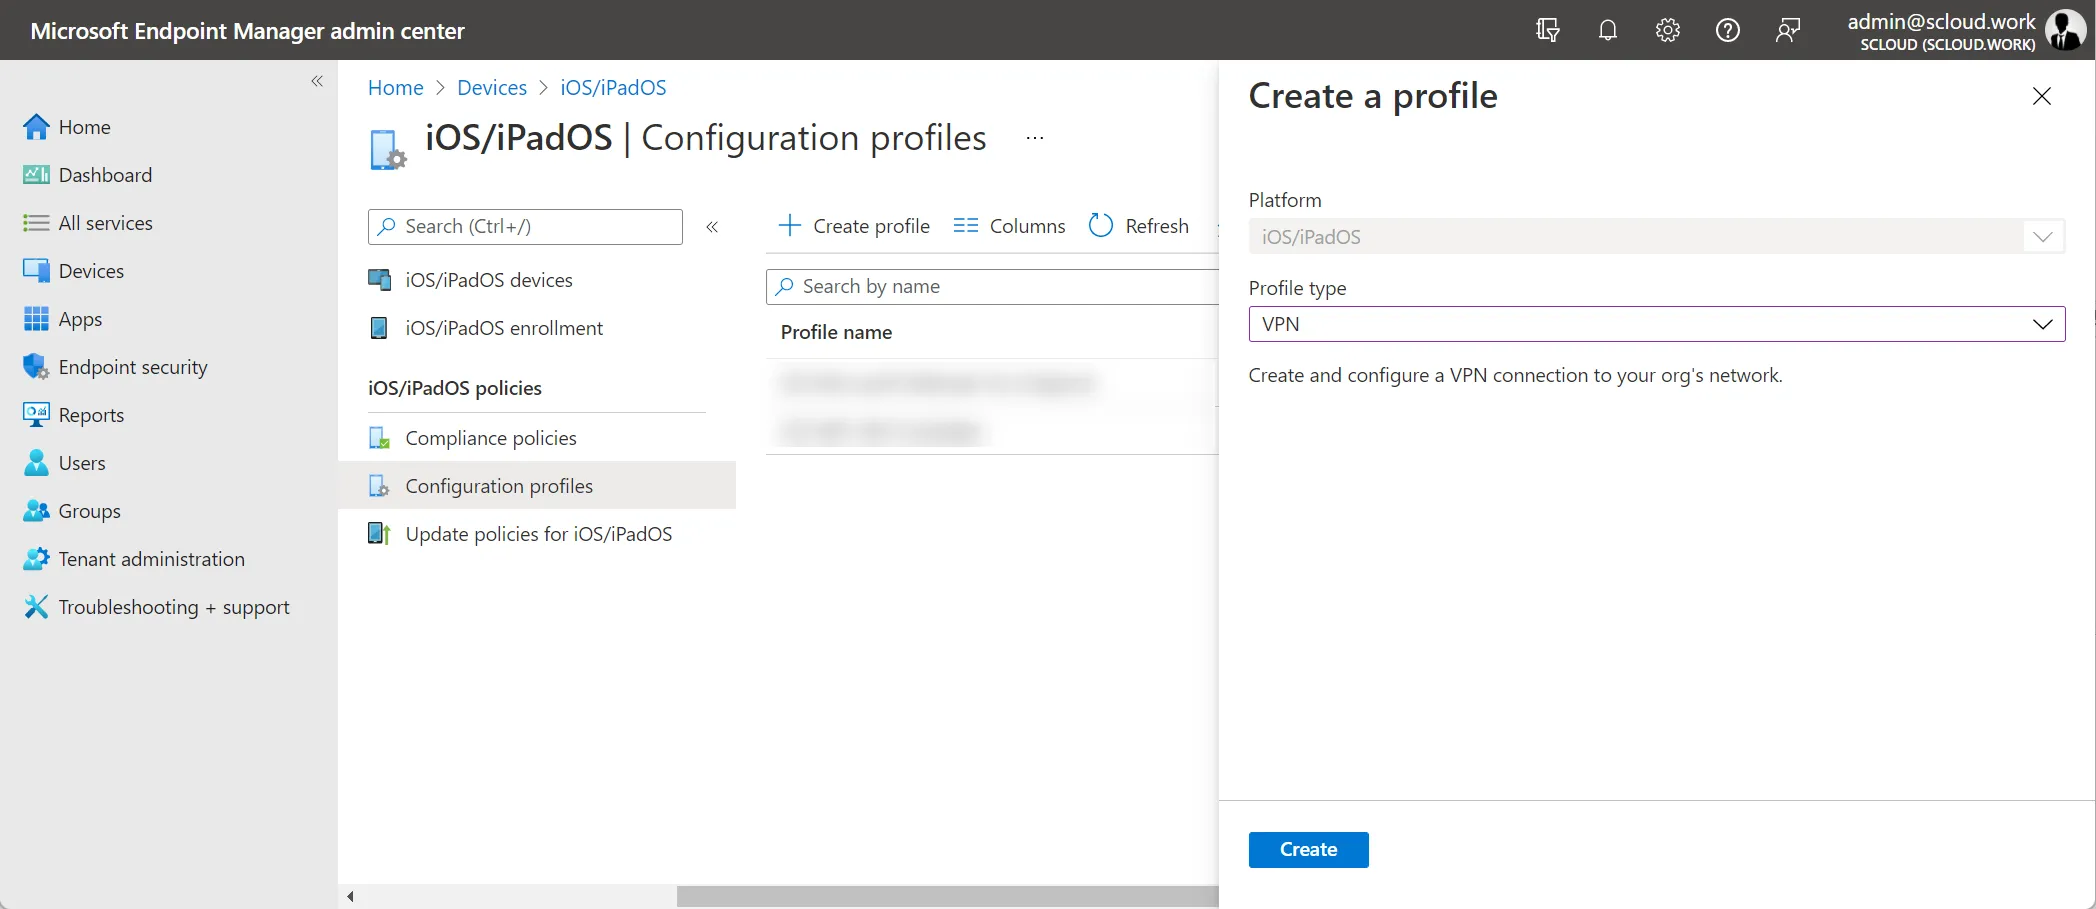
For the VPN configuration, which enables the web filter, we create a new VPN profile.
You find this under: Devices > iOS/iPadOS > Configuration profiles
You can create the VPN configuration based on the screenshot respectively the table below.
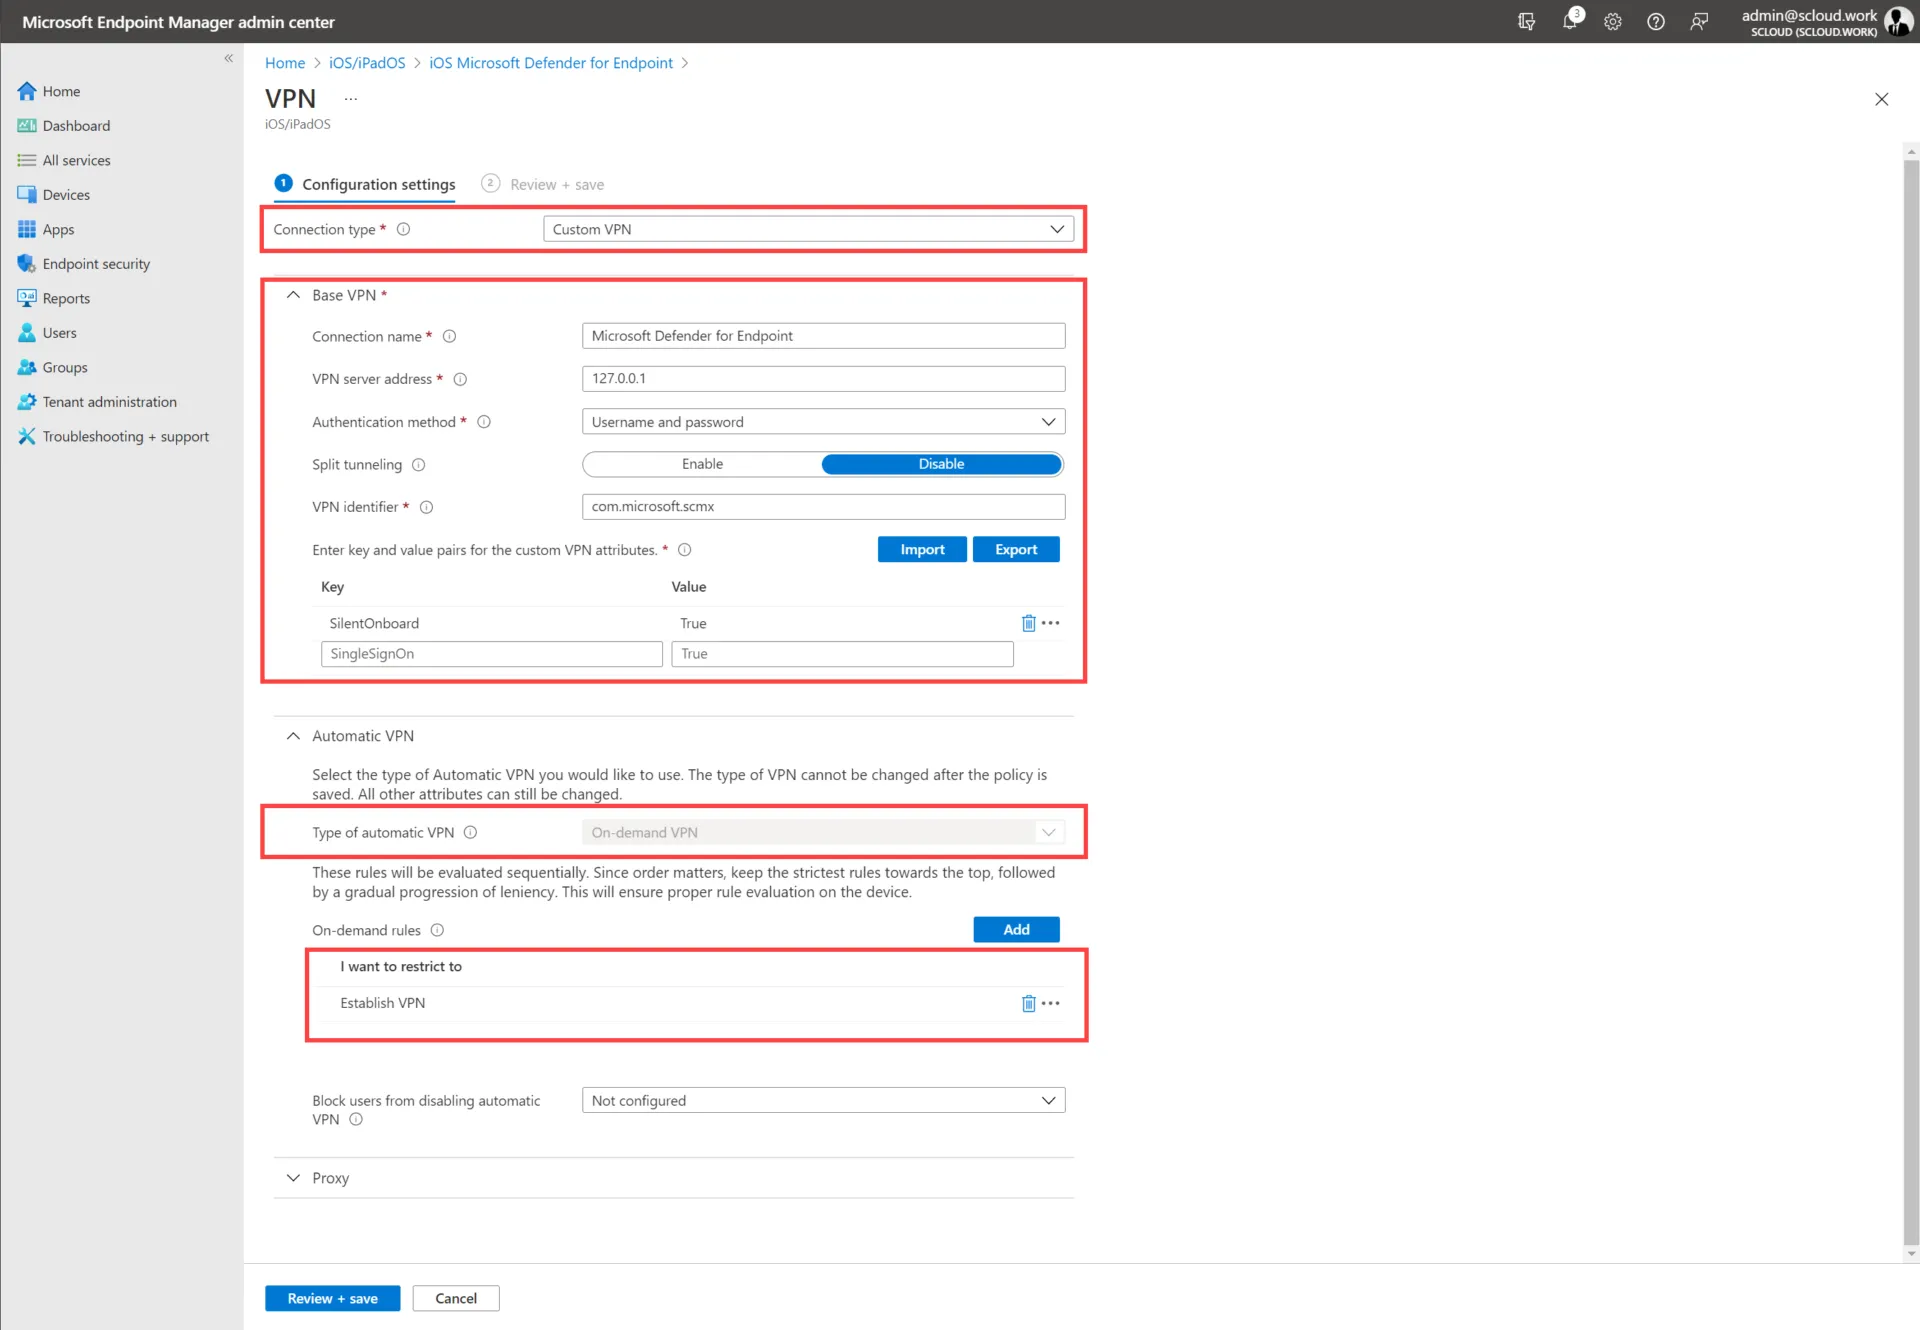
| Setting | Value |
|---|---|
| Connection Name | Microsoft Defender for Endpoint |
| VPN server address | 127.0.0.1 |
| Auth method | Username and password |
| Split Tunneling | Disable |
| VPN identifier | com.microsoft.scmx |
| Key: SilentOnboard | Value: True |
| Type of automatic VPN | On-demand VPN |
| I want to restrict to | Establish VPN |
Result and Behavior
The zero-touch deployment of Defender for Business / Endpoint for iOS works this way very quickly and with little configuration effort. Once the configuration is active on the end device, we see the VPN connection just like with the manual installation. If a risk is detected while browsing, the corresponding page is immediately blocked with a matching notice. In Safari the page stays white, Edge additionally shows a SmartScreen message. The SmartScreen error message is, however, a function of the Edge browser and not of Defender for iOS.
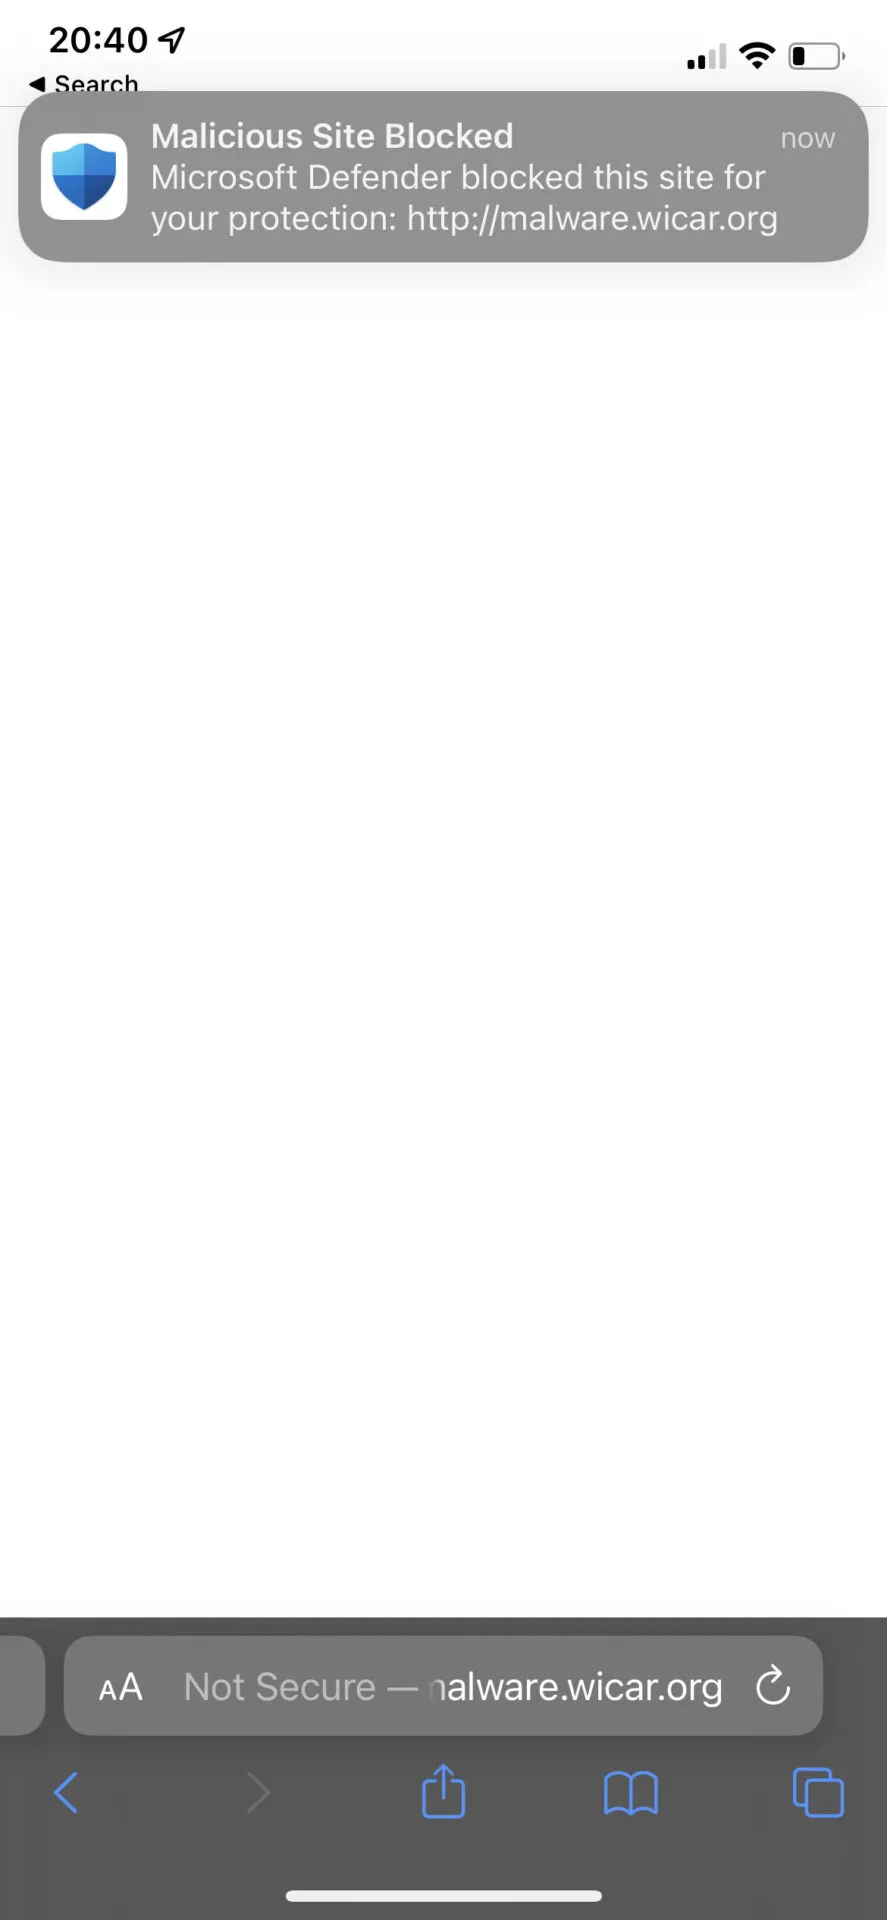
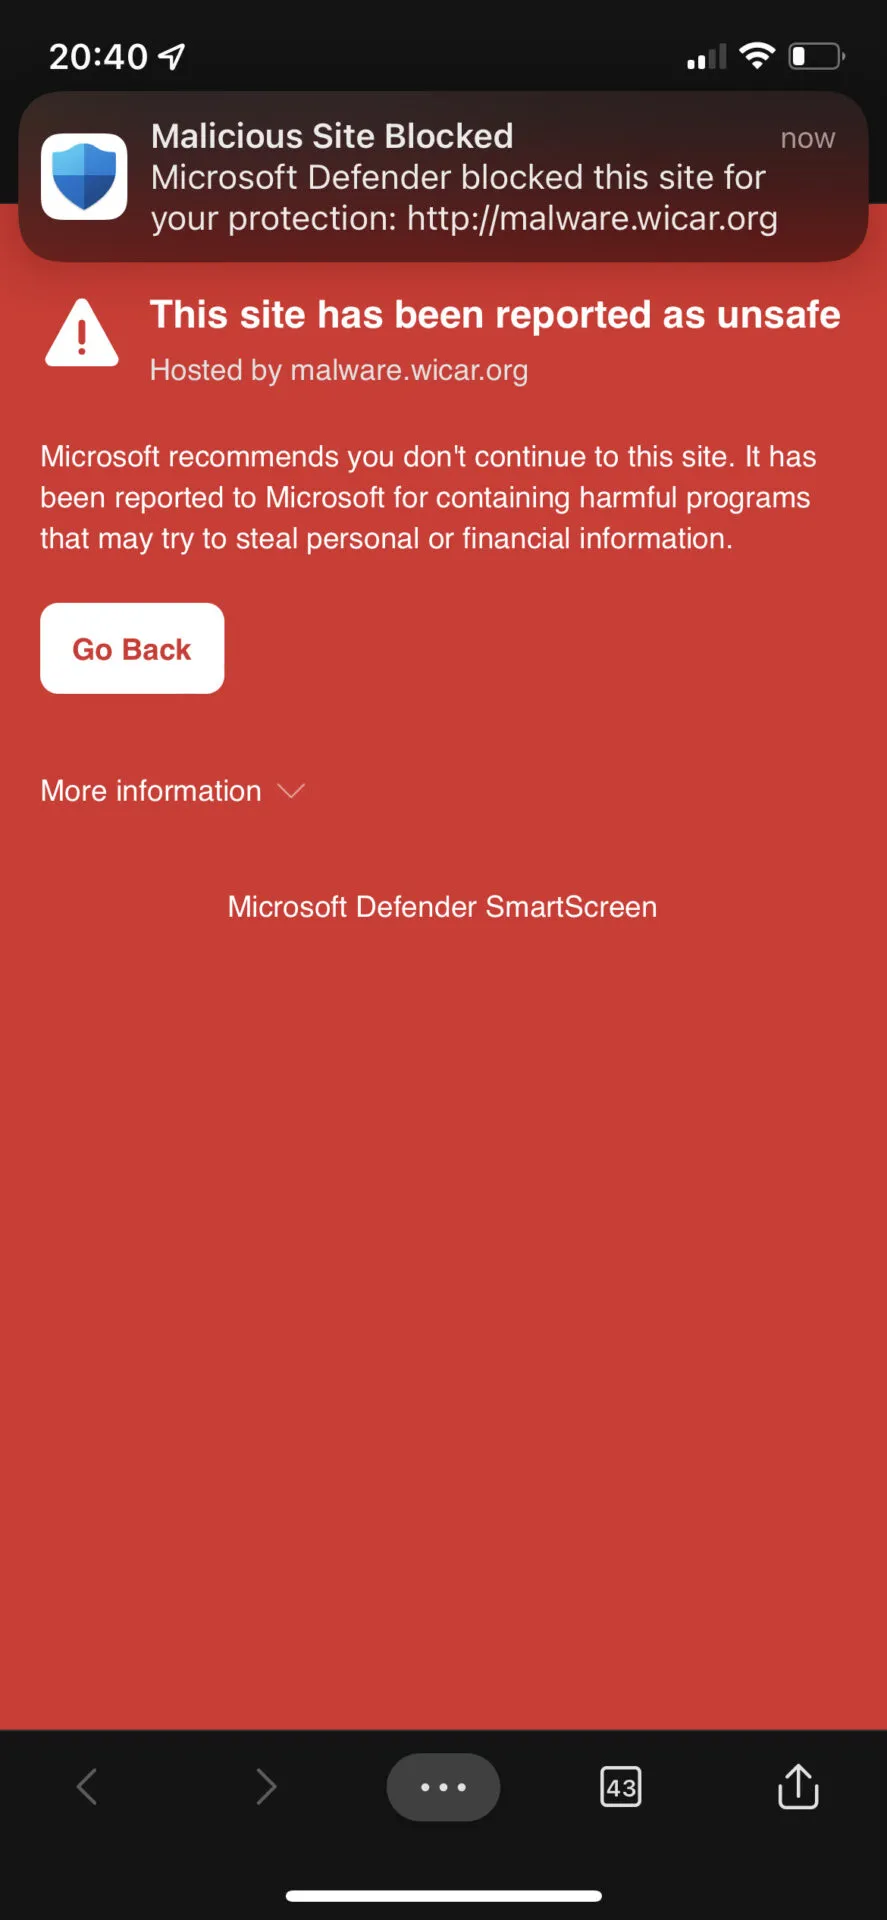
In the Defender app the end user can’t really do anything. He can see, though, what’s active and how many URLs have been scanned and blocked. Because we distributed Defender via policy, the web filter also can’t be turned off manually (which is possible with the manual installation).