Defender for Business Onboarding / Setup
- Florian Salzmann
- Posted on 28 Jan, 2022
- Updated on 30 Jan, 2022
- 03 Mins read
- Microsoft 365,Security
Defender for Business covers most of the functionality of Defender for Endpoint (Plan 2). I’ve put together a comparison of the different versions here. The setup / onboarding and operation of Defender for Business can either be done identically to the Enterprise variant, or with the simplified configuration. I want to cover this simplified configuration specifically in this post.
Info: The Defender for Business licenses are expected to be available in all tenants with an active Microsoft 365 Business Premium license from the beginning of March.
Setup / Onboarding Defender for Business
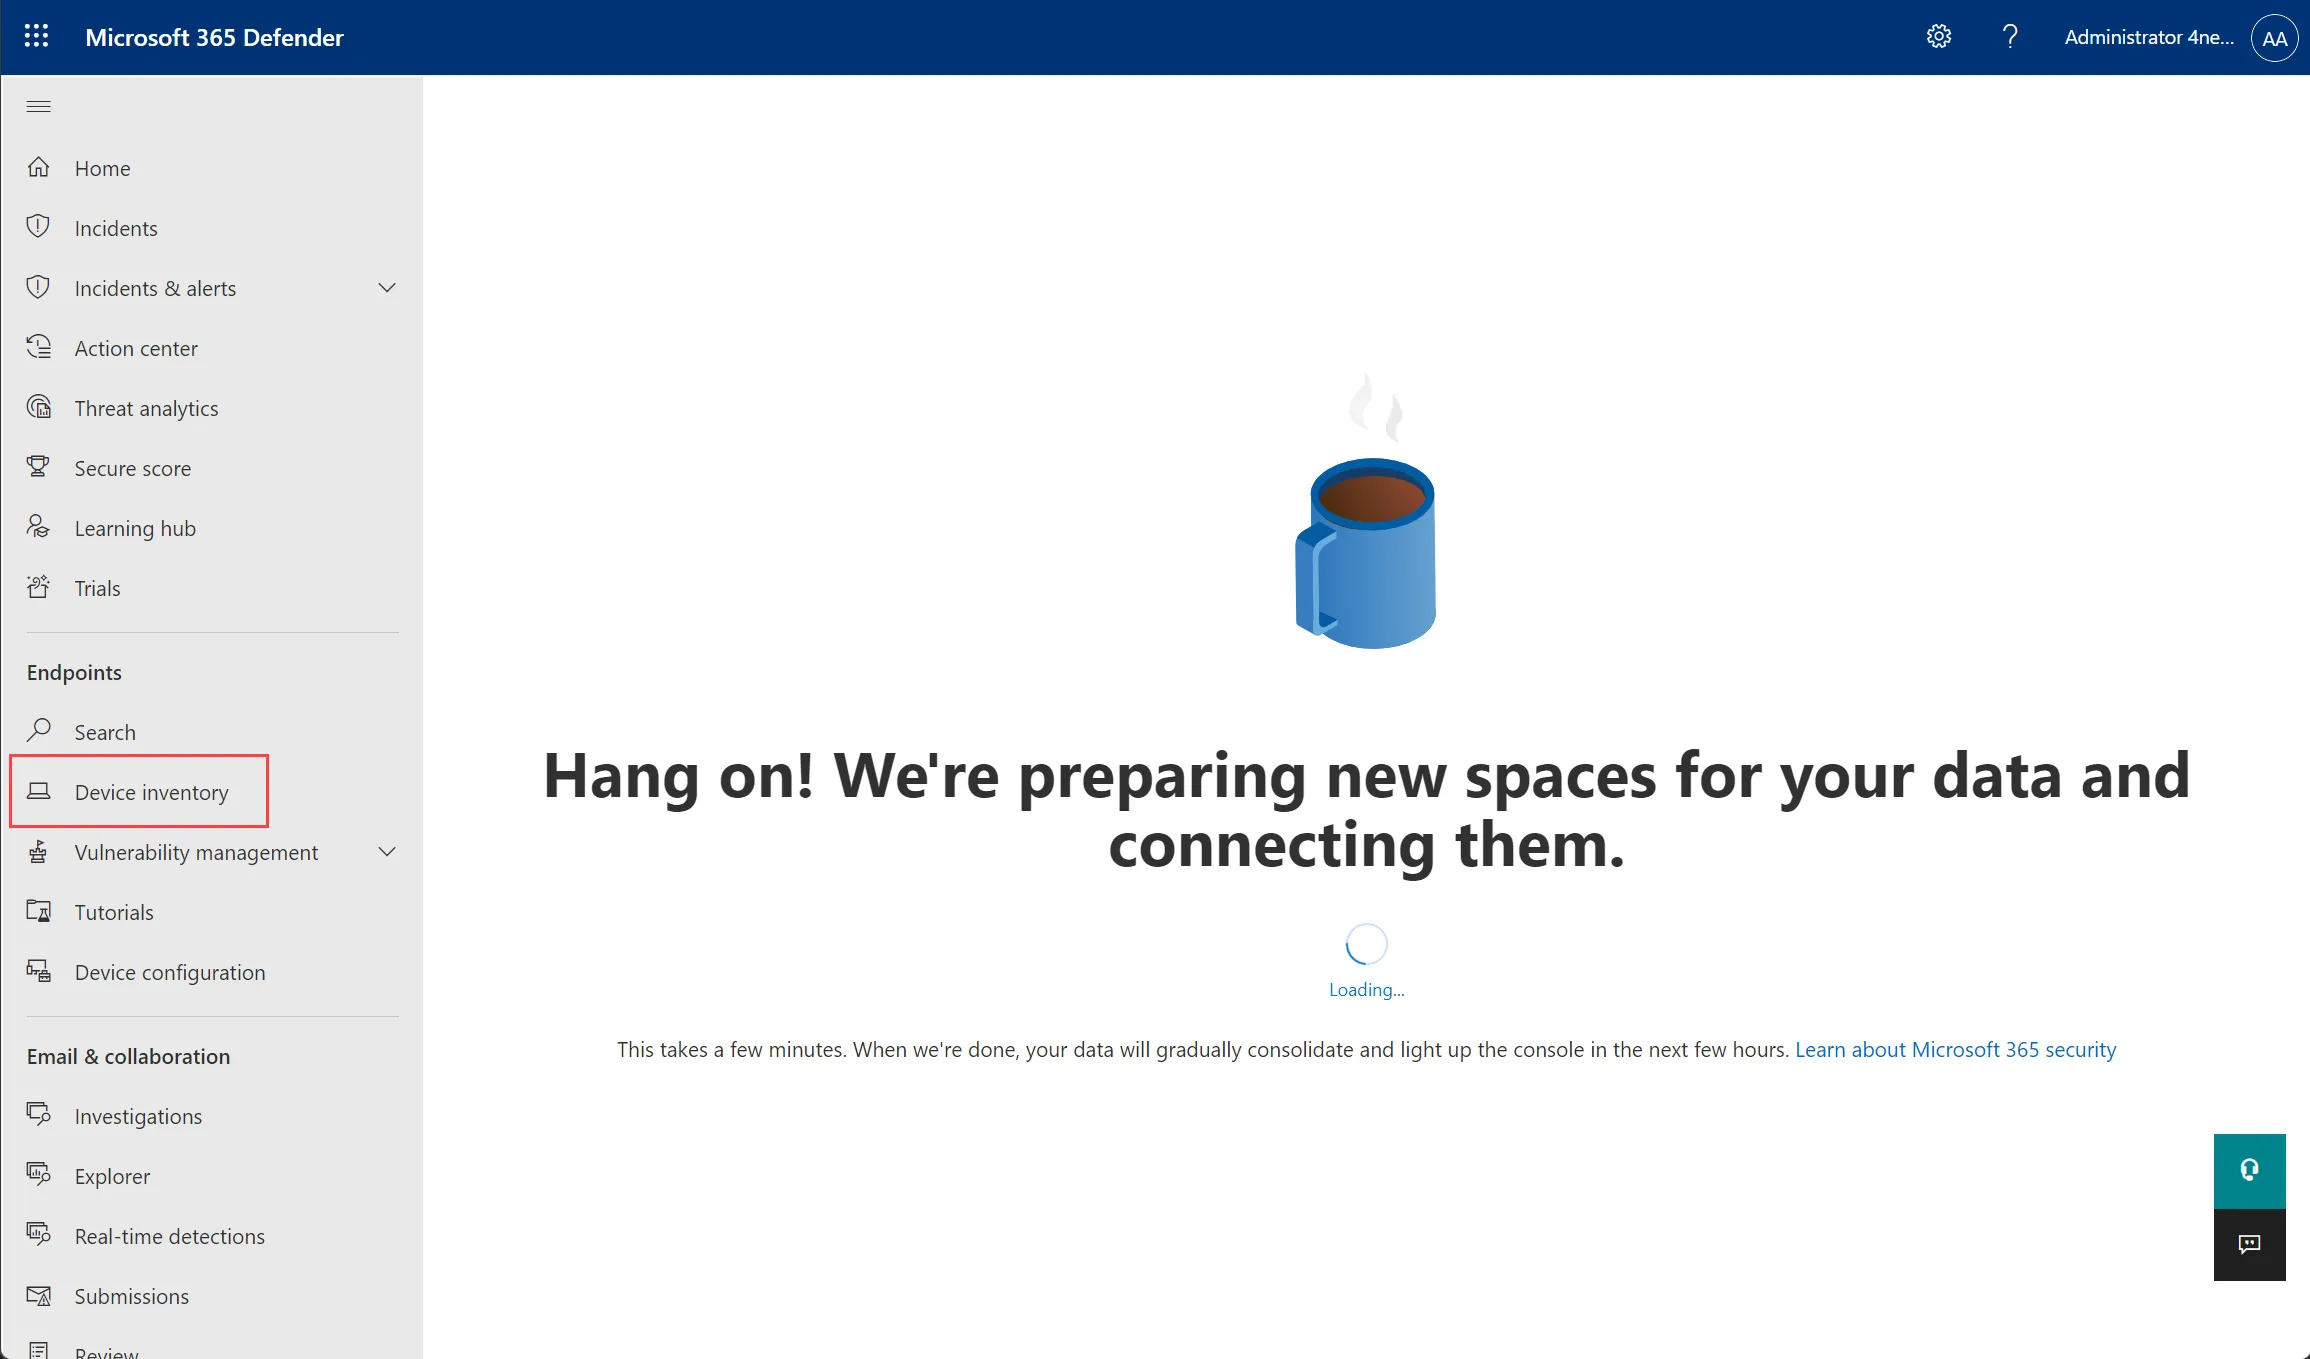
If the license has only been active for a short time, it can happen that the Microsoft 365 Security Center still shows the message below under device inventory. In this case, a bit of patience is required (5-10min).
As soon as all services in the tenant are registered, the setup can begin.

In the first step we choose whether all MEM (Intune) enrolled devices should register automatically, or whether we want to create a manual policy instead. I prefer to cover all devices with one click right away.
It’s important that you already have three or more devices actively enrolled in MEM/Intune. Otherwise the automatic onboarding process won’t work.

Next we select the simplified management.
With the option “Continue using MEM” all configurations are managed in Endpoint Manager. The simplified management offers a central place for analysis and policies for Defender.
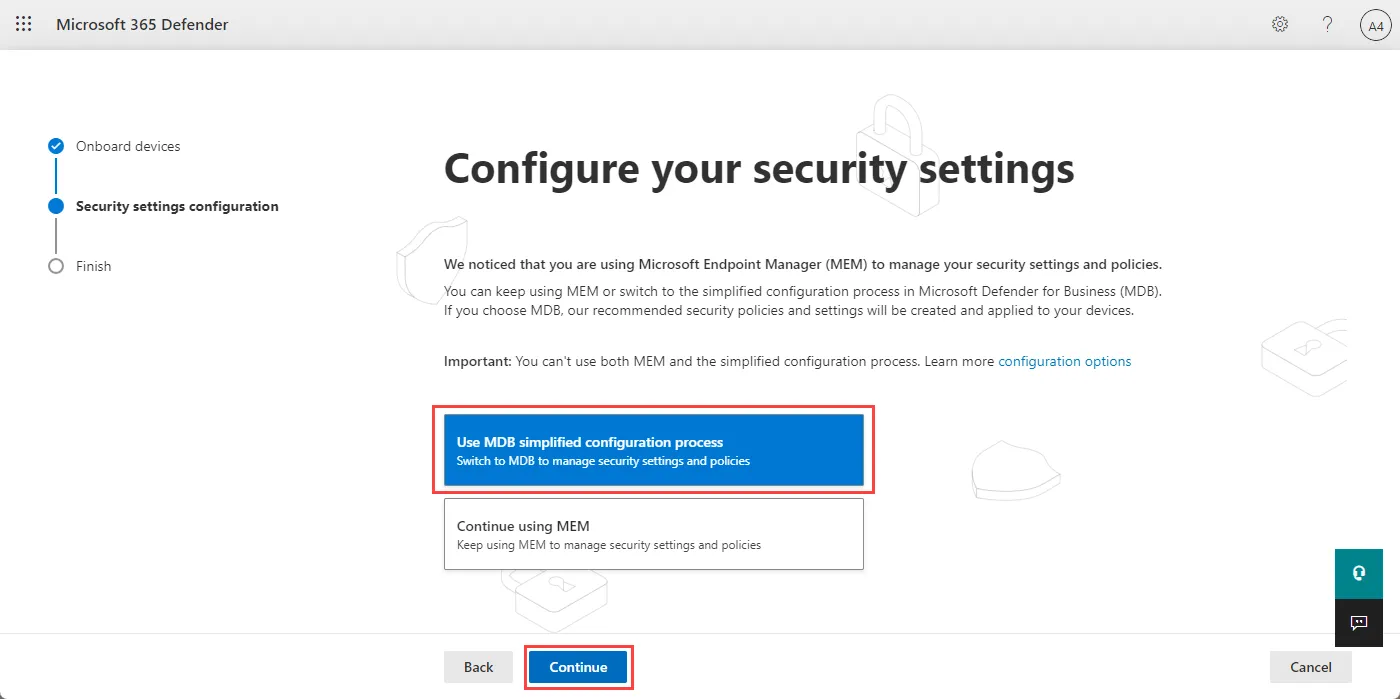
If there are already existing policies that could conflict with those of the simplified configuration, they are listed here. It’s important that the policies don’t overlap, otherwise conflicts and errors can occur.
Without removing the policies, you’ll get one more warning. It’s enough, though, if you just remove the assignment. What matters is that there are no conflicts between the different rules.


To finish, a short overview of the configuration is presented, which we confirm with “Submit”.

The process then takes a few seconds.

After completion, a message is shown with links to the overview and the configuration. (The device overview is still empty until the devices are enrolled and sending data.)

Default policies
Next-generation protection
The “Next-generation protection” policy, as it’s called in marketing speak, provides the settings according to Microsoft best practices. This makes sense and can be adopted as is. I always additionally enable the “Use low performance” option, so that the task is hidden from the user as much as possible and the user doesn’t experience any restrictions or performance impact.

Firewall
The firewall rule is kept minimal and strict. Custom policies are quick and clearly laid out, and just as easy to add.

Device overview
The devices don’t appear in the overview right away. Once they’re visible, it takes another roughly 8 hours until the inventory shows the first results, and with that, recommended actions and improvement suggestions. This behavior, as well as the views, is in no way different from Defender for Endpoint, Plan 1 or 2.

The display of the “Vulnerability management” is also identical. That means if you’re already familiar with Defender for Endpoint, you’ll feel right at home here.

My thoughts
Defender for Business offers a very simple onboarding. On top of that, the simplified dashboard with its integrated configuration is very attractive for smaller companies. Especially if someone doesn’t want to dive too deep into the topic, the simplified configuration is completely sufficient. On top of that, there’s the option to switch to configuration via MEM at any time. What I also really like here is having all options laid out clearly in one dashboard.
For larger companies (30+) or ones with different locations and requirements, though, I’d advise against the simplified management, since splitting things up quickly becomes difficult. Some additional features that are theoretically included in the license are (still?) not integrated into the simplified management. These include, for example, Attack surface reduction, Application Control and Guard, as well as the compliance settings.