Excel Default Template with Intune
- Florian Salzmann
- Posted on 29 Jun, 2022
- Updated on 12 Jul, 2026
- 02 Mins read
- Microsoft Intune,Microsoft Office Apps,PowerShell,Win32 Applications
Excel also has a kind of default template, or more precisely two of them. The template consists of a template for new workbooks and one for new sheets within the workbook. The template for workbooks is called “Book.xltx”, while the one for sheets is called “Sheet.xltx”. Of course, both can be distributed together as the default template for Excel with Intune.
For the deployment I’ve prepared a PowerShell script for you, which copies both templates to the correct location for the user. For the distribution I use a Win32 app.
The storage path on the user side is:
| C:\Users\%username%\AppData\Roaming\Microsoft\Excel\XLSTART |
In addition, a registry key with the default font needs to be set:
| HKEY_CURRENT_USER\Software\Microsoft\Office\16.0\Excel\Options > Font |
Preparing the Excel template
Both the “Book.xltx” and the “Sheet.xltx” are normal template files, which you can prepare with Excel.
The easiest way is to start with the “Book.xltx”. To do this, you open a new Excel workbook and configure the appearance in it however you like. For example, you can define the font, row height and width, or print titles. In this file you can also predefine several sheets.
Once you’re happy with it, save the file as “Book.xltx”.
For the “Sheet.xltx” I recommend duplicating the “Book.xltx” and reducing the workbook to a single sheet.
You copy both created Excel template files into the package folder, which you can download from my GitHub repository.
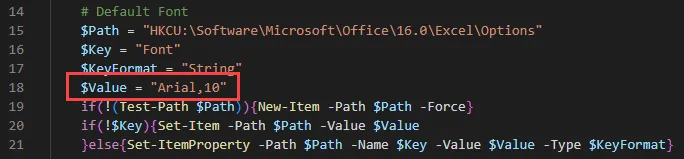
You also need to define the default font, which you do by specifying the font and font size in line “18” of the “install.ps1”:
Once you’ve done that, you only need to generate an “intunewin” file from the package.
I’ve described the process for that here: Win32 App / Create .intunewin
Distributing the Excel template with Intune
After you’ve created the “intunewin” file, you just need to upload it in Endpoint Manager and assign it to your desired target group.
To do this, add a Win32 app under «Apps > Windows apps».
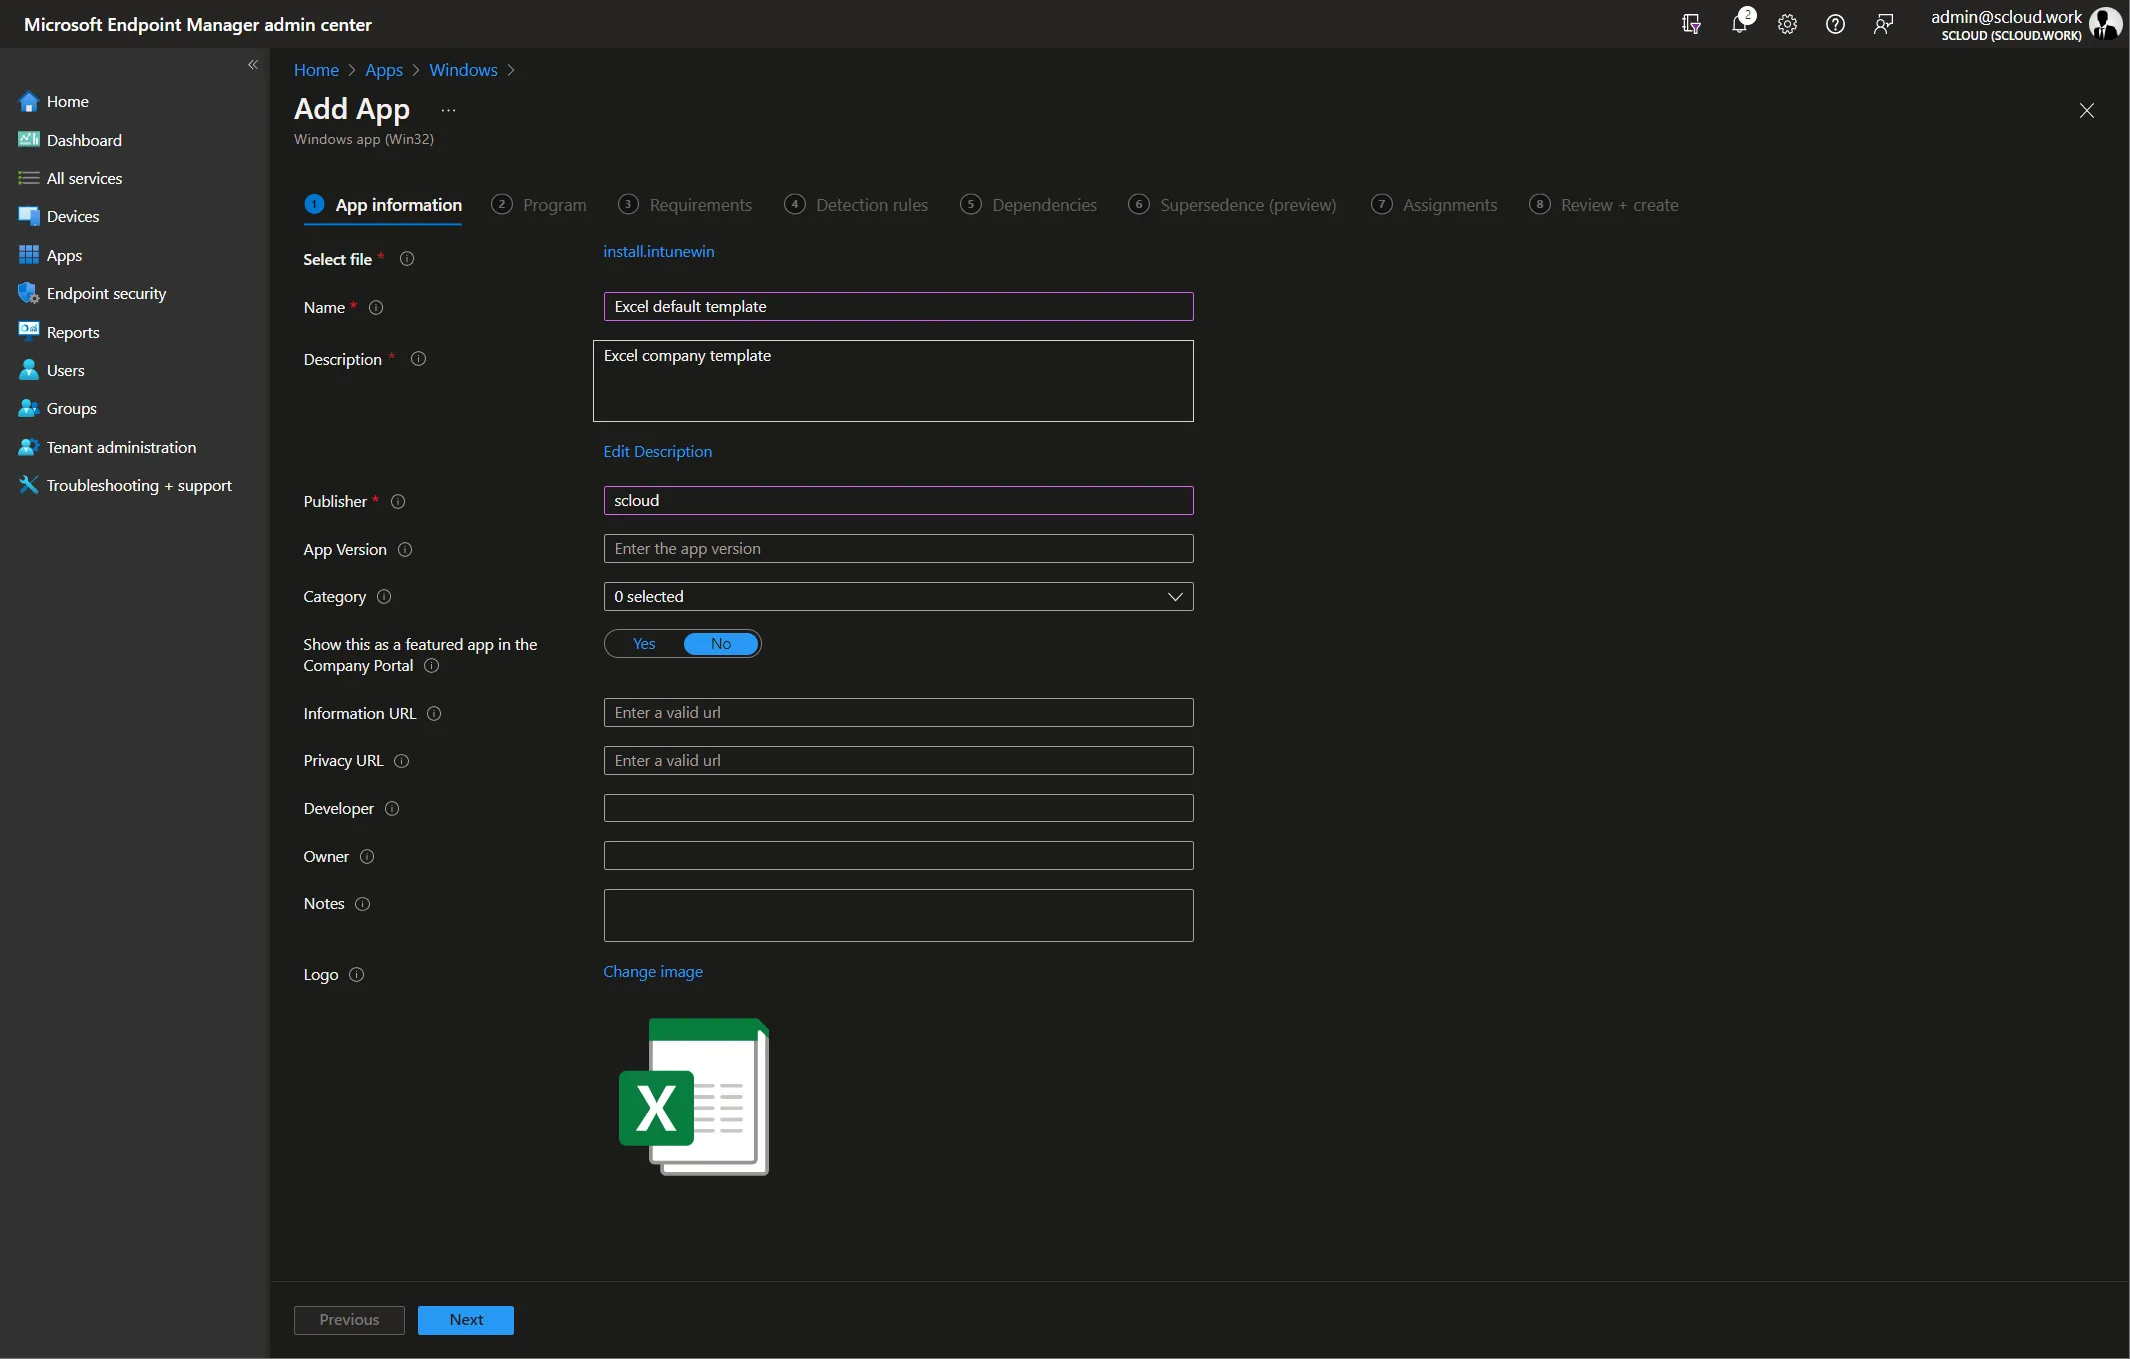
Give it at least a name, a description and a publisher. If you also want the app to be available in the Company Portal, upload the icon as well.
In the program settings you need to set the execution context to “User” and provide an install and uninstall command:
| install command | %SystemRoot%\sysnative\WindowsPowerShell\v1.0\powershell.exe -windowstyle hidden -executionpolicy bypass -command .\install.ps1 |
| uninstall command | %SystemRoot%\sysnative\WindowsPowerShell\v1.0\powershell.exe -windowstyle hidden -executionpolicy bypass -command .\uninstall.ps1 |
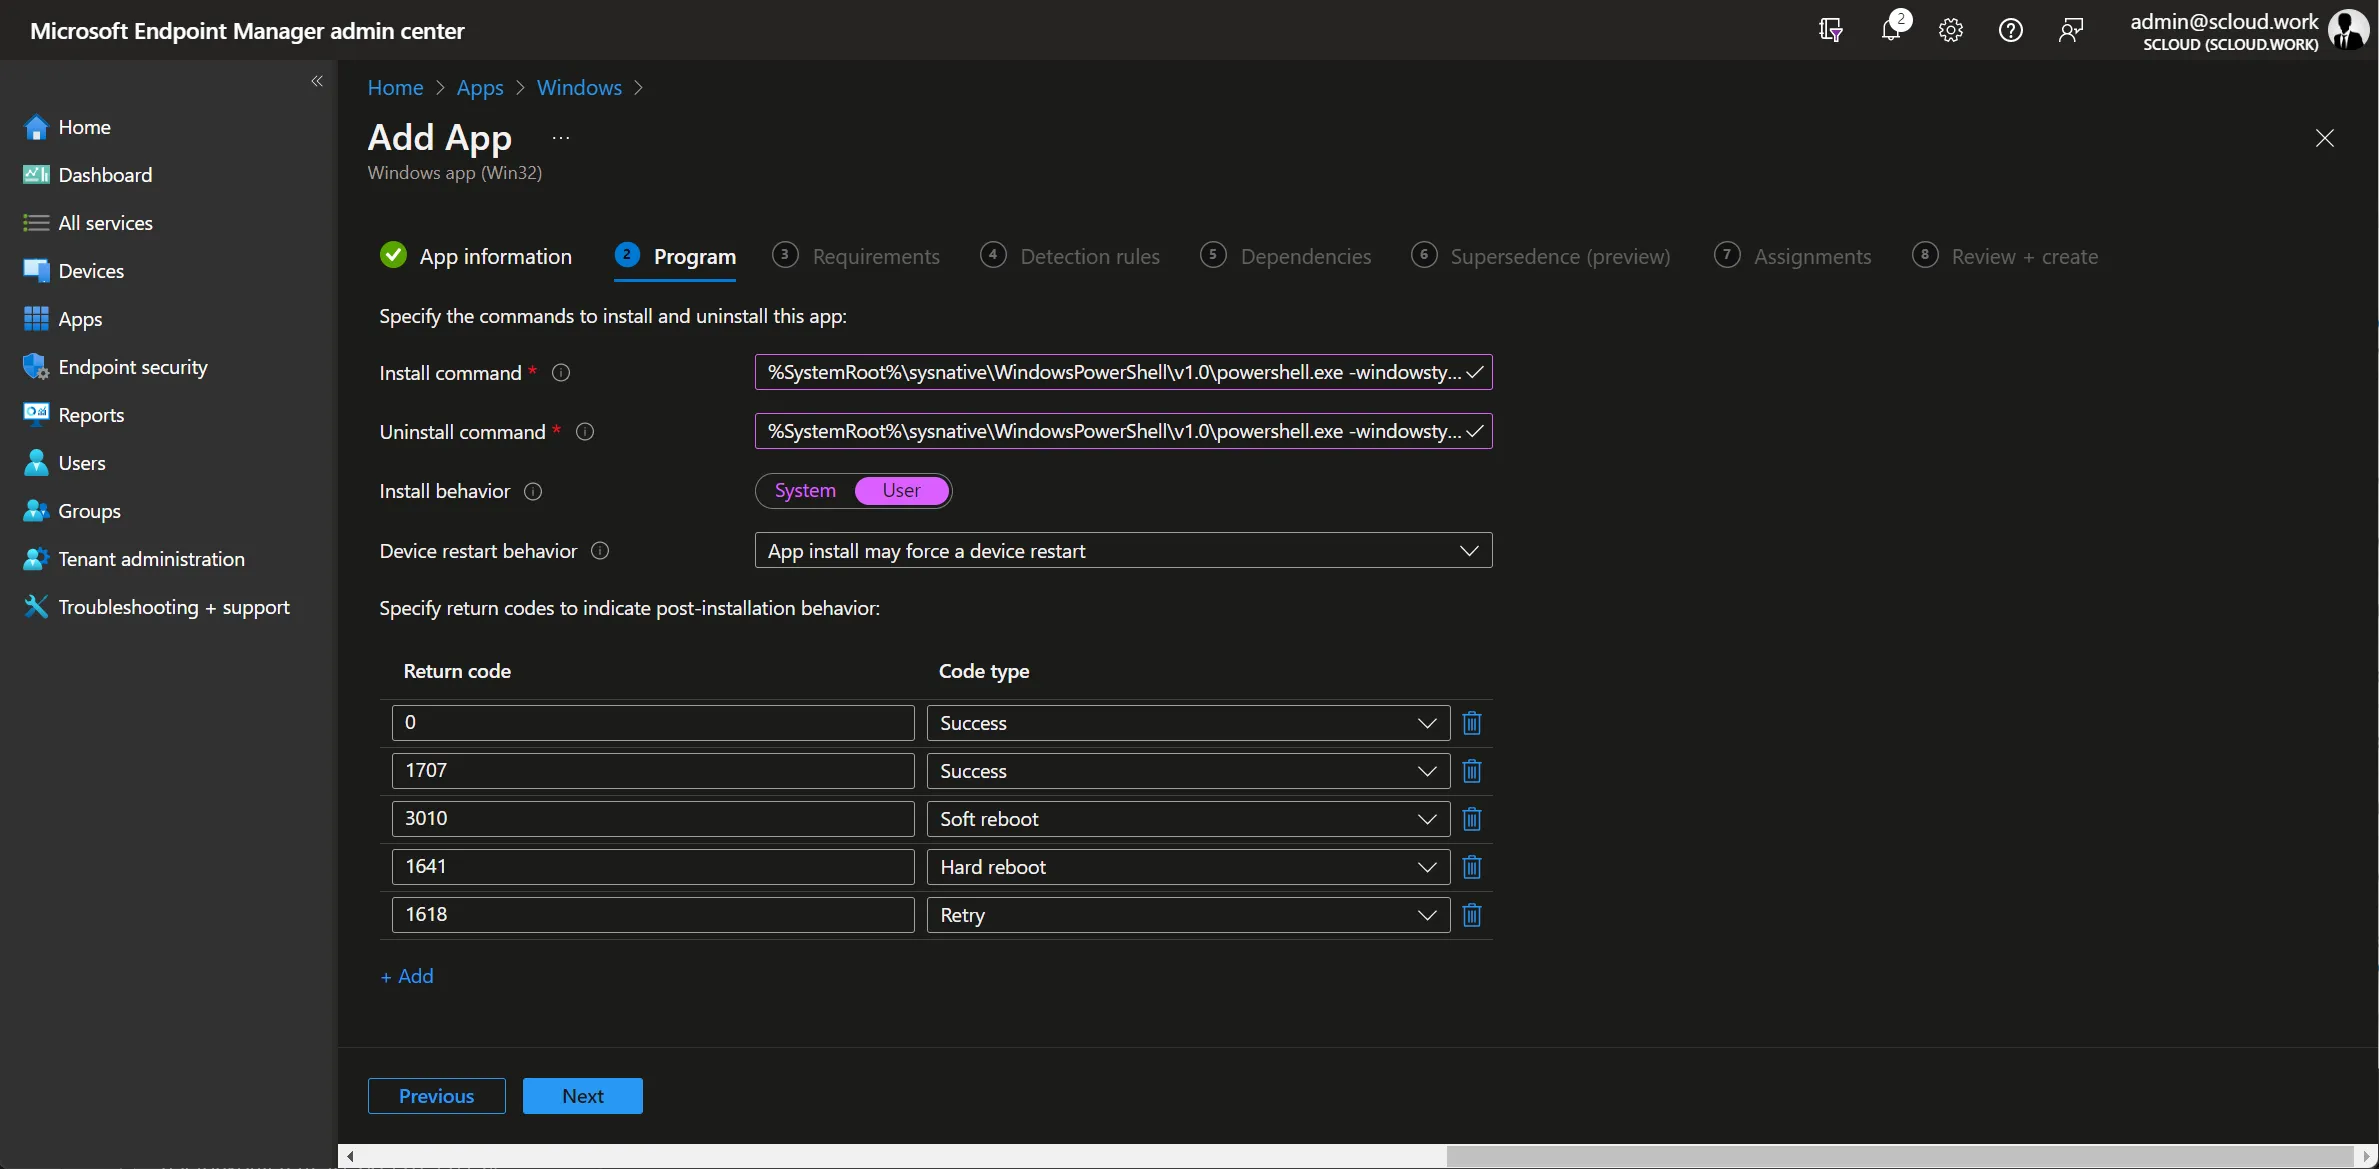
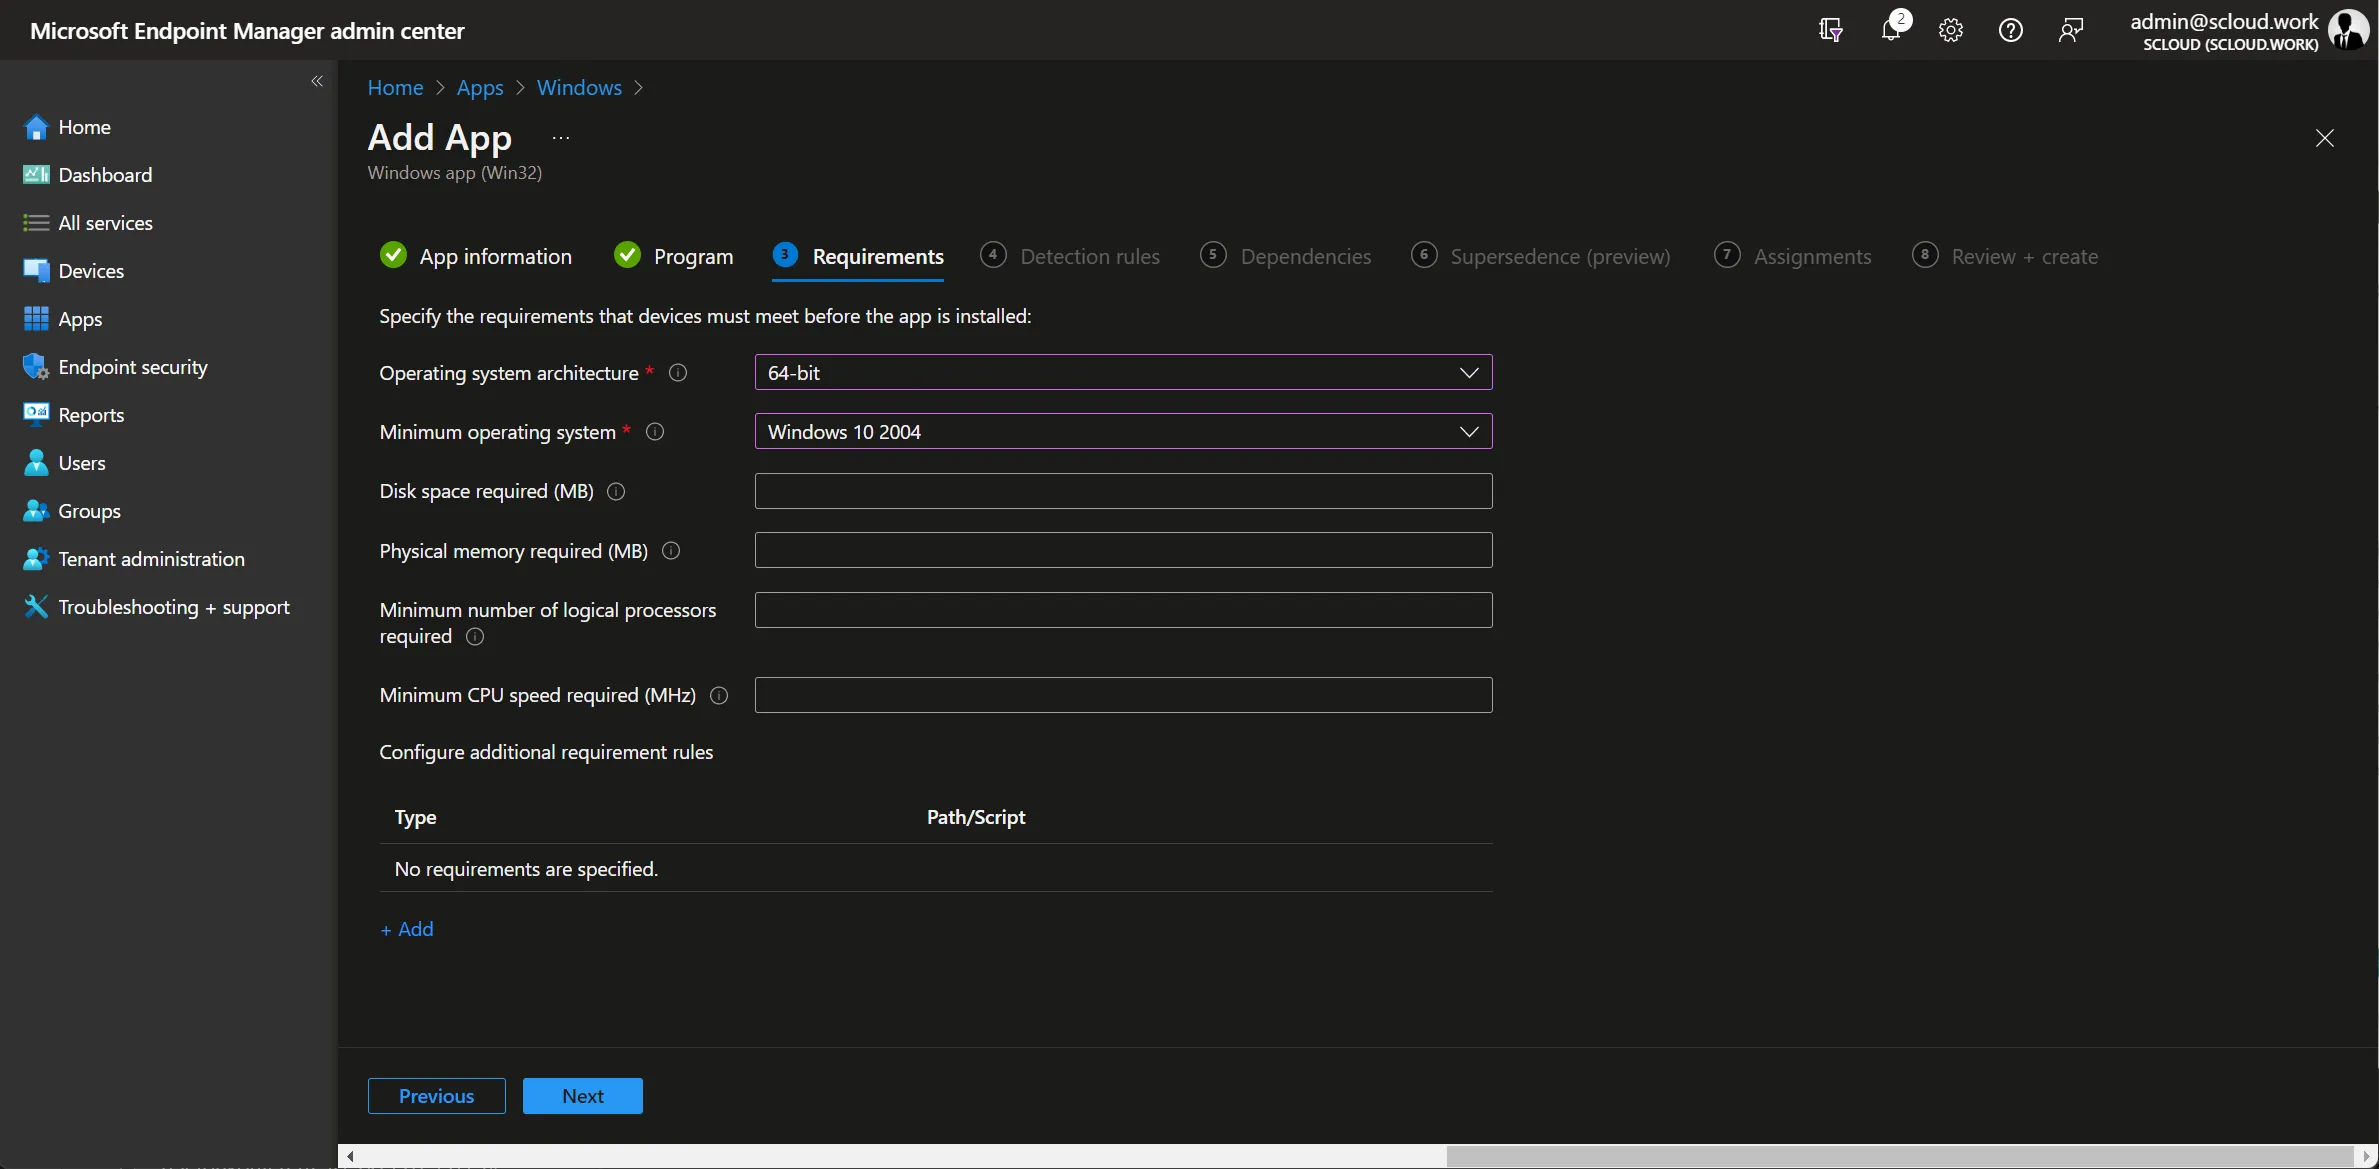
The requirements in the next step aren’t very relevant, but still need to be set.
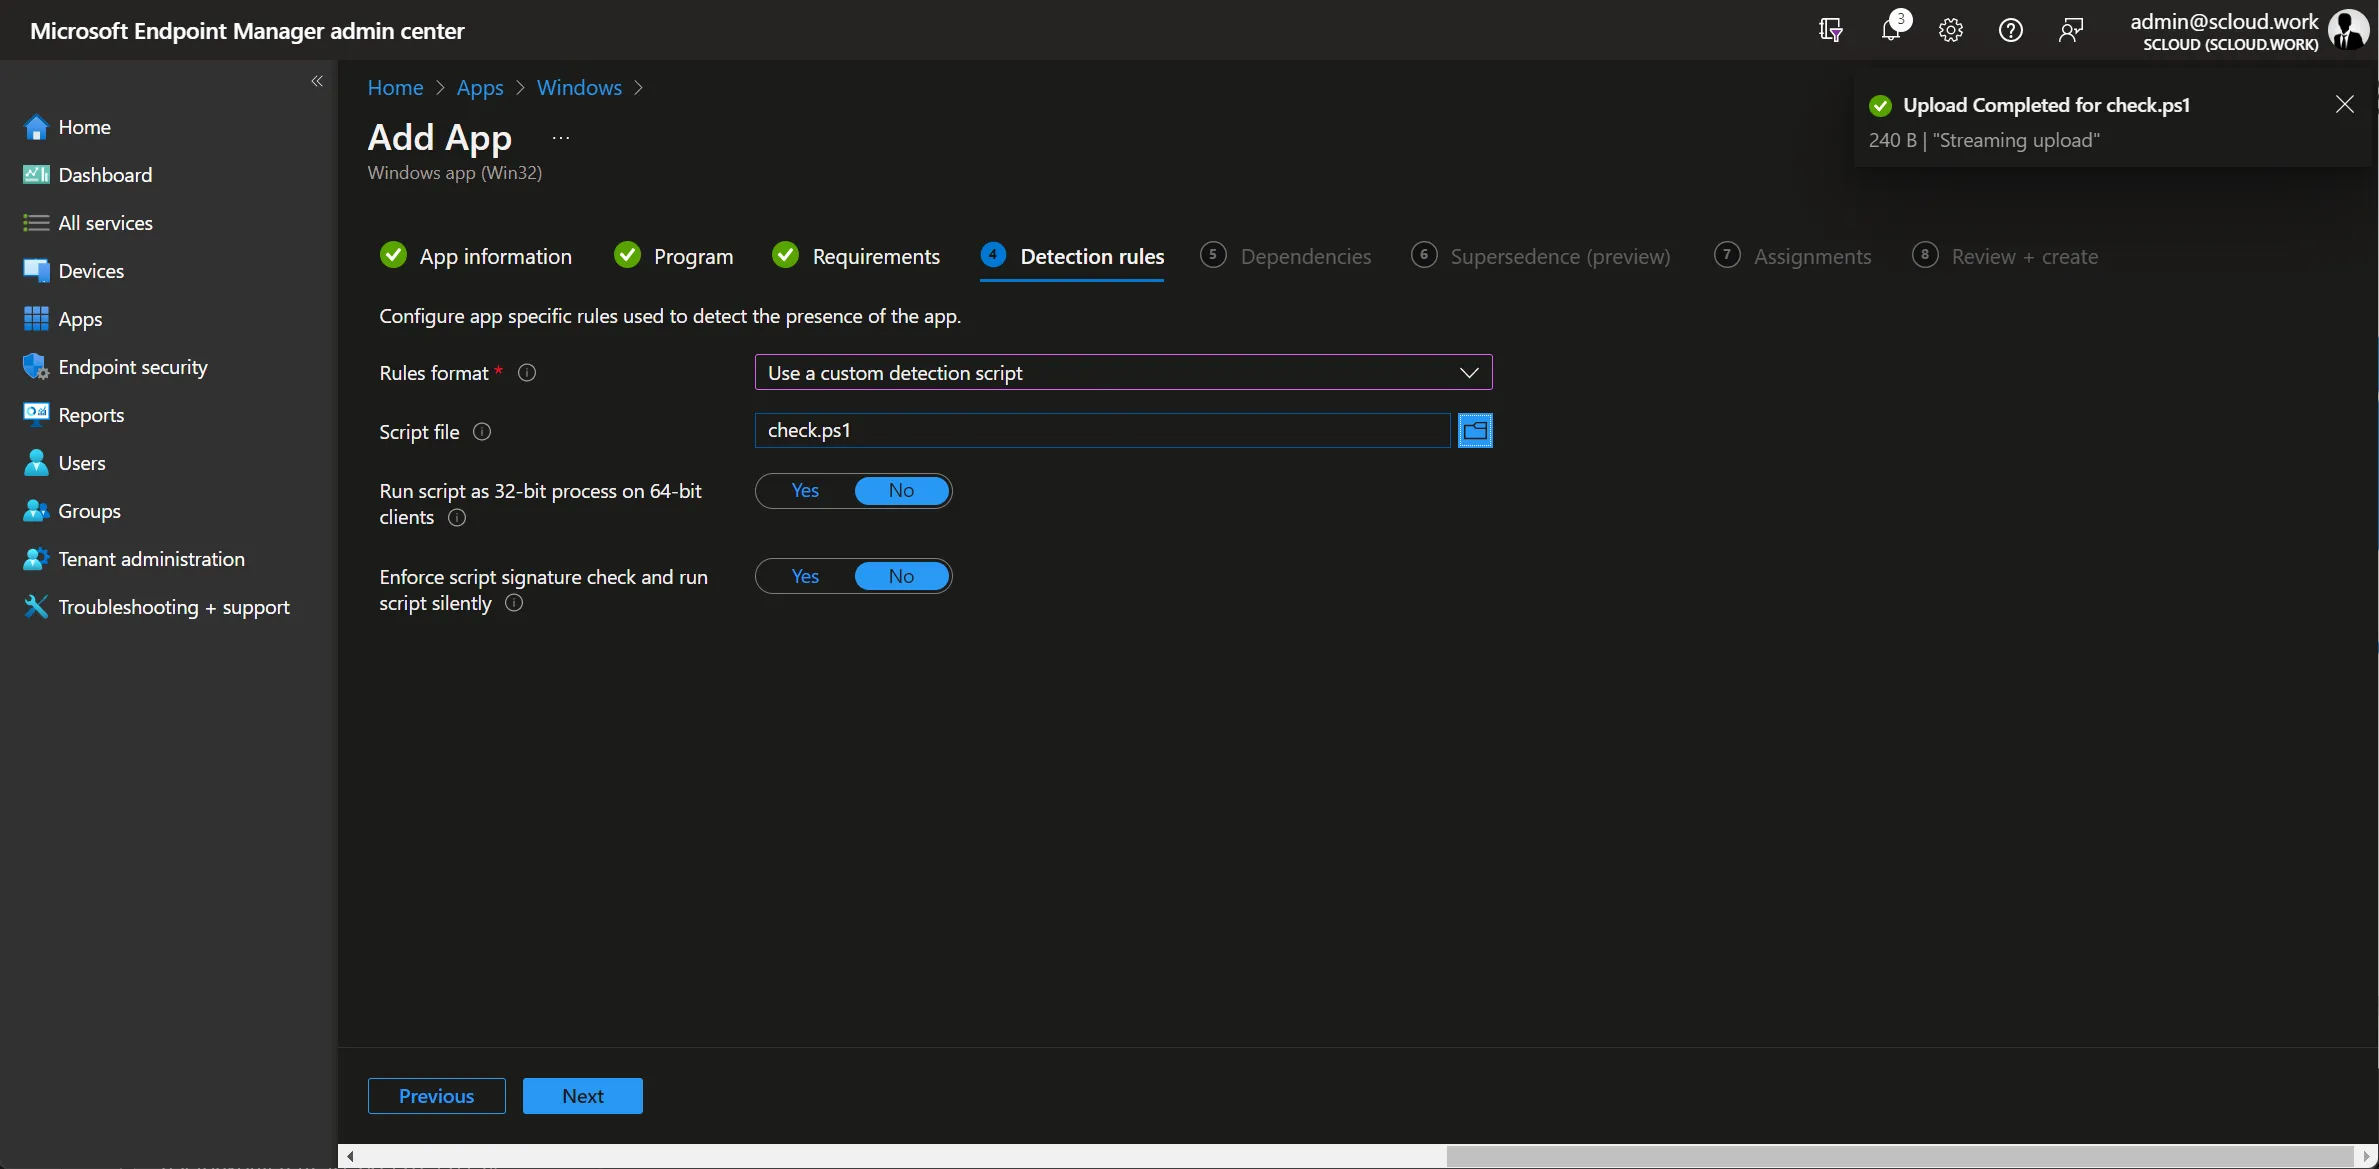
For the detection rule, you just need to upload the “check.ps1” contained in the package.
You can skip the dependencies and supersedence.
Finally, you just need to assign the app to your desired target group and wait until the installation is completed on the devices.
Updating the Excel template
If you want to update your Excel default template via Intune, you can do so by adjusting the “Book.xltx” and “Sheet.xltx” as well as the version in the second line of the “install.ps1” and “check.ps1”. After that you can repackage the Win32 app and upload it to the existing app in Endpoint Manager. Don’t forget to also upload the “check.ps1” again!