Google Chrome Single Sign On (SSO) | Entra ID
- Florian Salzmann
- Posted on 06 Jul, 2023
- Updated on 03 Nov, 2023
- 03 Mins read
- Entra ID,Microsoft Intune
Implementing seamless single sign-on (SSO) for Google Chrome can be an effective way to improve productivity and user experience in a corporate environment.
You can use Intune to distribute either the SSO extension (Addin Windows Accounts) or, more recently, the specific Google Chrome setting for SSO for the Entra ID (former Azure AD).
Google Chrome - with vs without Single Sign ON
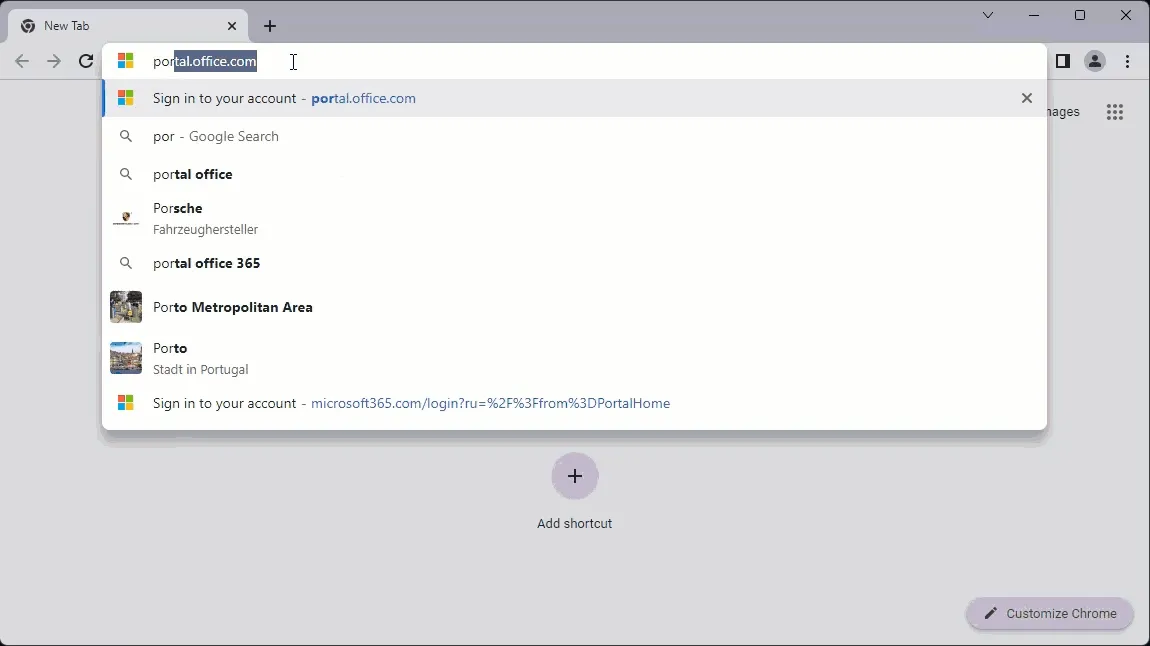
Google Chrome with Default settings
In the default settings you have to enter both user and password when logging in. Neither single sign on (SSO) nor the transfer of your login address from Windows works:
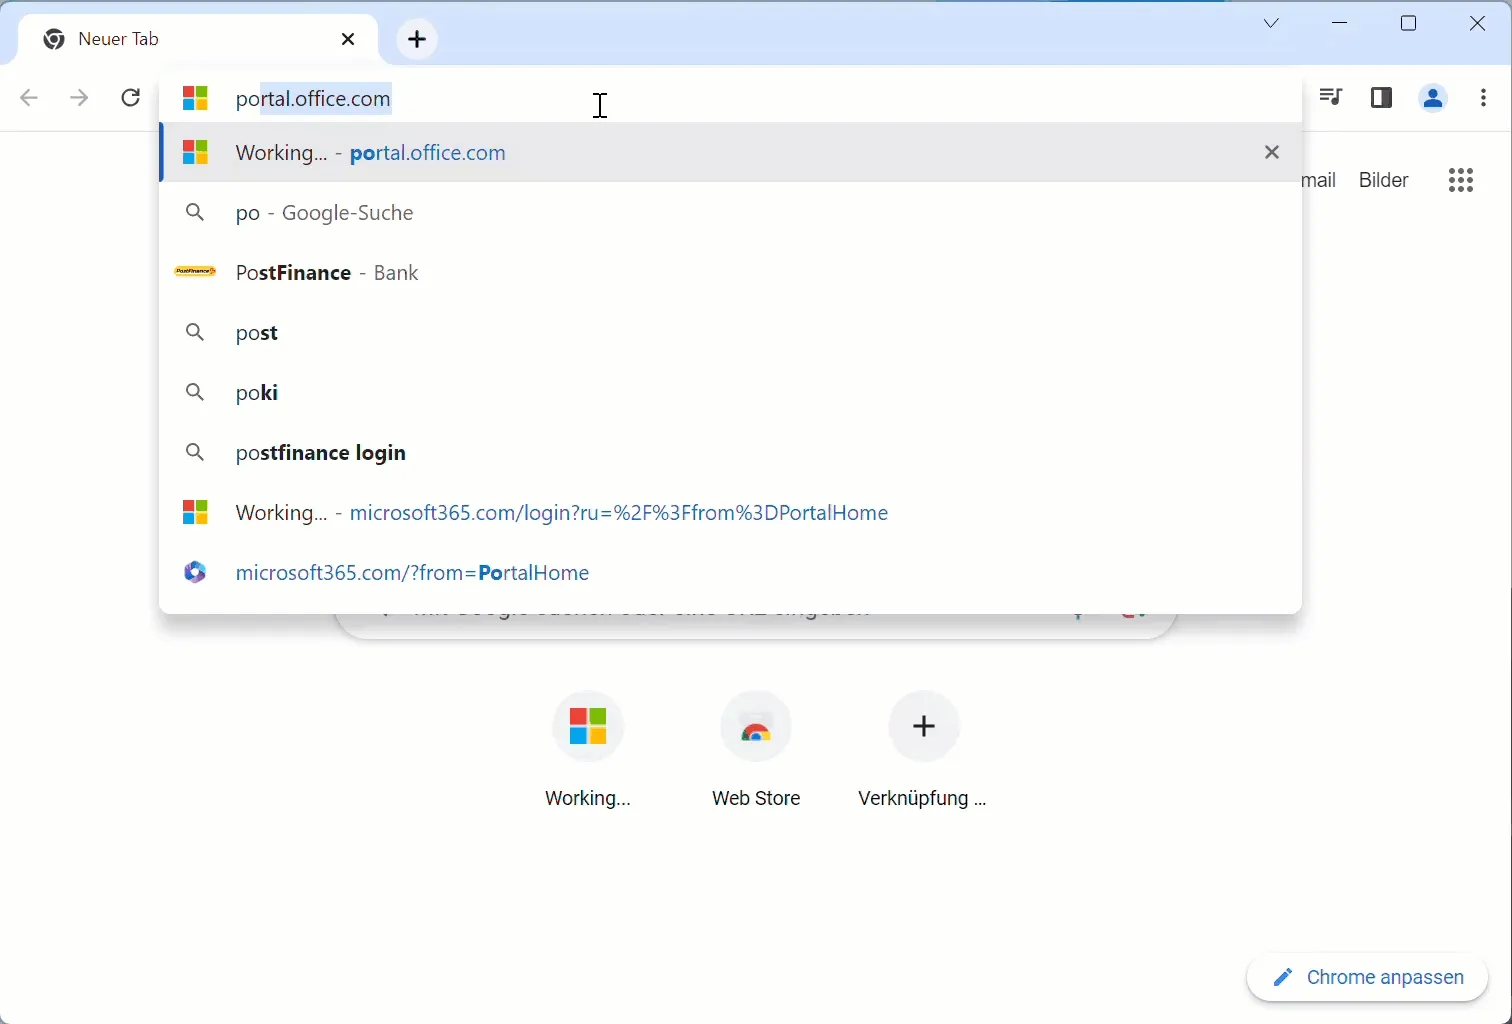
If Single Sign On is configured, the browser behaves as follows with the same access:
Google Chrome with Entra ID / Azure AD SSO
And it can be so beautiful:
Intune configuration for Google Chrome SSO
The old way
With Google Chrome, the extension “Windows accounts” to be installed.
The extension can be installed manually per user device or much easier via Intune and a Settings Catalog profile. To do this, we first need the extension ID, which we find out by opening the extension in the “Chrome Web Store”. Then it can be seen in the URL:
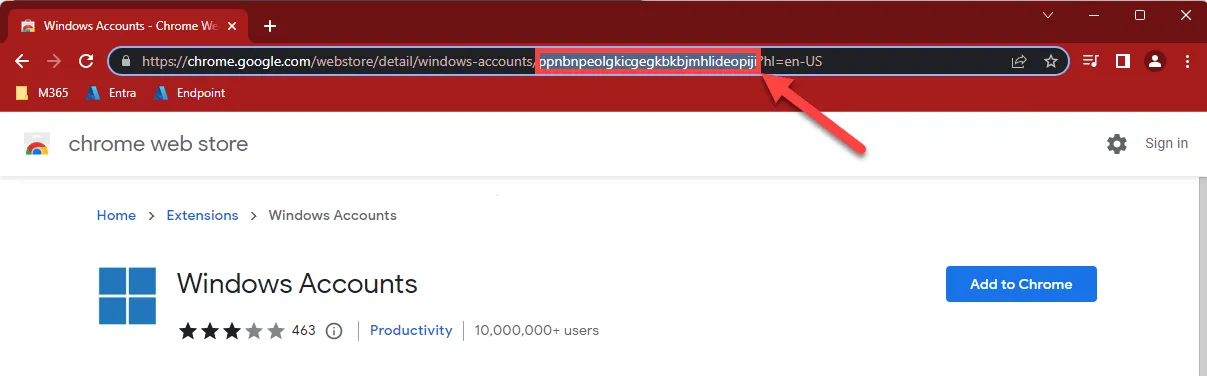
Extension ID: ppnbnpeolgkicgegkbkbjmhlideopiji
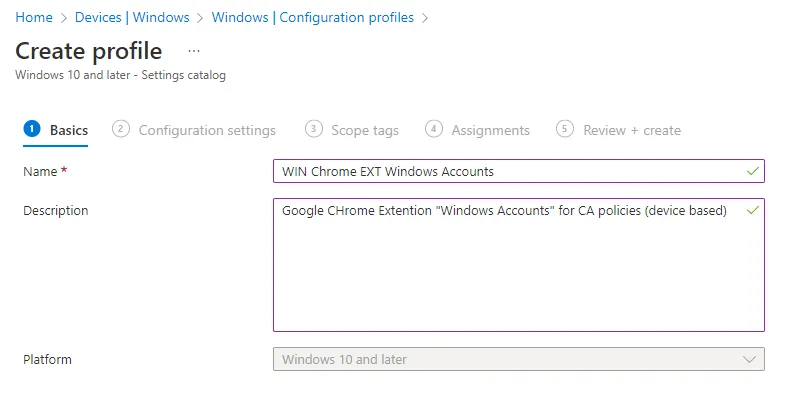
You create the profile under:
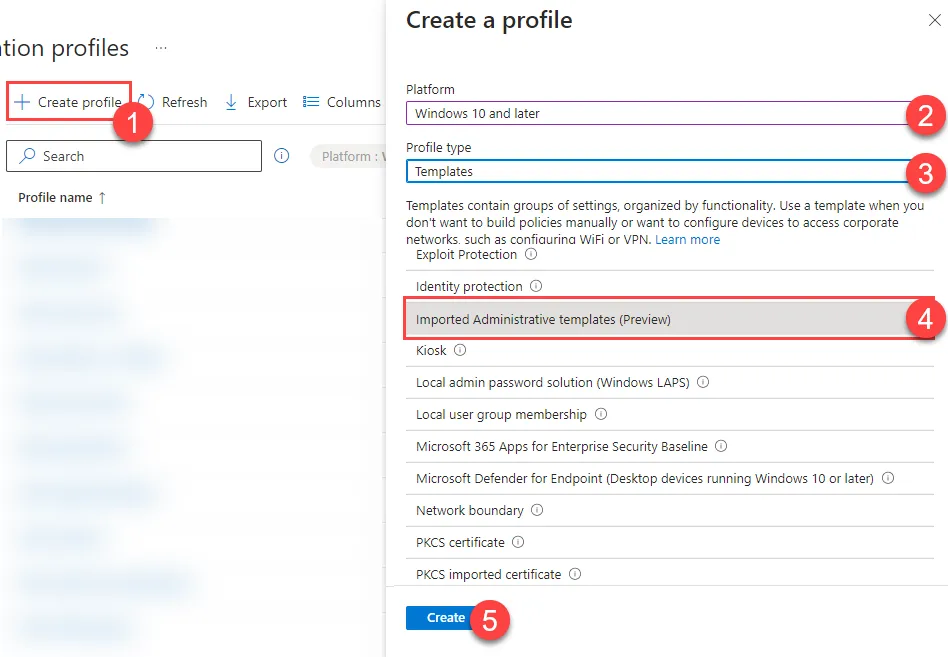
Devices > Windows > Configuration profiles … + Create profile (Windows 10 and later, Settings catalog)
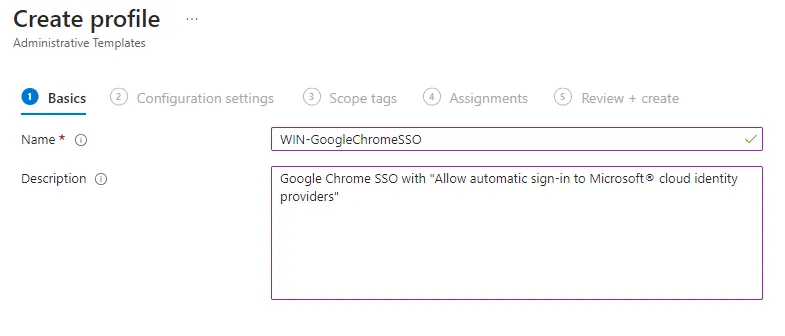
Here you assign a meaningful name and optionally a description:
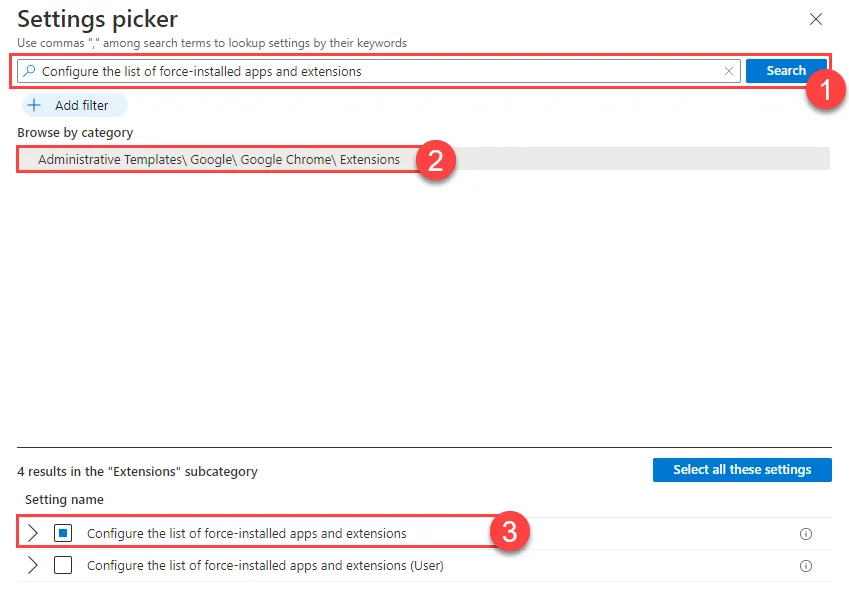
In the next step you add the setting “Configure the list of force-installed apps and extensions” added:
Activate this option and insert the extension ID: ppnbnpeolgkicgegkbkbjmhlideopiji
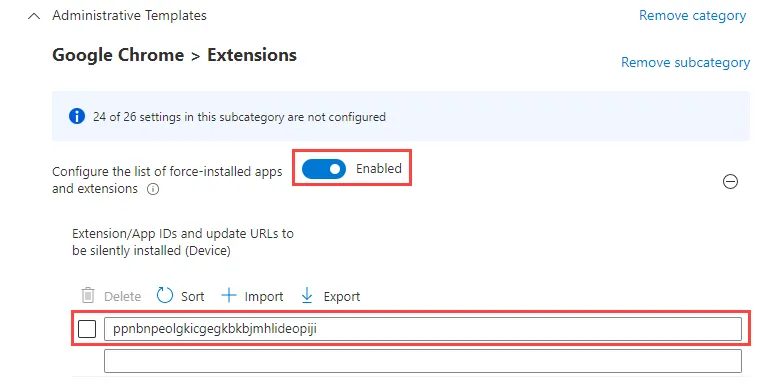
Once the extension is active, Google Chrome will support SSO.
The login then works seamless with an integrated account in Windows.
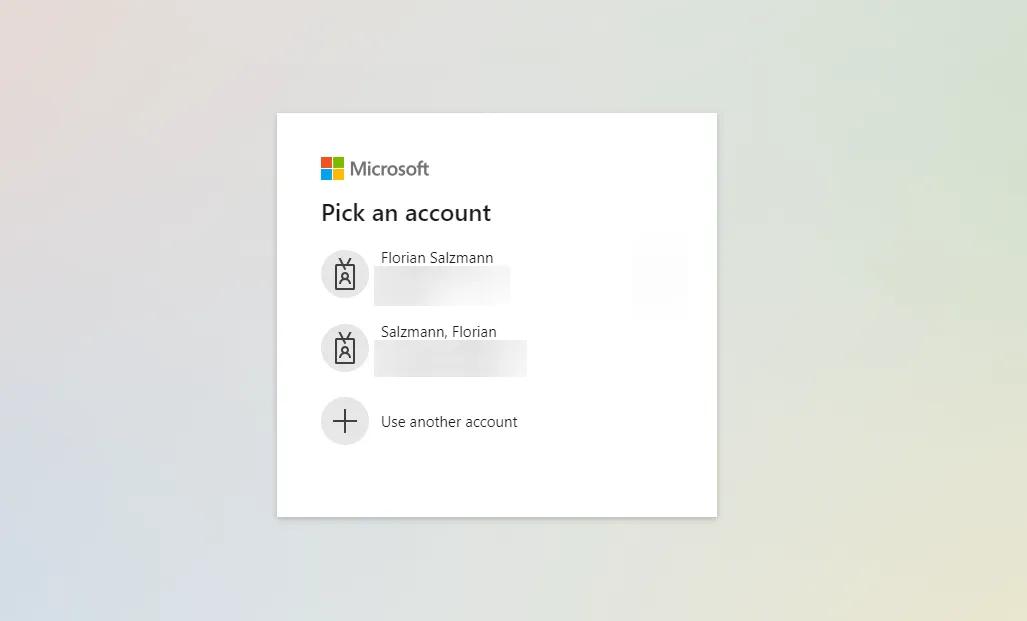
If you have connected multiple accounts, you can choose which one you want to use for the sign-in:
The new way 🥳
With version 111 of Google Chrome, the Identity Provider was integrated into the browser and the ADMX. The add-on is no longer necessary!
To activate the “new way” create a new Settings Catalog profile or add to your existing one.
In this you only have to select the option “Allow automatic sign-in to Microsoft® cloud identity providers”
—> So my wish 😉
Juni 2023: Unfortunately we still have to make a small detour via ADMX import.
You can find the current Google Chrome ADMX files here: 1. Download bundle - Chrome Enterprise and Education Help (google.com)
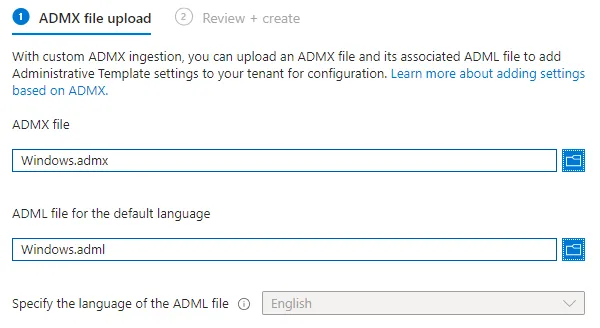
You have to upload (in this order):
- _From your local current Windows 11 (if not already done)
_C:\Windows\PolicyDefinitions\Windows.admx
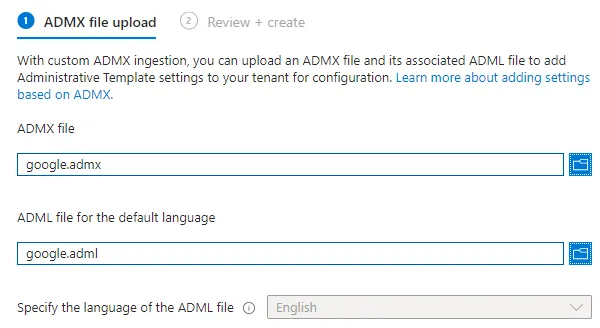
C:\Windows\PolicyDefinitions\en-US\Windows.adml - Configuration\admx\google.admx
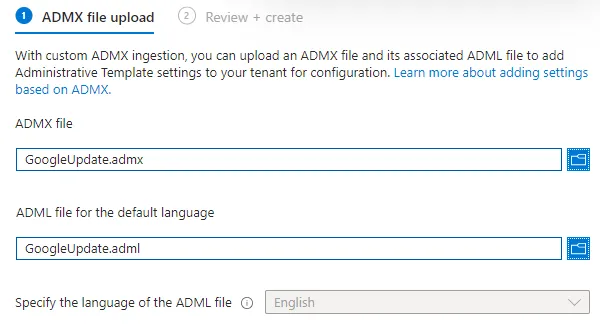
Configuration\admx\en-US\google.adml - Configuration\admx\GoogleUpdate.admx
Configuration\admx\en-US\GoogleUpdate.adml - Configuration\admx\chrome.admx
Configuration\admx\en-US\chrome.adml
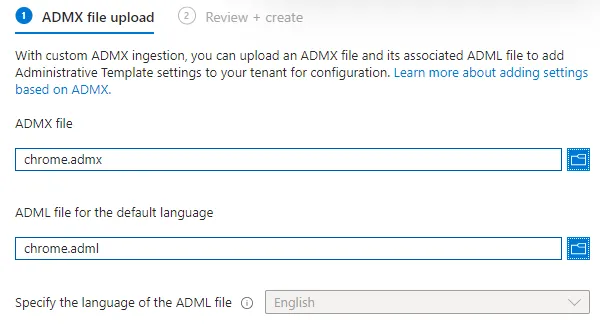
Now we can create a new policy in the templates with “Imported Administrative Templates”:
Here, as always, we give the guideline a name and optionally a description.
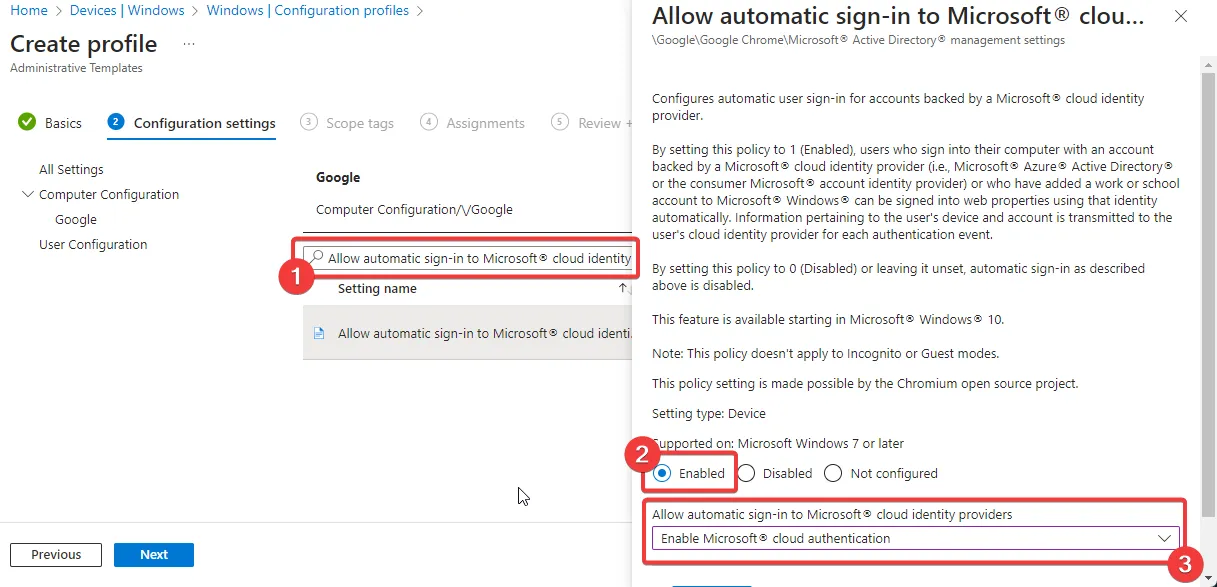
And now all we would have to do is enable the option and assign the policies. That’s it.
Option: Allow automatic sign-in to Microsoft® cloud identity providers
Summary
You no longer need the “Windows Accounts” add-on, and you can improve the configuration using ADMX. In local environments (GPO’s), where you must import the settings anyway, this requires no additional effort, and it’s excellent. Hopefully, the Intune Settings Catalog will soon incorporate the new setting, allowing you to configure it with just one click.